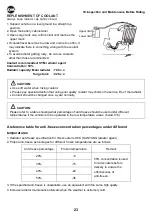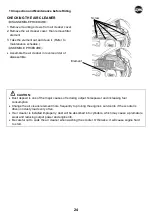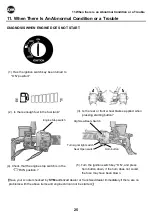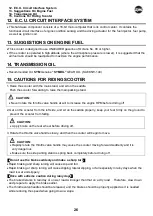
1
1
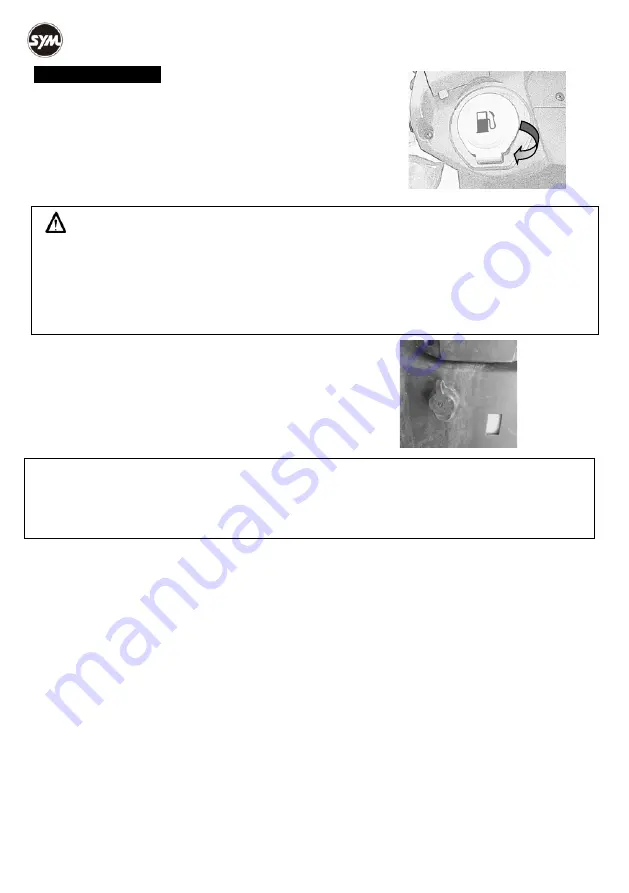
FUEL TANK CAP
1. Insert ignition switch key into the ignition switch,
and turn the key to the left, then the cap can be
opened automatically.
2. Do not fill above the fuel upper limit when refueling.
3. Push the fuel tank cap and it locks automatically.
CAUTION:
•
Main stand should be put down on the ground, engine should be shut off and flames should be strictly
prohibited to ensure safety when refueling.
•
Do not fill above fuel upper limit when refueling. Otherwise, fuel will flow out through a hole on
the cap that may damage the body’s painting, in serious cases, it may cause a fire to burn down
the scooter.
•
Make sure the cap has been tighten properly.
USB POWER OUTLET
The USB power outlet is located on the front panel.
This power outlet can charge low power consumption
devices when the engine is running.
BRAKE
Pull the right brake lever to operate the front brake.
Pull the left brake lever to operate the front and rear brake simultaneously (CBS model).
Pull the left brake lever to operate the rear brake (ABS model).
•
Avoid unnecessary sudden braking.
•
Use front and rear wheel brakes simultaneously when braking.
•
Avoid brake continuously for a long period of time because that may overheat the brakes and reduce its
braking efficiency.
•
Slow down and brake early when riding in rainy days on slippery roads. Never apply the brakes suddenly
to prevent skidding and falling.
•
Using only the front brake increases the risk of falling because the scooter is tend to pulled to one side.
•
Even in motorcycles equipped with ABS, braking during cornering may cause wheel slip. When turning a
corner, it is better to limit braking to the light application of both brakes or not to brake at all. Reduce your
speed before you get into the corner.
NOTE :
•
Do not use the USB power outlet when the engine is not running.
•
To prevent the fuse to melt down, do not charge devices exceed 10 W.
•
Disconnect devices when leaving the scooter or after riding, and close the USB power outlet cap
securely to avoid water infiltration.
7.Use of Each Component


