Symantec Upgrade Installation Guide
Upgrading the ASG-S400-20 to the ASG-S400-30
To install an upgrade kit for the
ASG-S400 Series appliance
, follow the tasks listed below for your upgrade kit. Please
note, a qualified technician must perform the following tasks in order to reduce the risk of damage to your appliance.
Review the "Safety Warnings and Cautions" on page 31 before servicing your appliance. ALWAYS observe proper
electrostatic discharge (ESD) conventions. Attach an ESD protective wrist strap to your wrist and to the chassis.
Ensure that the appliance is on an ESD-safe work surface or ground the unit appropriately. Symantec does not
assume responsibility or liability for damage resulting from ESD.
Follow the steps below to install the components of the upgrade kit.
1.
Verify the contents of the upgrade kit.
2.
Gather the required tools for installation.
3.
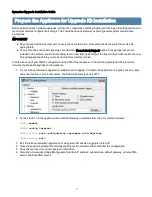
Prepare the appliance for upgrade kit installation
. Archive the configuration settings running on the old appliance
and record your network configuration settings.
4.
Gracefully shutdown the appliance
.
5.
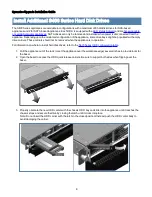
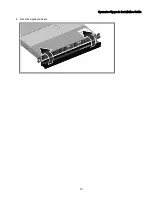
Install three additional HDDs into empty drive bay 4, 5, and 6.
6.
Open the center cover.
7.
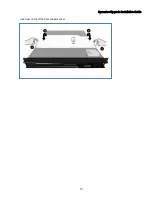
Remove the rear cover.
8.
Remove the airduct.
9.
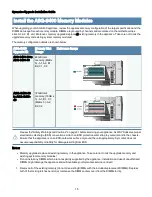
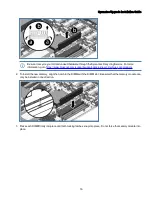
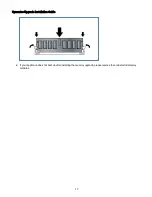
Replace the existing memory modules with those included with the kit.
10.
Replace the CPU and heatsink unit.
11.
Reinstall the front airduct.
12.
Reinstall the rear cover.
13.
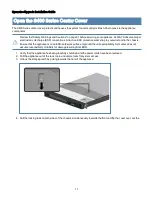
Close the center cover.
14.
Finish the upgrade process
. (Connect the cables, power on, install license).
15.
Verify the new hardware configuration.
16.
Troubleshooting
Be sure to recycle your old and unused hardware through the Symantec Recycling Service. For more information,
go to
https://www.bluecoat.com/support/support-policies/recycling-blue-coat-products
4


