2-12
TimeVault™ User’s Manual
6000-100Ch2.fm Rev. D
Chapter 2: Installation and Start-Up
Site Preparation
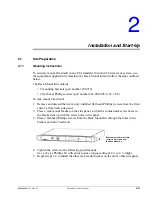
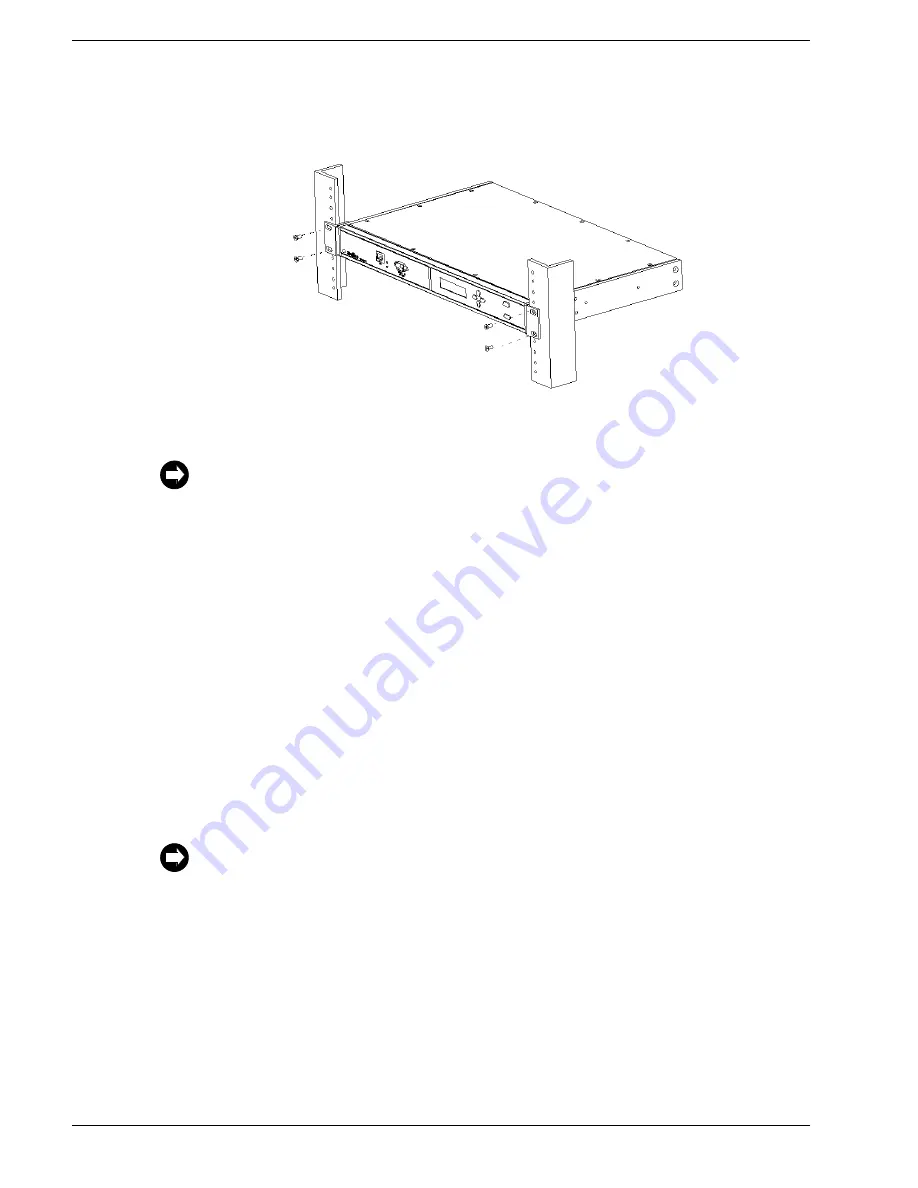
6. Place TimeVault in a 1 ¾ in (4.445 cm) opening in any EIA Standard 19-in rack sys-
tem, and position the unit so that the rack holes line up with the holes in the bracket.
7. Use the appropriate screws to secure the brackets to the rack.
8. Ensure that the operating ambient temperature does not 50
°
C.
2.1.2
Necessary Equipment
The equipment you need to get started includes:
• Power source
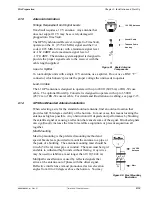
• GPS antenna connection that supports 12 V
• An Ethernet LAN with one port available for TimeVault’s network connection
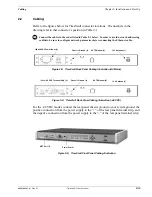
• An Ethernet cable with an RJ-45 connector for the NET Port (Category 5 Ethernet
cable is recommended for 100Base-T operation)
• A separate analog phone line for the ACTS modem
• A cable with an RJ-11connector for the ACTS Port
• A set of network address parameters for the NET Port that delivers NTP time and
allows remote control of the unit over the Internet
Optionally, you can add an RS-232 serial interface for local control using a terminal
emulation program. This requires:
• A serial interface device, either PC or dumb terminal capable of 9600 8N1
• An RS-232 cable, and null modem connector, to connect the 9-pin D RS-232 port to
the serial device
TimeVault is capable of basic operation without an RS-232 connection, and retains all
configuration data in memory.
Installation requires the use of standard rack mount hardware.
TimeVault requires a 12 V antenna and may severely damage any antenna that does not support
12 V. For non-standard antenna types, contact Symmetricom for assistance.
Summary of Contents for Time Server
Page 1: ...6000 100 Revision D January 2 2003 TimeVault Trusted Time Server User s Manual TM ...
Page 7: ...6000 100Front fm Rev D TimeVault User s Manual v ...
Page 10: ...viii TimeVault User s Manual 6000 100Front fm Rev D ...
Page 24: ......
Page 118: ......
Page 138: ......
Page 142: ......
Page 148: ......

