2-26
TimeVault™ User’s Manual
6000-100Ch2.fm Rev. D
Chapter 2: Installation and Start-Up
Front Panel Interface
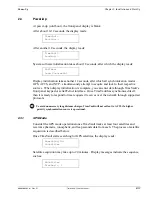
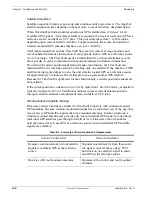
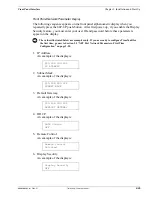
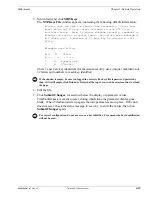
7. Display Security Logout.
An example of the display is:
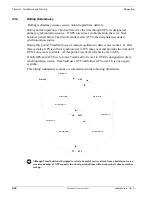
Whenever you save changes to any network parameter in this sequence, TimeVault
automatically reboots (this does not include the DHCP, Remote Control, and Display
Security functions).
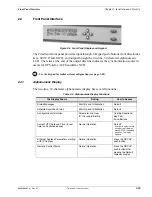
The Remote Control feature determines the availability of remote access to TimeVault.
The default setting is “Unlocked”, which allows use of the Telnet or web interface for
set-up and control operations (see Chapter 3 for how to set up Telnet, and Chapter 4 for
how to issue F-series function commands). You can lock TimeVault from a remote
location using the F100 LOCK command, but after having done so, you can not remotely
unlock it. You can
only
unlock TimeVault from the keypad. For more information, see
“Keypad Entry Guidelines” above, and Section 4.4.13 “F100 LOCK – Remote Lockout”
on page 4-76.
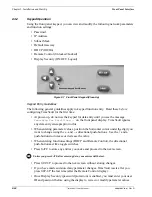
Entering the User ID and Password
The Display Security feature prevents unauthorized users from setting or modifying
TimeVault parameters. When you first receive the unit, the security setting is off (factory
default).
To view the current security setting, scroll through the parameter list using the
SET-UP
push-button until
Display Security
appears. To enable Display Security, press any
directional push-button. The security setting changes from “OFF” to “ON”. You can now
enter your user ID and password, as per the procedure described below.
Enter user IDs and passwords with the front panel directional push-buttons, as follows:
• Press the
↑
directional push-button to start at the letter “i” and move backwards
through the alphabet, symbols and numbers.
• Press the
↓
directional push-button to start at the letter “r” and move forward
through the alphabet, symbols and numbers.
• Press the
←
or
→
directional push-buttons to reposition the cursor. During
password entry, pressing the
→
directional push-button not only advances the
cursor position, but also changes the previously entered character to a “*”. If you
make an incorrect entry, reposition the cursor and re-enter the character.
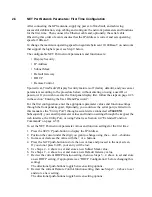
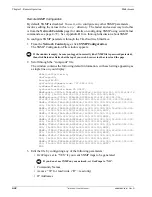
To enter the user ID and password, follow these steps:
1. Press the
SET-UP
push-button until
ID:/Password:
appears, with the cursor posi-
tioned on the
ID:
line (the
SET-UP
push-button toggles cursor position between the
two lines).
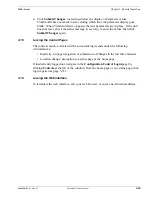
Display Security
Logout
You cannot change the ID and password via the keypad, only via F100 commands.
Once you enable the Display Security feature, it remains “ON” until you manually disable it.
Summary of Contents for Time Server
Page 1: ...6000 100 Revision D January 2 2003 TimeVault Trusted Time Server User s Manual TM ...
Page 7: ...6000 100Front fm Rev D TimeVault User s Manual v ...
Page 10: ...viii TimeVault User s Manual 6000 100Front fm Rev D ...
Page 24: ......
Page 118: ......
Page 138: ......
Page 142: ......
Page 148: ......


