098-00172-000 Revision A – December, 2009
TimeProvider 500 2.0 User’s Guide
43
Chapter 2 Installation & Configuration
Configuration Setup
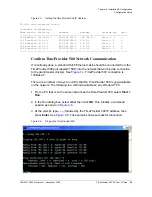
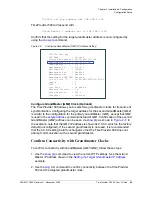
Figure 2-5.
Setting the TimeProvider 500 IP Address
TP-500> show interface config
Interface Configuration:
Name status static-ip netmask gateway ip-mode vid vpri
--------------------------------------------------------------------------------
if0 Enabled 192.168.1.5
255.255.255.0
192.168.6.1 Static -- --
if1 Disabled 10.1.1.1 255.255.255.0 0.0.0.0 Static 2 0
if2 Disabled 10.1.2.1 255.255.255.0 0.0.0.0 Static 3 0
if3 Disabled 10.1.3.1 255.255.255.0 0.0.0.0 Static 4 0
if4 Disabled 10.1.4.1 255.255.255.0 0.0.0.0 Static 5 0
--------------------------------------------------------------------------------
Confirm TimeProvider 500 Network Communication
If not already done, a standard RJ45 Ethernet cable should be connected from the
TimeProvider 500 port labeled “1588” into the network that will provide connection
to the grandmaster clock(s). See
. TimeProvider 500 connection is
100Base-T.
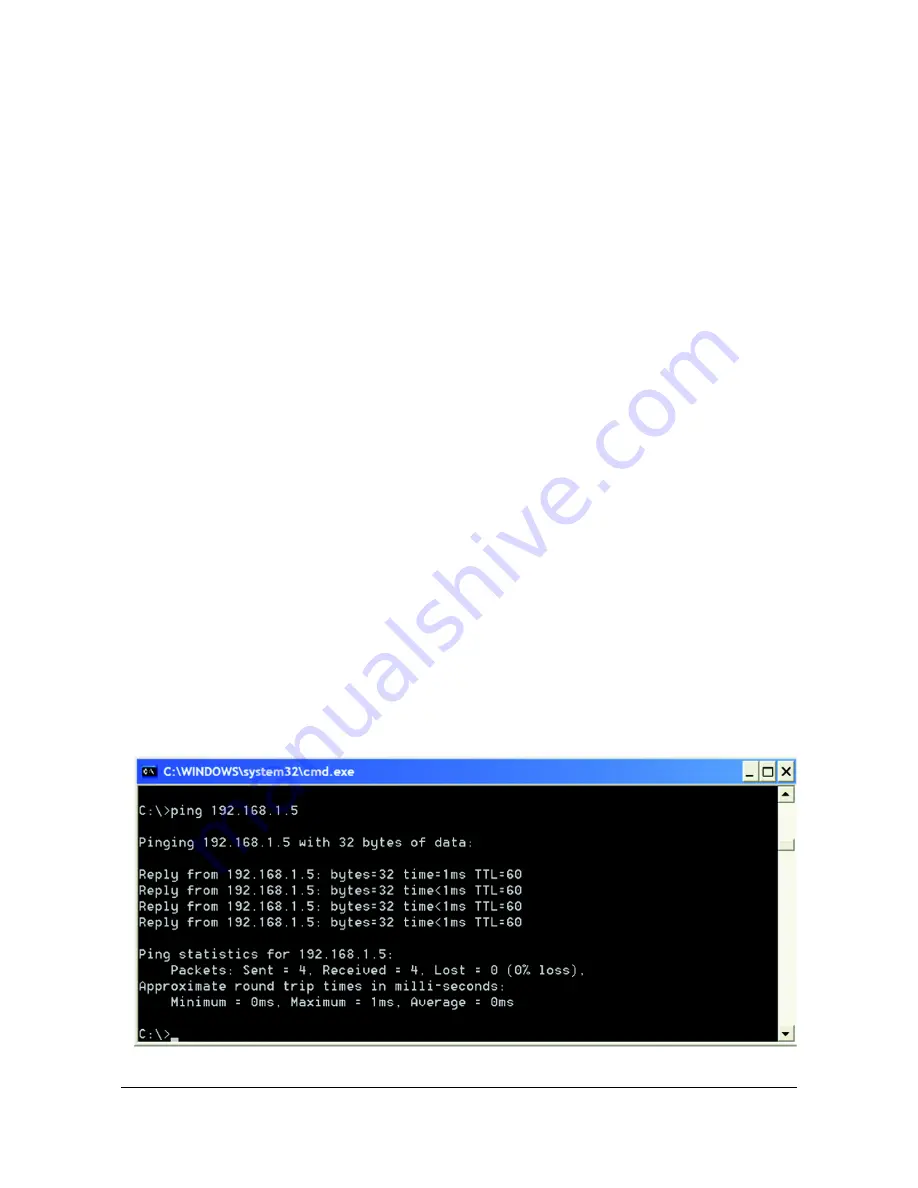
There are a number of ways to confirm that the TimeProvider 500 is now available
on the network. The following is a method available on any Windows
®
PC:
1. From a PC that is on the same network as the TimeProvider 500, select
Start >
Run
.
2. In the Run dialog box, select
cmd,
then click
OK.
This initiates a command
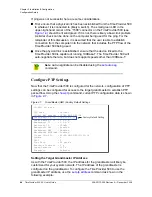
session as shown in
.
3. At the prompt, type
ping
followed by the TimeProvider 500 IP address, then
press
Enter
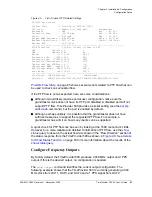
. The example shows successful connection.
Figure 2-6.
Pinging the TimeProvider 500
Summary of Contents for TimeProvider 500
Page 10: ...Table of Contents 10 TimeProvider 500 2 0 User s Guide 098 00172 000 Revision A December 2009 ...
Page 12: ...List of Figures 12 TimeProvider 500 2 0 User s Guide 098 00172 000 Revision A December 2009 ...
Page 146: ...146 TimeProvider 500 2 0 User s Guide 098 00172 000 Revision A December 2009 T1 Format ...
Page 174: ...Index W W 174 TimeProvider 500 2 0 User s Guide 098 00172 000 Revision A December 2009 ...

