50
TimeProvider 500 2.0 User’s Guide
098-00172-000 Revision A – December, 2009
Chapter 2 Installation & Configuration
Installation and Provisioning Checklist
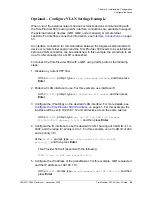
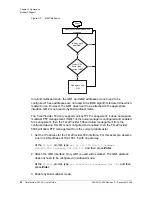
TimeProvider 500 will respond with the following:
Grand Master 1 address set to 192.168.1.19
6. Now that the GM1 IP address is configured, enable GM1 for PTP management
flow.
At the
TP-500>
prompt, type
set ptp mgmt gm1 enable
, and then press
Enter
.
TimeProvider 500 will respond with the following:
Management for GM1 enabled
7. Now attach interface if1. If the interface is not attached and enabled,
communication between the TimeProvider 500 and supported network devices
will not work.
At the
TP-500>
prompt, type
set interface attachments gm1 if1
, and
then press
Enter
.
8. The last step is to enable the device for PTP flow.
At the
TP-500>
prompt, type
set ptp addr-mode unicast
, and then press
Enter
.
The configuration for VLAN communication between the GrandMaster (GM1) and
the TimeProvider 500 on interface connection if1 is now completed.
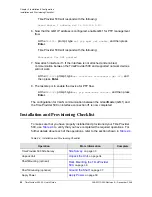
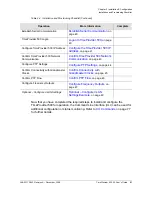
Installation and Provisioning Checklist
To make sure that you have properly installed and provisioned your TimeProvider
500, use
to verify that you have completed the required operations. For
further details about each of the operations, refer to the section shown in
Table 2-4. Installation and Provisioning Checklist
Operation
More Information
Complete
TimeProvider 500 Site Survey
Unpack Unit
Shelf Mounting (
optional
)
Rack Mounting the TimeProvider
500
Shelf Grounding (
optional
)
Apply Power
Summary of Contents for TimeProvider 500
Page 10: ...Table of Contents 10 TimeProvider 500 2 0 User s Guide 098 00172 000 Revision A December 2009 ...
Page 12: ...List of Figures 12 TimeProvider 500 2 0 User s Guide 098 00172 000 Revision A December 2009 ...
Page 146: ...146 TimeProvider 500 2 0 User s Guide 098 00172 000 Revision A December 2009 T1 Format ...
Page 174: ...Index W W 174 TimeProvider 500 2 0 User s Guide 098 00172 000 Revision A December 2009 ...


