Rinnai Australia
34
Installation Manual
HEATER INSTALLATION
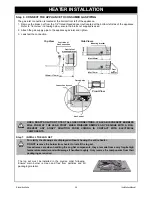
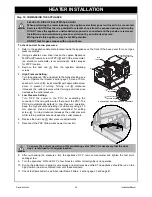
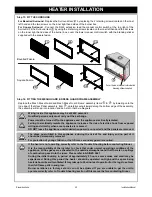
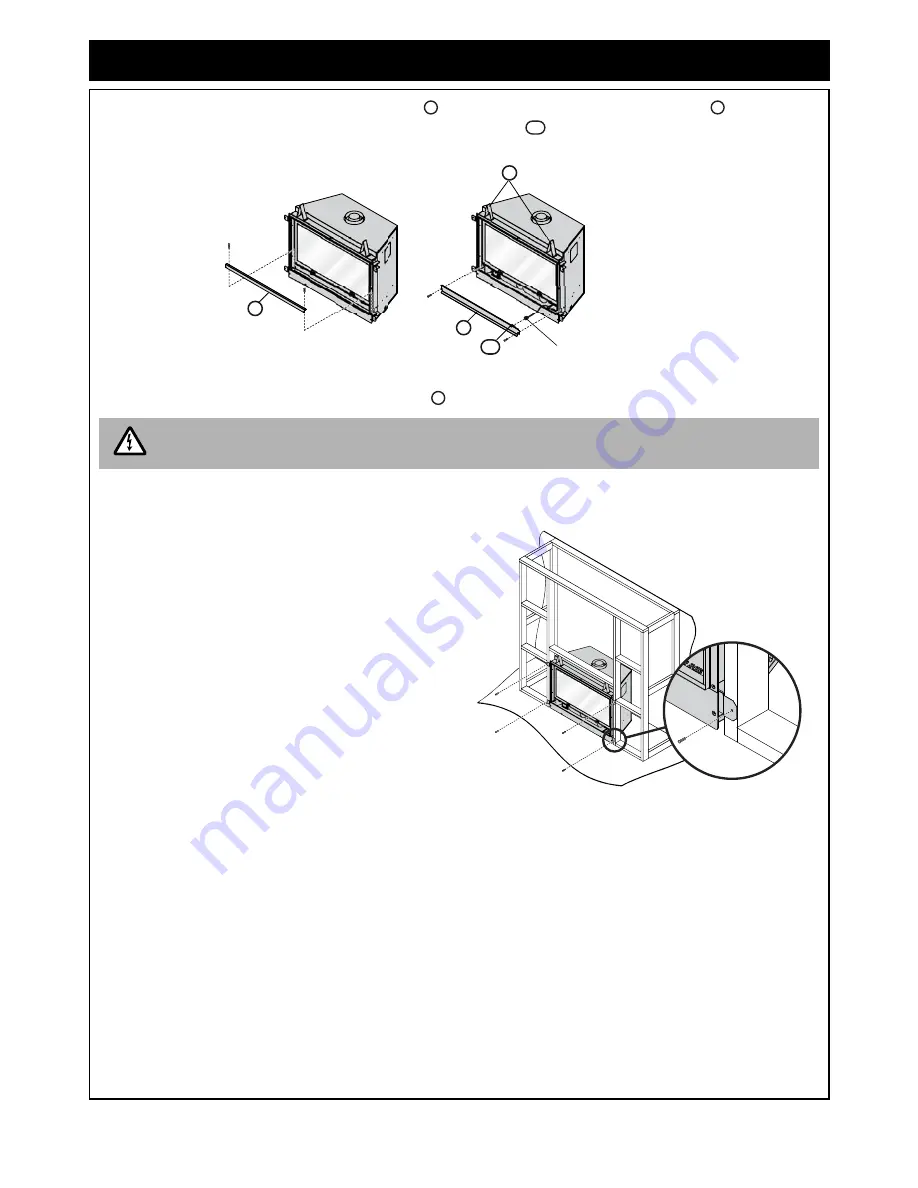
3. Remove the ‘Lower Horizontal Cover Panel’
and the ‘Manual Control Switch Panel’,
. Ensure you
disconnect the RJ45 Connector from the manual control switch
, before pulling this panel away. (Bevelled
Fascia model only.
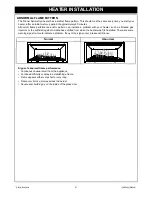
4. Extend and fasten the Lintel Stand-Off Brackets
.
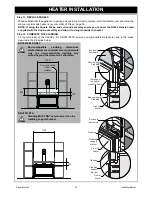
Step 4 . INSERT AND FIX THE APPLIANCE TO THE FRAME WORK
Carefully manoeuvre the appliance into the enclosure
frame ensuring that both the consumer gas piping and the
flue system are aligned correctly with the appliance
connections.
NOTE: The flue system must be fully assembled,
located and secured into place before the heater is
installed into the enclosure frame. Refer to page 30
for flue details.
The flue system must be supported independently of
the appliance.
240 VOLTS, RISK OF ELECTRICAL SHOCK!
Before proceeding ensure the appliance is disconnected or isolated from mains power.
6
7
4a
6
7
RJ45
Connector
8
Typical 2 places
4a
8
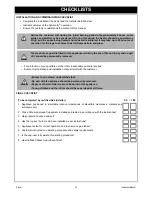
WARNING
TYPICAL 4 PLACES


