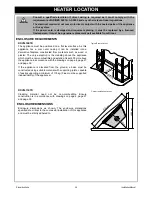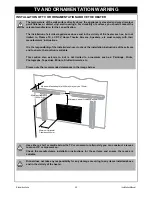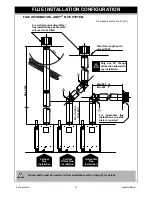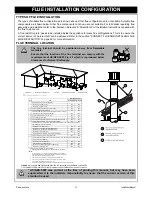
Rinnai Australia
36
Installation Manual
HEATER INSTALLATION
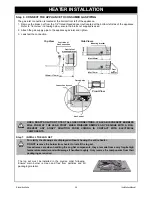
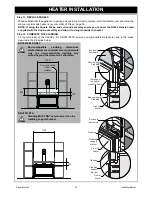
Step 6 . CONNECT THE APPLIANCE TO CONSUMER GAS PIPING
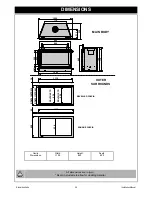
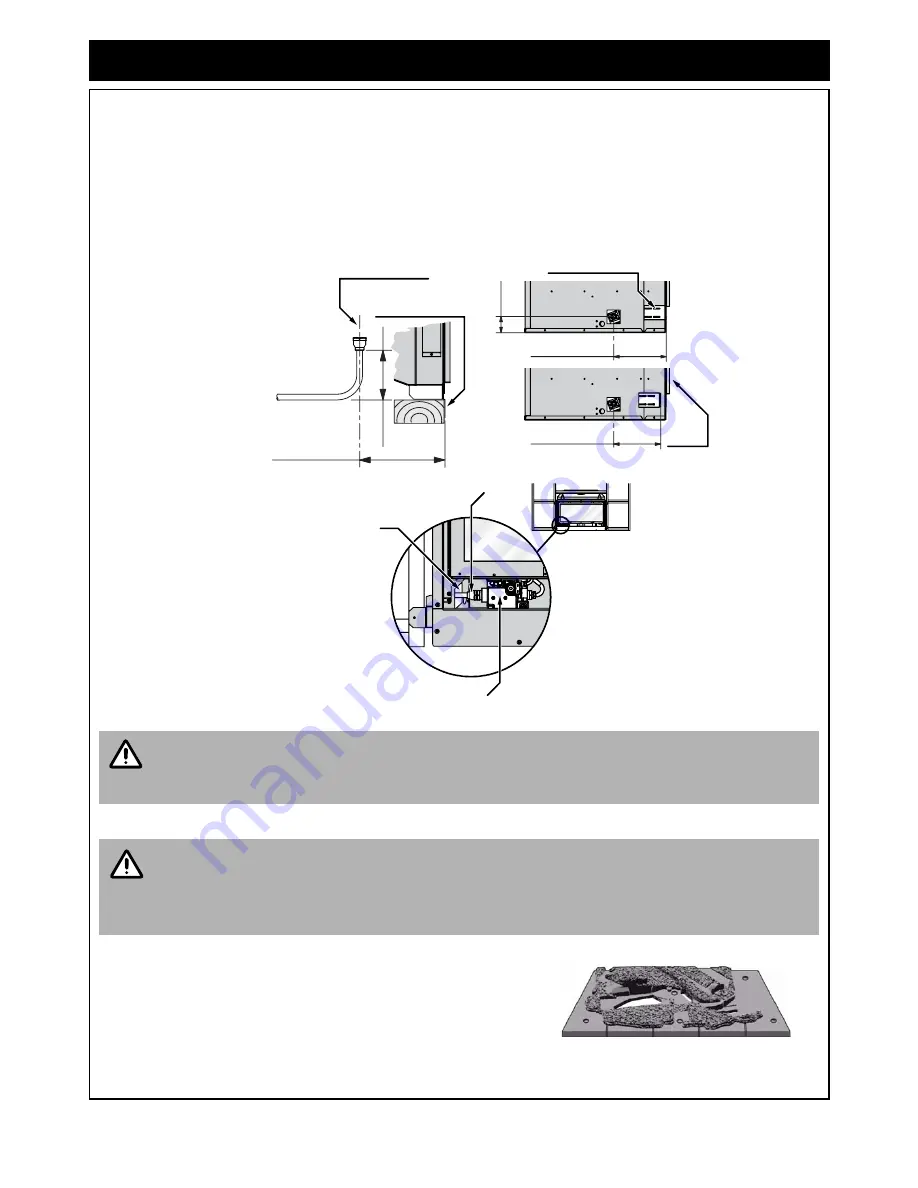
The gas inlet connection is located at the bottom front left of the appliance,
1. Remove the brass nut from the 1/2” flared threaded gas inlet located at the bottom left side of the appliance.
Refer to ‘front view’ in drawing below, ensure the brass nut supplied is used.
2. Attach the gas supply pipe to the appliance gas inlet and tighten.
3. Leak test the connection.
Step 7.
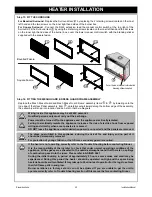
INSTALL THE LOG SET
USE A SOAPY SOLUTION TO TEST ALL GAS CONNECTIONS. IF A LEAK IS PRESENT BUBBLES
WILL FORM AT THE LEAK POINT. WHEN FINISHED REMOVE ANY RESIDUE WITH A RAG.
PREVENT ANY SOAPY SOLUTION FROM COMING IN CONTACT WITH ELECTRICAL
COMPONENTS.
For clarity the drawings are displayed without showing the entire heater.
DO NOT remove the burner from heater to install the log set.
Use extreme care when handling the Log Set components, they are made from a very fragile high
temperature material and will damage if handled roughly. Only remove the components from their
packaging as required.
The log set must be installed in the precise order following.
Ensure main burner is clean and free from particles and all
packaging material.
Max 190mm
60m
m
Min 170mm
Front
of
Heater
190mm ~ 170mm
~
1
10m
m
Front face of
mounting bracket
Centreline of
Gas Connection
Mounting bracket
Top View
Side Views
Flared Union
Connection Access
Gas Control
Front View
CAUTION
NOTE


