background image

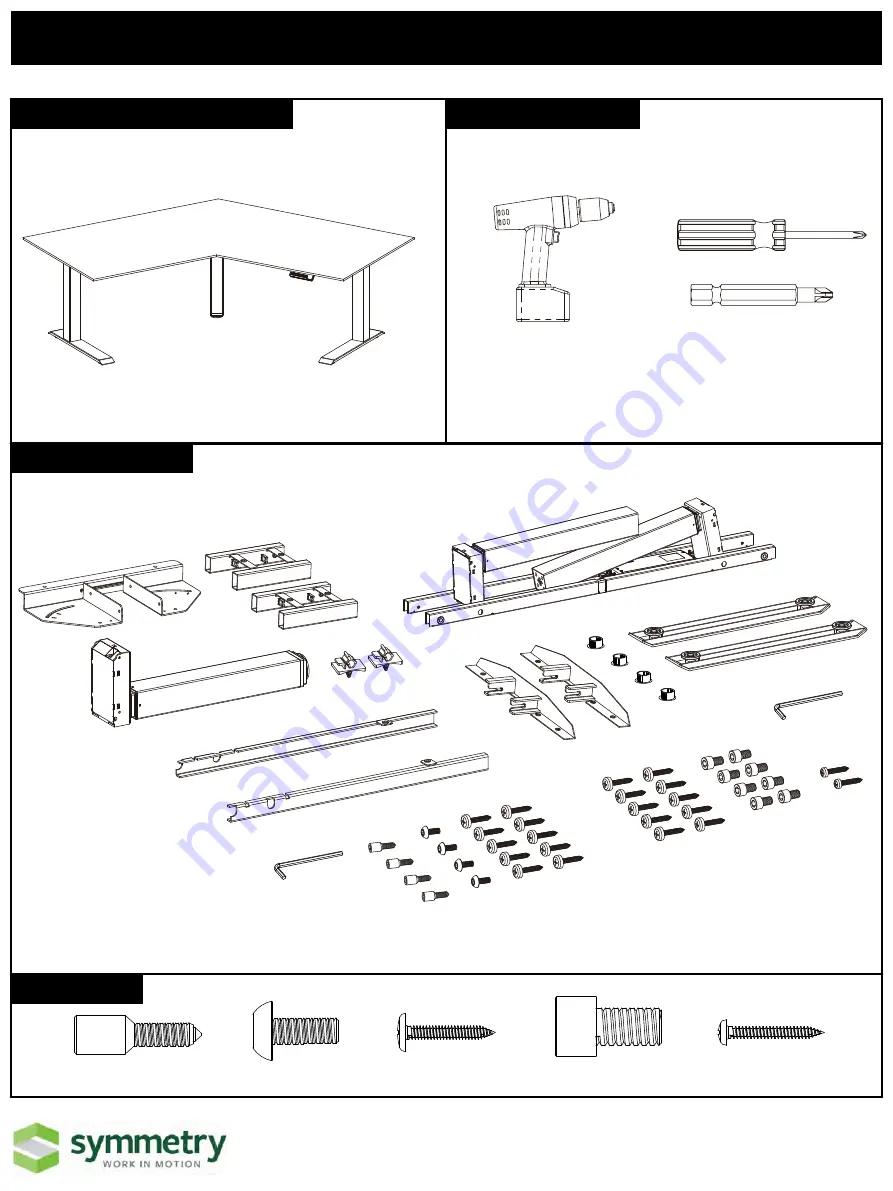
#2 Phillips Screwdriver or Bit

Cordless Drill/Driver

C(x1)

E(x1)

F(x1)

K(x1)

5mm Allen Key

M6x16mm Screw

S-A

M6x16mm Screw

S-B

M10x16mm Screw

S-D

M5x20mm Screw

S-C

M4x22mm Screw

S-E

D(x2)

H(x2)

J(x2)

I(x4)

B(x2)

A(x1)

G(x1)

No. C6263 Rev. 01 

Release Date: XX/XX/2019

IMPORTANT: PLEASE READ ALL INSTRUCTIONS BEFORE STARTING ASSEMBLY.

For more information, visit www.symmetryoffice.com

To report any issues with this product, please contact our customer service department at (888) 552-5699

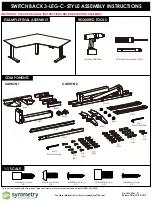
REQUIRED TOOLS

EXAMPLE FINAL ASSEMBLY

COMPONENTS

CARTON 1

CARTON 2

S-A

(x4)

S-C

(x10)

S-D

(x8)

S-B

(x4)

S-C

(x10)

S-E

(x2)

K(x1)

5mm Allen Key

1:1 SCALE

SWITCHBACK 3-LEG-C-STYLE ASSEMBLY INSTRUCTIONS

Summary of Contents for SWITCHBACK 3-LEG-C-STYLE

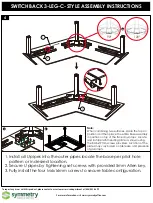
Page 1: ...1 Release Date XX XX 2019 IMPORTANT PLEASE READ ALL INSTRUCTIONS BEFORE STARTING ASSEMBLY For more information visit www symmetryoffice com To report any issues with this product please contact our customer service department at 888 552 5699 REQUIRED TOOLS EXAMPLE FINAL ASSEMBLY COMPONENTS CARTON 1 CARTON 2 S A x4 S C x10 S D x8 S B x4 S C x10 S E x2 K x1 5mm Allen Key 1 1 SCALE SWITCHBACK 3 LEG C...

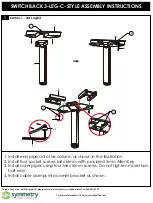
Page 2: ...9 1 1 Install end pipe onto the column as shown in the illustration 2 Install four socket screws M6x16mm with provided 5mm Allen Key 3 Install outer pipes using four M6x16mm screws Do not tighten more than half way 4 Install cable clamps into corner bracket as shown Carton 1 3rd Leg Kit B K A C S A K 2 3 1 4 SWITCHBACK 3 LEG C STYLE ASSEMBLY INSTRUCTIONS ...

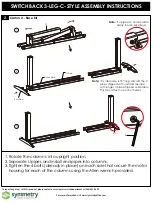
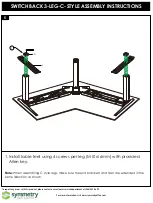
Page 3: ... pipes do not separate easily loosen set screws Note If a table side is 72 long discard the U pipes shipped with unit and replace with longer U pipes shipped separately This may affect one or both sides End Pipe Outer Pipe U Pipe SWITCHBACK 3 LEG C STYLE ASSEMBLY INSTRUCTIONS For more information visit www symmetryoffice com To report any issues with this product please contact our customer servic...

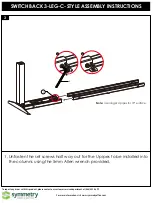
Page 4: ...umns using the 5mm Allen wrench provided 1 2 1 Note Use longer U pipes for 72 surface For more information visit www symmetryoffice com To report any issues with this product please contact our customer service department at 888 552 5699 3 SWITCHBACK 3 LEG C STYLE ASSEMBLY INSTRUCTIONS ...

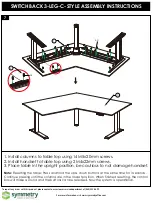
Page 5: ... the tops in position and then place the entire base assembly in position on top of the face down tops Locate and install each mending plate as shown using the 8 M5x19mm screws provided Location of the plates may vary based on table size and presence of grommets 3 1 90 or 1 2 120 1 For more information visit www symmetryoffice com To report any issues with this product please contact our customer ...

Page 6: ...ing C style legs make sure the end brackets and feet are extended in the same direction as shown 1 1 For more information visit www symmetryoffice com To report any issues with this product please contact our customer service department at 888 552 5699 5 SWITCHBACK 3 LEG C STYLE ASSEMBLY INSTRUCTIONS ...

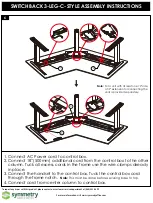
Page 7: ...ox cord through the frame notch Note This must be done before securing base to top 4 Connect cord from center column to control box Note For a unit with at least one 72 side a 39 extension for connecting the units is provided separately 1 4 2 3 1 For more information visit www symmetryoffice com To report any issues with this product please contact our customer service department at 888 552 5699 6...

Page 8: ...n buttons at the same time for 3 seconds Continue pressing until the columns are in the lowest position When finished resetting the control box will make a sound and the buttons can be released Now the system is operational 1 3 S E 2 1 For more information visit www symmetryoffice com To report any issues with this product please contact our customer service department at 888 552 5699 7 SWITCHBACK...

Reviews: