Assembly Instructions 6/19/2018
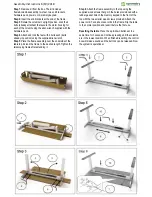
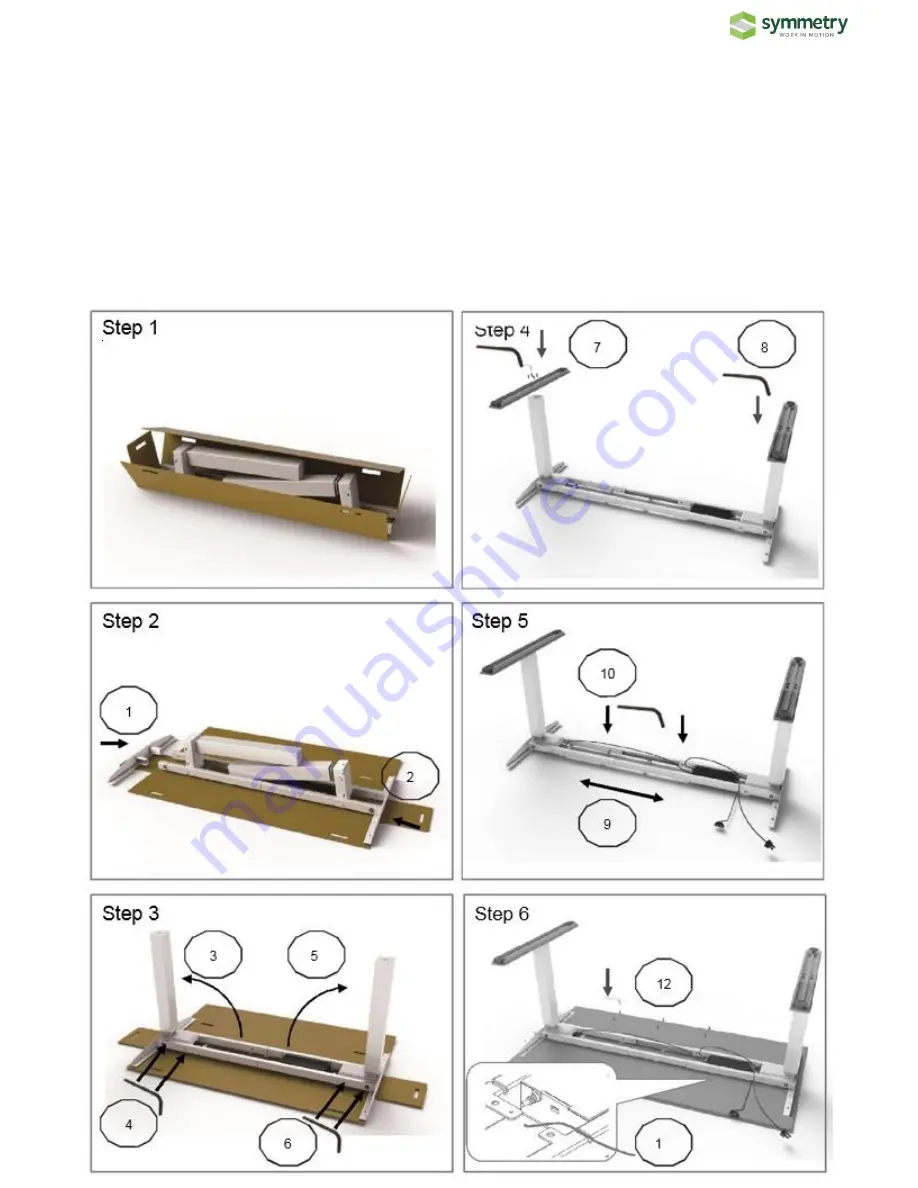
Step 1
: Remove kit from the box. The kit includes
frame&columns assembly, two feet, two end brackets,
hardware pack, power cord, memory keypad.
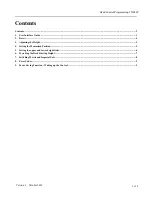
Step 2
: Insert the end brackets at the end of the frame.
Step 3
: Rotate the columns in upright position. Lock the 4
bolts (already attached) that secure the motor housing for
each of the column using the allen wrench supplied with the
hardware pack.
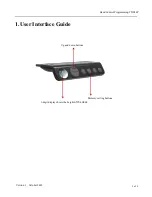
Step 4
: Attach and lock the feet with 4 bolts each (bolts
already in position) using the supplied allen wrench
Step 5
: Place the frame assembly over the underside of the
table top. Extend the frame to the desired length. Tighten the
telescoping frame after extending it.
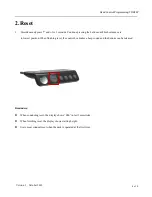
Step 6
: Attach the frame assembly to the top using the
supplied wood screws that go in the holes provisioned with a
rubber gasket. Attach the memory keypad to the front of the
top with the two smaller wood screws provided. Attach the
power cord. Tuck all excess cords in the frame. Flip the table
to the normal position and reset it before the first use.
Resetting the table
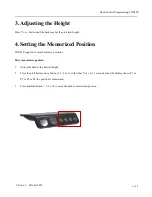
: Press the up & down buttons at the
same time for 3 seconds. Continue pressing until the columns
are in the lowest position. When finished resetting, the control
box will make a sound and the buttons can be released. Now
the system is operational.

