Page 7
1315 Directors Row Suite 107 Fort Wayne, IN 46808
⁞
(260) 496-9668
⁞
www.atterotech.com
2 – Device Installation
2.1 – Mounting
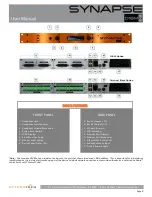
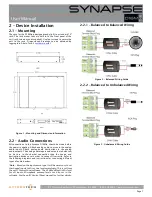
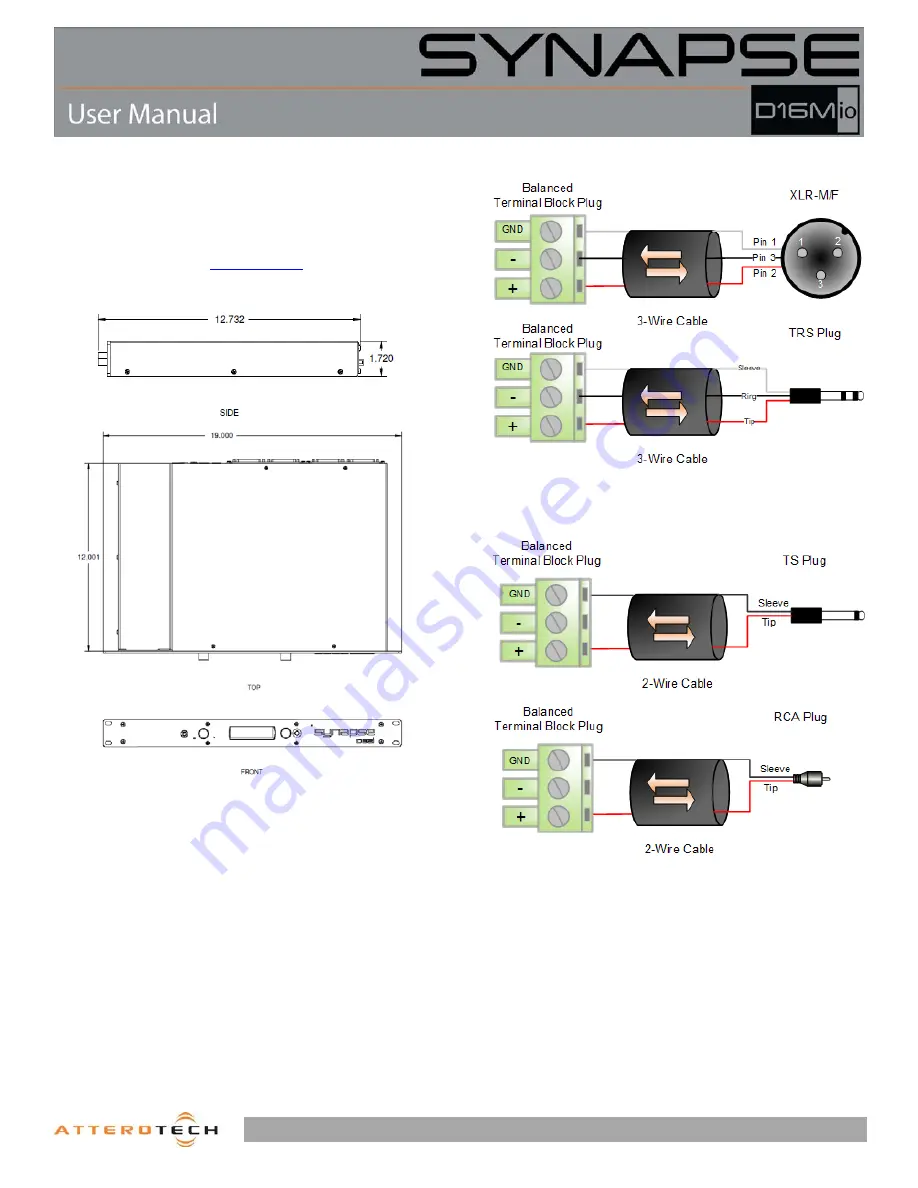
The case for the D16Mio is designed ready to fit in a standard 19”
rack. The rack mount tabs are built in to the front panel of the
unit (rack screws are not supplied). Use four screws to secure the
unit to the rack. Dimensioned drawings can be obtained by
logging into Attero Tech’s
customer portal
.
Figure 1 – Mounting and Dimension Information
2.2 – Audio Connections
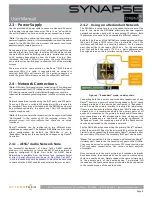
All connections to the Synapse D16Mio should be made before
the power is applied. Attach analog audio sources to the analog
audio inputs. Attach analog audio destinations to the analog
audio outputs. The analog audio inputs and outputs are balanced,
so be sure to check what connection type the source and
destination devices use in order to connect it correctly. Refer to
the following diagrams and instructions for connecting different
types of audio devices.
*
Note
– Based on the input source type, it will be necessary to set
the channel inputs to Mic or Line level accordingly. This is set from
the unIFY Control Panel software. The D16Mio default is Mic level
for all inputs. Microphone preamp levels are also set in the
software. See the unIFY Control Panel manual for further details.
2.2.1
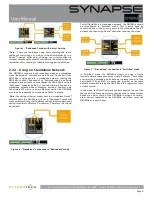
– Balanced to Balanced Wiring
Figure 2 – Balanced Wiring Guide
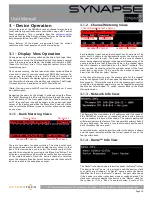
2.2.2 – Balanced to Unbalanced Wiring
Figure 3 - Unbalanced Wiring Guide

