Kit Assembly Instructions
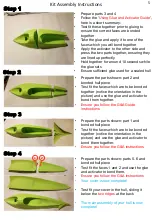
Step 1
•
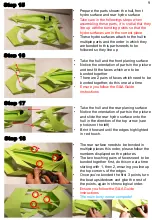
Prepare parts 3 and 4
•
Follow the ‘
Using Glue and Acticator Guide
’,
here is a short summary:
•
Test fit these together prior to gluing to
ensure the correct faces are bonded
together
•
Take the glue and apply it to one of the
faces which you will bond together
•
Apply the activator to the other side and
press the two parts together, ensuring they
are lined up perfectly
•
Hold together for around 10 seconds while
the glue sets
•
Ensure sufficient glue used for a sealed hull
Step 2
•
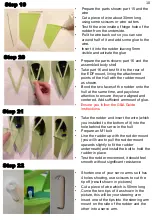
Prepare the parts shown: part 2 and
bonded hull piece
•
Test fit the faces which are to be bonded
together (notice the orientation in the
picture) and use the glue and activator to
bond them together.
•
Ensure you follow the G&A Guide
instructions
Step 3
Step 4
•
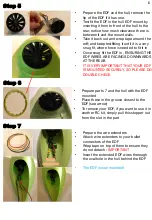
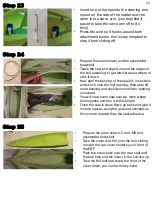
Prepare the parts shown: part 1 and
bonded hull piece
•
Test fit the faces which are to be bonded
together (notice the orientation in the
picture) and use the glue and activator to
bond them together.
•
Ensure you follow the G&A instructions
•
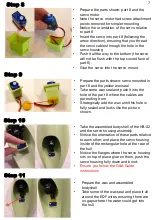
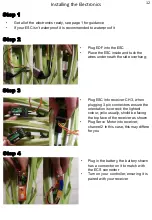
Prepare the parts shown: parts 5, 6 and
bonded hull piece
•
Test fit the faces 1 and 2 and use the glue
and activator to bond them.
•
Ensure you follow the G&A instructions
•
Your cover is now complete!
•
Test fit your cover in the hull, sliding it
below the
two ridges
at the back
•
The main assembly of your hull is now
complete!
1
2
5


