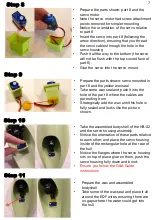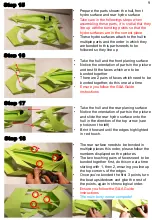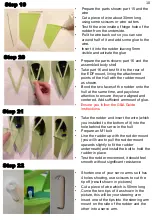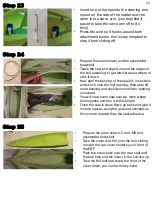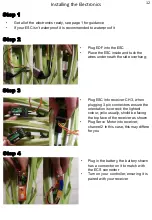
Step 8
Step 9
Step 10
•
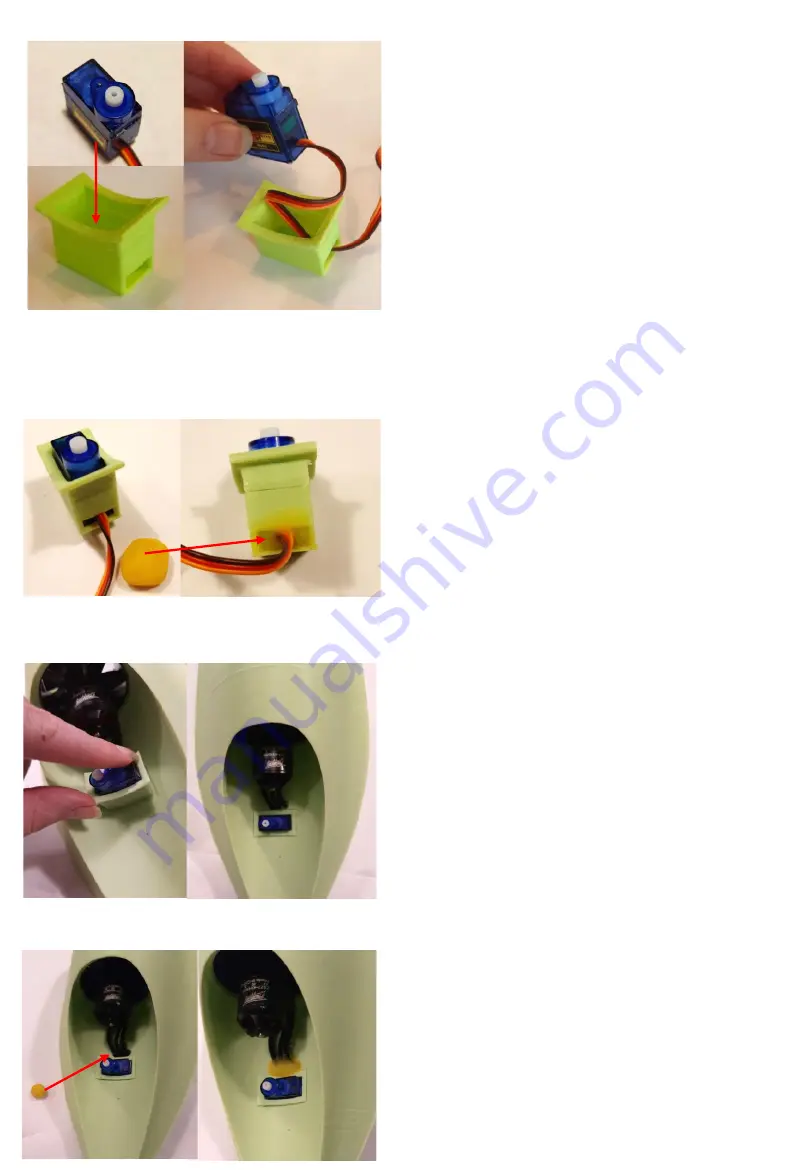
Prepare the parts shown: part 8 and the
servo motor
•
Note the servo motor had screw attachment
points removed for simpler mounting
•
Notice the orientation of the servo relative
to part 8
•
Insert the servo into part 8 (following the
arrow direction), ensuring that you thread
the servo cables through the hole in the
servo housing
•
Push it all the way to the bottom (the servo
will not be flush with the top curved face of
part 8).
•
Glue the servo into the servo mount.
•
Take the assembled bodyshell of the HB-02
and the servo housing assembly
•
Notice the orientation of these parts relative
to each other, and place the servo housing
inside of the rectangular hole at the rear of
the hull
•
Notice the flanges where the servo housing
sits on top of place glue on them, push the
servo housing fully down and bond.
•
Ensure you follow the G&A Guide
instructions
•
Prepare the parts shown: servo mounted in
part 8 and the yellow wax seal
•
Take some wax seal and push it into the
hole of the part 8 where the cables are
pertruding from
•
Strategically add the wax until this hole is
fully sealed and looks like the picture
shown.
•
Prepare the wax and assembled
bodyshell
•
Take some of the wax seal and place it all
around the EDF wires, ensuring there are
no gaps where the water could get into
the hull.
Step 11
7


