Synology DS-101j
9.
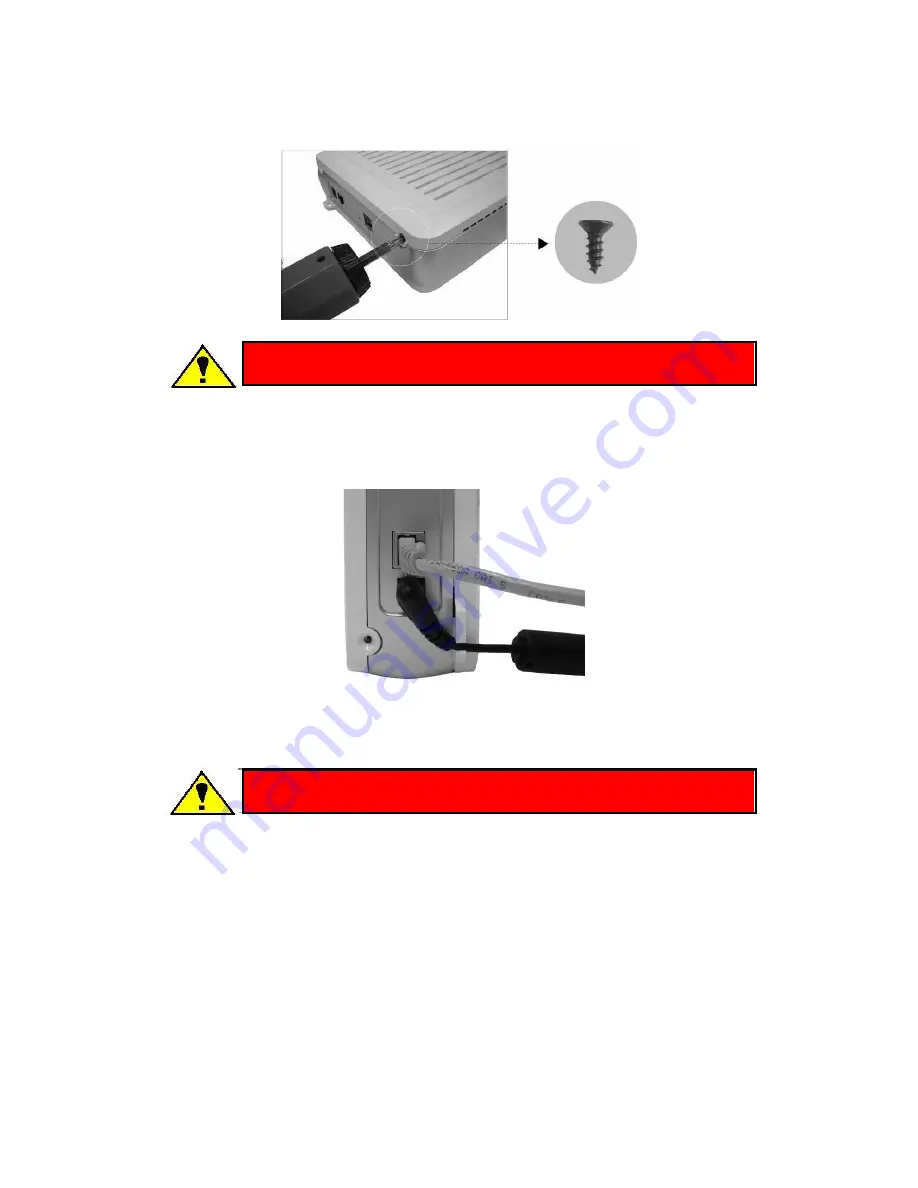
Tighten the last two screws on the back of the side cover to finish the HDD
installation.
Warning: Please do not have AC adapter connected to the
power when installing the HDD during above steps.
10.
Connect the AC adapter and the LAN cable to the DS-101j. Press the power
button, and the POWER LED will flash while processing a self-test for about 40
seconds. You will hear a beep sound after the DS-101j completes the self-test, and
then the POWER LED becomes still.
Warning: Do not lay the DS-101j Disk Station horizontally or
block the ventilation slots on the covers.
15
Summary of Contents for DS-101j
Page 1: ...User s Guide Document SDS2 0 050915_enu Based on DS2 0 Ver 2 0240 ...
Page 11: ...Synology DS 101j 11 ...
Page 84: ...Synology DS 101j 6 Click Add to finish 84 ...
Page 89: ...Synology DS 101j 89 ...
Page 96: ...Synology DS 101j 4 Finish 96 ...
Page 100: ...Synology DS 101j 10 Finish 100 ...


