19
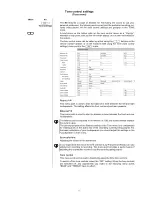
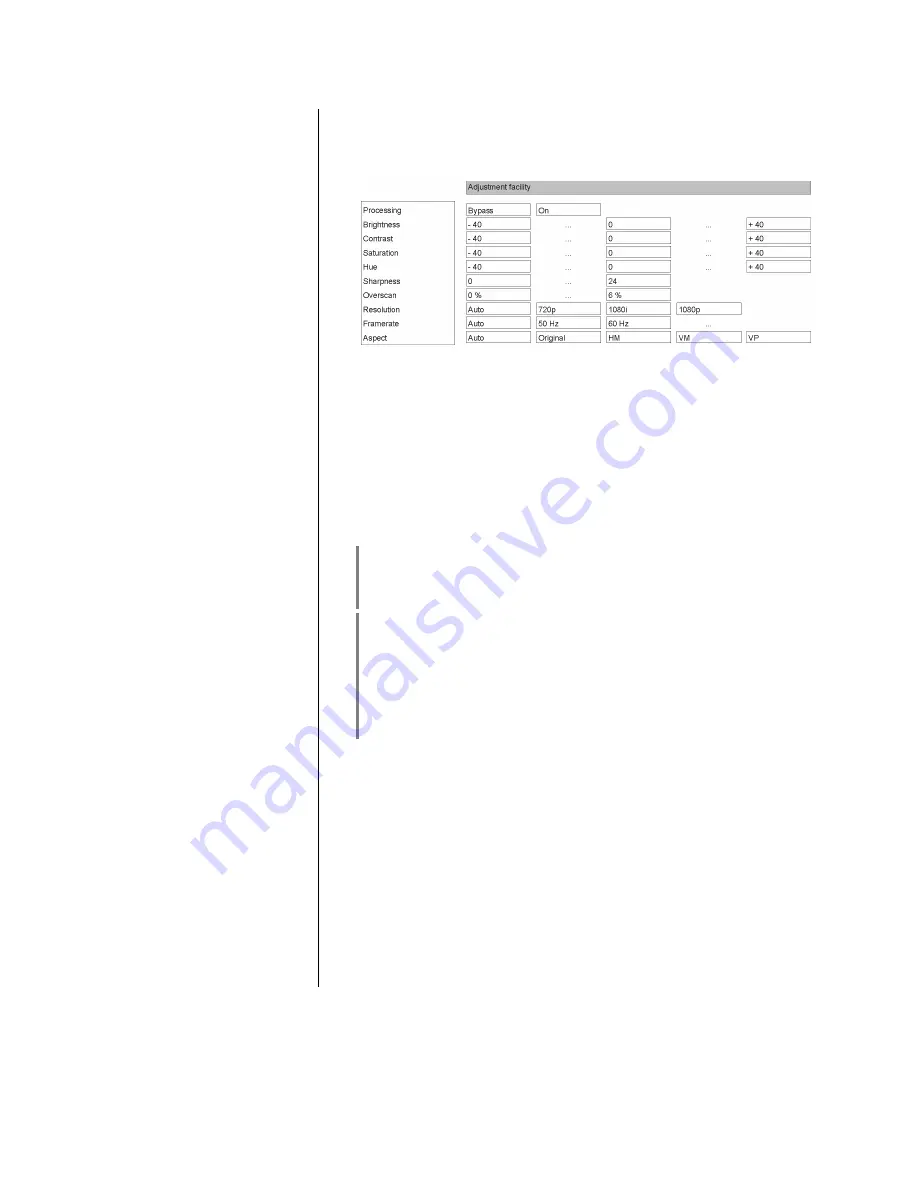
Picture settings menu
(Video settings)
FM100
K8
/
Picture
settings
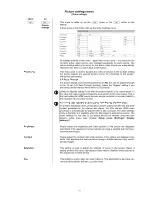
This menu is called up via the
menu, or the
button on the
FM100.
A brief press on the button calls up the Video Settings menu.
All settings entered in this menu - apart from screen-saver - are stored for the
currently active video source, and managed separately for each source. The
picture settings which you select for the active video source are automatically
restored every time you switch back to this source.
Processing
This menu point is used to by-pass the video processor. In the by-pass setting
the picture signals are passed directly to the TV connected to the system,
without any processing.
3-D Pass-Through
3-D picture signals cannot be processed by the
K8
, but can be passed through
to the TV set (3-D Pass-Through function). Select the “Bypass” setting if you
are using a source device which delivers 3-D pictures.
Select the Bypass setting if you wish the picture signals to be unprocessed. In
this case the output signal corresponds pixel-perfect to the input signal. This is
the best setting for HDMI source devices whose resolution is an exact match to
the resolution of your video monitor.
Achieving best possible picture quality from Blu-ray and DVD discs
To achieve absolutely exact, pixel-perfect picture quality from Blu-ray and DVD
content generated by the internal disc player, the K8’s internal HDMI video
processor is automatically by-passed when a disc is played. The video settings
menu is therefore not available when the disc player is selected as source. The
video settings for the disc to be played should be entered using the disc
player’s setup menu (see Chapter
'
Setup menu (Settings) / Display
category
'
).
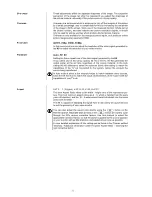
Brightness
Please adjust the brightness until black portions of the picture are displayed
solid black. This adjustment is best carried out using a suitable test card (e.g.
universal test image).
Contrast
Please adjust the contrast until white portions of the picture are displayed pure
white. This adjustment is best carried out using a suitable test card (e.g. univer-
sal test image).
Saturation
This setting is used to adjust the strength of colour in the picture. Select a
setting at which the colour reproduction looks natural. Realistic static pictures or
film sequences are best for this.
Hue
This setting is used to alter the colour balance. This adjustment is also best car-
ried out using realistic pictures, e.g. skin tones.

