background image

7

Fully unroll the power cord.

Make sure that the electric power supply is compatible with the power rating
and voltage indicated on the bottom of the appliance.

Always plug the appliance into an earthed socket.

If an extension cord is used:
- it must have an grounded lead;
- take all necessary precautions so no-one trips on it.

If the power supply cord is damaged, it must be replaced by the manufacturer's
after sales service center or a similarly qualified person in order to avoid a
hazard.

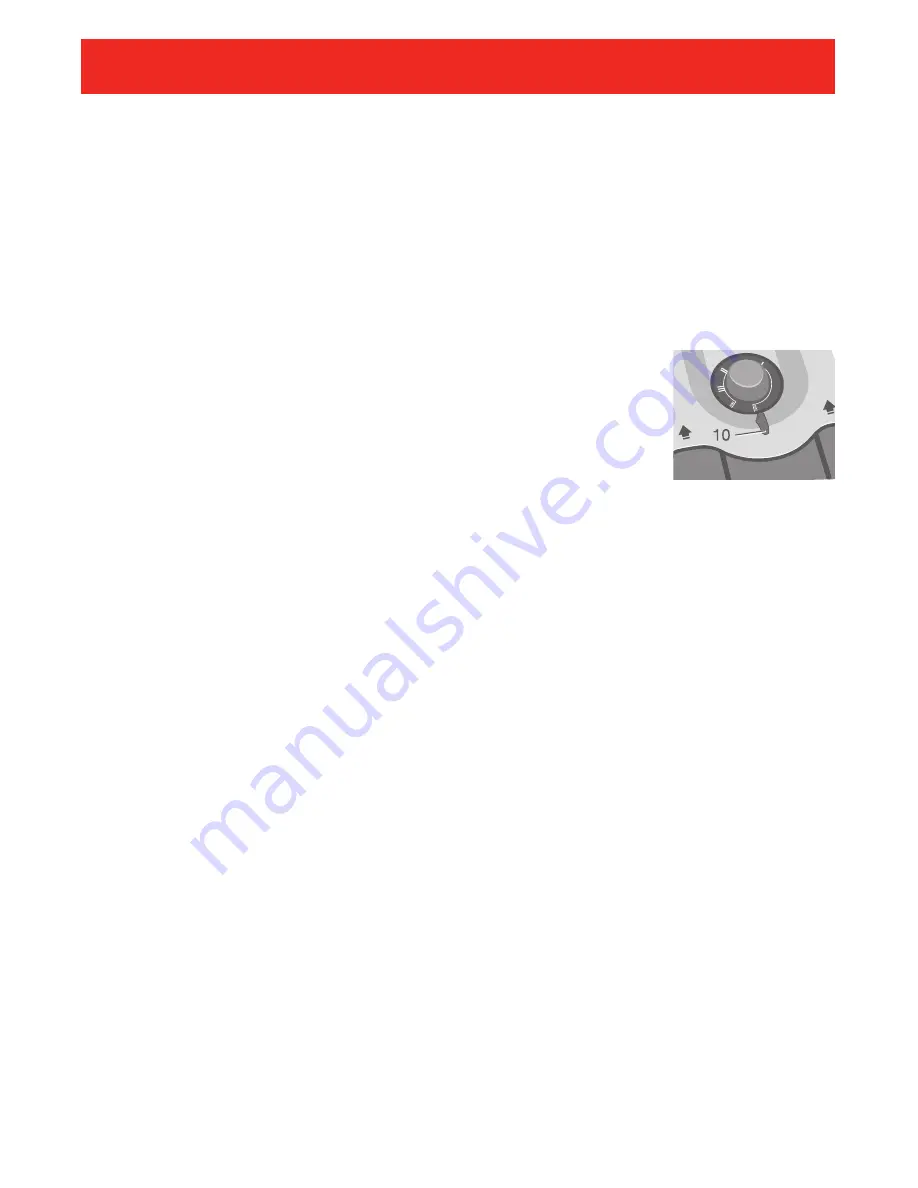
Plug the cord into a main socket: the indicator light (10) comes on and the appliance
starts to heat up.

Never leave the appliance plugged in when not in use.

Never run the appliance empty.

The appliance might make a slight sound when started.

Set the thermostat to the position indicated in the cooking table.

The position of the thermostat during pre-heating is the same as that used for cooking.

Pre-heat the appliance for about 5 minutes.

Pre-heating is over when the indicator light switches off.

To preserve the non-stick properties of the coating, avoid excessive pre-heating with
the appliance empty.

On first use, there may be a slight odor and a little smoke during the first few minutes.

Never leave the appliance unattended when in use.

CONNECTION AND PRE-HEATING

Summary of Contents for Emerilware Use Grill & Panini Maker

Page 1: ...Instructions for Use Grill Panini Maker...

Page 2: ...TABLE OF CONTENTS Important Safeguards 3 Introduction 4 Assembly 5 Connection and Pre heating 7 Cooking 8 After Use 9 Cooking Tables 10 Warranty 11 2 Grill Panini Maker...

Page 3: ...d into the wall outlet To disconnect turn any control to off for selected models with On Off switch or adjustable thermostat then remove the plug from wall outlet 13 Do not use appliance for other tha...

Page 4: ...elements When it heats up it means business Masterfully searing in flavors And leaving folks hungry for more Post grilling you can simply throw all of the pieces except for the plug of course in the...

Page 5: ...ile surface glass table tablecloth varnished furniture etc Never place the appliance under a cupboard or shelf or next to inflammable materials such as blinds curtains or wall hangings To prevent the...

Page 6: ...upper section 3 of the appliance then push it backwards and slide it downwards until it is open to 180 the appliance is now completely open Position the rectangular drip tray 6 by sliding it under th...

Page 7: ...indicator light 10 comes on and the appliance starts to heat up Never leave the appliance plugged in when not in use Never run the appliance empty The appliance might make a slight sound when started...

Page 8: ...according to the instructions in the cooking table The space between the two grill plates is adjusted automatically 1 2 inch to 2 inches depending on the thickness of the food to be cooked For the op...

Page 9: ...ou Then remove the lower electric unit 5 by pulling it towards you the two sections of the appliance 2 and 3 can then be separated It is not necessary to turn the appliance over to remove the lower el...

Page 10: ...7 to 9 min Hamburger patties Grill 5 min Sausages Grill 6 to 8 min Chicken kabobs Barbecue 18 to 20 min VEGETABLES Thermostat Max Function Cooking time Mushrooms Barbecue 5 to 10 min per side Tomatoe...

Page 11: ...se contact our consumer service department 1 800 395 8325 M Th 8 30 5 pm Fr 8 30 4 pm EST for assistance and to ensure the fastest possible resolution to the problem Please have the model or type numb...

Page 12: ...Ref 2016232090 5 06...

Reviews: