Page 12
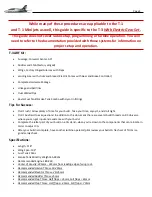
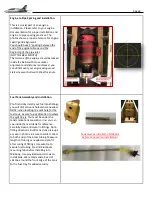
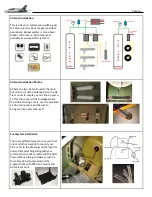
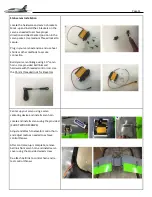
Flaps and Flap servos Installation
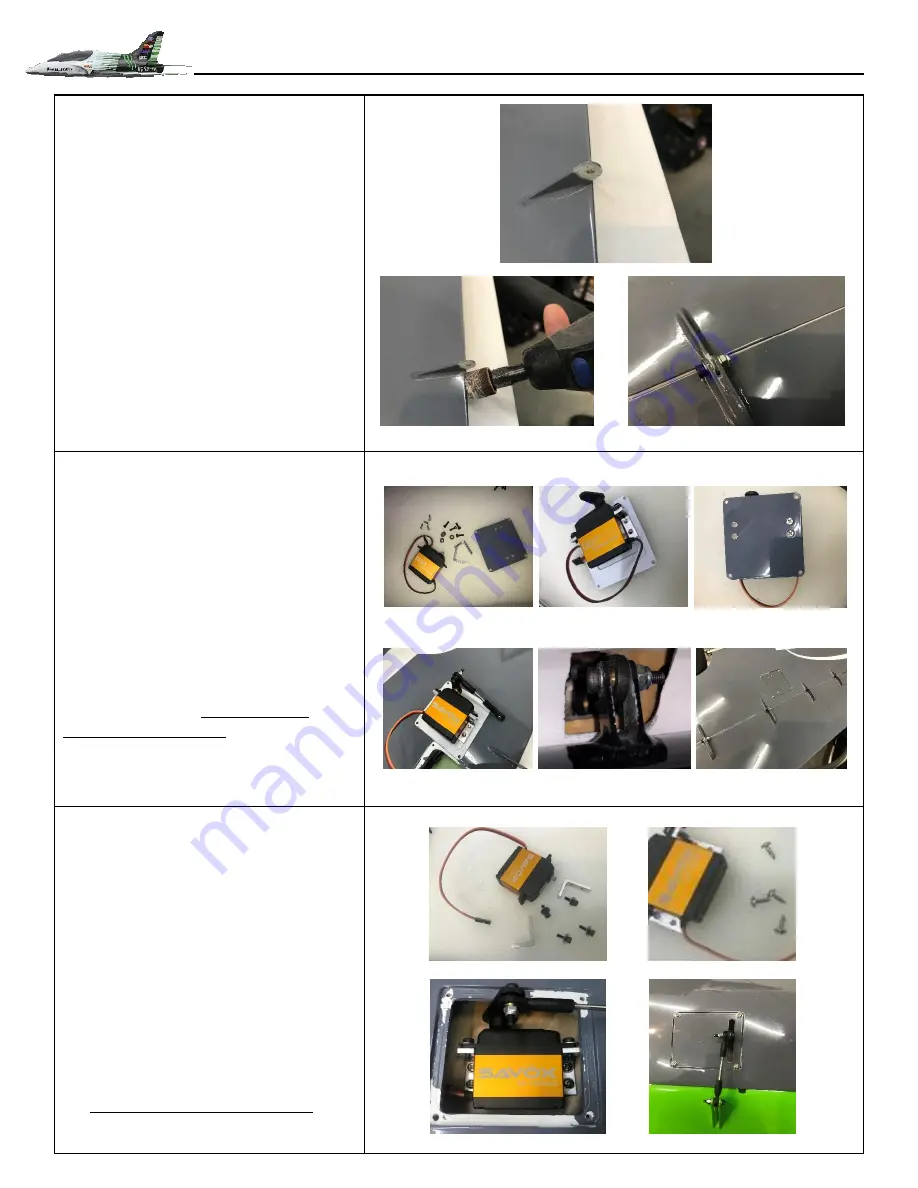
Carefully remove the paint from the hinge
on the wing side. This will allow free
smooth movement of the flaps and
eliminate any binding and or sticking.
Use the supplied lock nuts, bolts and
washers to install flaps.
Check for smooth movement after
installation of flaps.
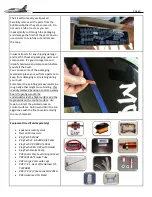
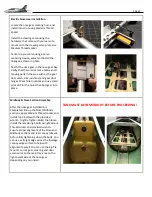
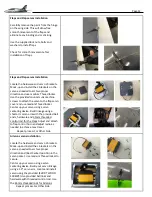
Flaps and Flap servos Installation
Locate the hardware and servo L brackets.
Mock-up and install the L brackets on the
servo as needed to archive proper
direction and use medium Thread locker.
Use the provided counter sunk machine
screws to attach the servo to the flap servo
cover and use medium Thread locker.
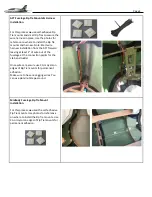
Center up your servo using a servo
centering device. Build linkage using a
shorter ½ servo arm with the provided ball
ends, hardware and 35mm threaded
control rod for the Flaps Adjust and attach
to flap control horn and adjust radio as
needed to achieve max travel.
Repeat process For Other Side
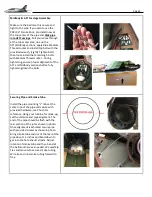
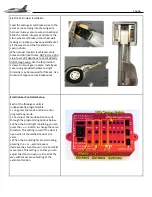
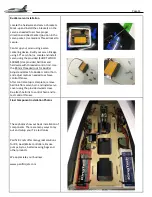
Aileron servos Installation
Locate the hardware and servo L brackets.
Mock-up and install the L brackets on the
servo as needed to archive proper
direction and (Best Center) position in the
servo pocket. Use medium Thread locker to
secure.
Center up your servo using a servo
centering device. Build your servo linkage
using a
1.0” servo
arm. Locate and install
servo using the provided (SHORT WOOD
SCREWS) Use provided ball links and
hardware with threaded control rod. Use
the 45mm threaded rods for Ailerons
Repeat process For Other Side


