PAGE 2 / 21
ORC BOOMKILLA DEFFSTOMPER BODY
CONSTRUCTION GUIDE
1A
2B
1A
2B
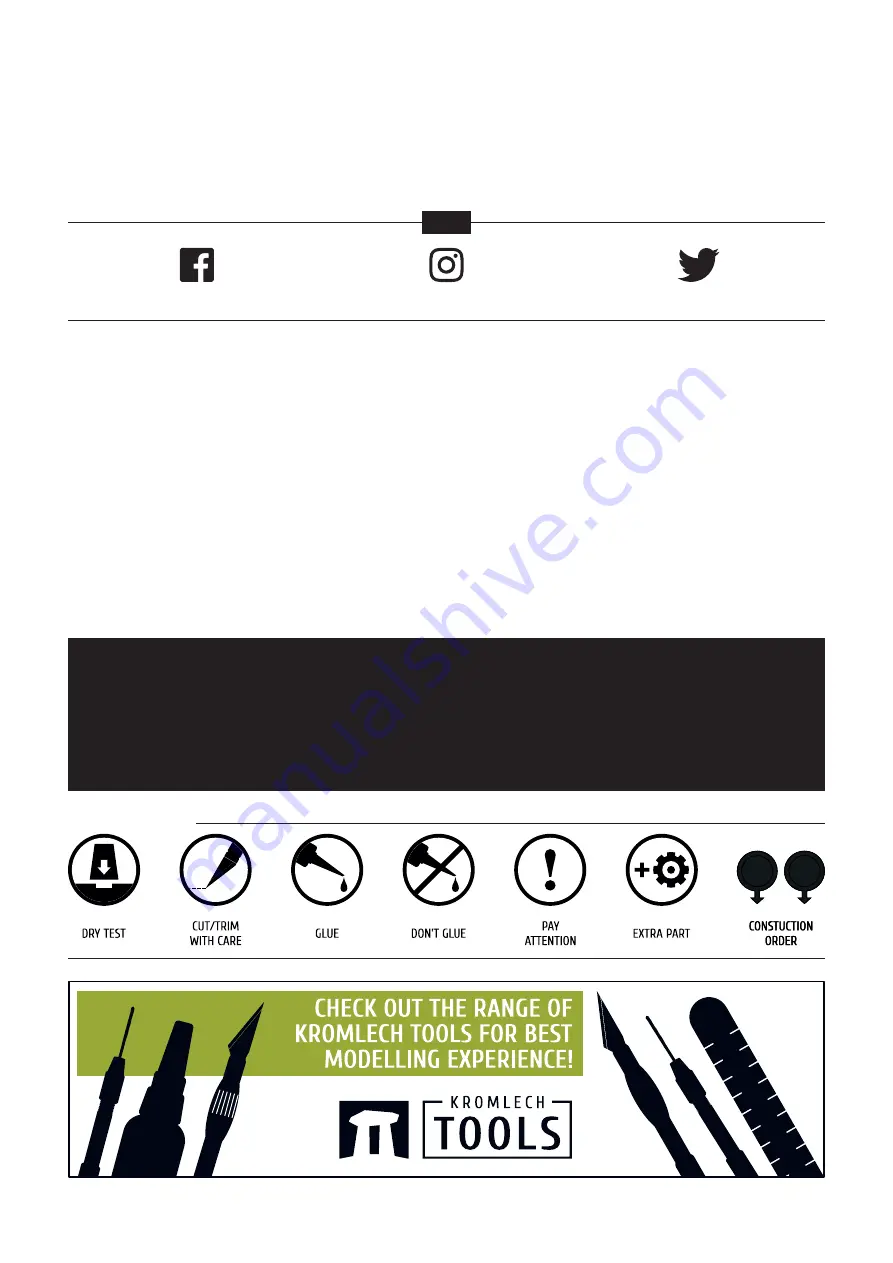
EXPLANATION OF SYMBOLS
THANK YOU
FOR PURCHASING ONE OF OUR HIGH-QUALITY PRODUCTS!
This guide will run you through the basic techniques and methods required to prepare, clean up and assemble HDF model.
If you have any queries or problems, don’t hesitate to
contact us
and our Support Team.
FIND US:
tabletopscenics
tabletopscenics
WEBSTORE
WEBSITE
support@kromlech.eu
www.bitsofwar.com
www.tabletopscenics.com
TScenics
SAFETY FIRST
Tools used in preparation of a HDF model require additional attention when used. Make sure to work with good quality instruments.
Sharp blades and clippers’ cutting bit require less force to operate - when putting too much strength in cutting, the blade may break or
slide and cause serious injury. Breathing mask is recommended when using files, sandpaper, or modelling saw to avoid inhaling the dust.
KROMLECH DOES NOT TAKE RESPONSIBILITY FOR IMPROPER USE OF TOOLS AND ACCIDENTS DURING THE ASSEMBLY PROCESS.
ASSEMBLING HDF STRUCTURES
1. Before assembling your model please read through all the instructions carefully.
2. Prepare all the tools needed for the job. Modelling knife is required to safely remove the parts from the frame - do not push them out force
-
fully as they can be easily damaged.
3. Remove only the parts required for the instruction step you are currently in. After the removal, it is recommended to sand the tabs and
possible roughnesses left after cutting from the frame.
4. For gluing the parts together use cyanoacrylate glue or PVA. PVA glue gives more time for altering the position of the elements, while cy
-
anoacrylate allows for a faster assembly. Always remember to dry fit beforehand, to check if all joints fit correctly.
5. Before painting the model, undercoat it with acrylic spray paint to protect the model from absorbing the water when using water-soluble
paints. Give it plenty time to dry. Afterwards, you can basecoat the model with your standard hobby paints.
Summary of Contents for KROMLECH ORC BOOMKILLA DEFFSTOMPER BODY
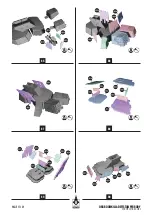
Page 3: ...PAGE 3 21 ORC BOOMKILLA DEFFSTOMPER BODY CONSTRUCTION GUIDE 06 05 03 04 02 01...
Page 4: ...PAGE 4 21 ORC BOOMKILLA DEFFSTOMPER BODY CONSTRUCTION GUIDE 12 11 09 10 08 07...
Page 5: ...PAGE 5 21 ORC BOOMKILLA DEFFSTOMPER BODY CONSTRUCTION GUIDE 13 14 16 15 17 18...
Page 6: ...PAGE 6 21 ORC BOOMKILLA DEFFSTOMPER BODY CONSTRUCTION GUIDE 19 20 22 21 23 24...
Page 7: ...PAGE 7 21 ORC BOOMKILLA DEFFSTOMPER BODY CONSTRUCTION GUIDE 25 26 28 27 29 30...
Page 8: ...PAGE 8 21 ORC BOOMKILLA DEFFSTOMPER BODY CONSTRUCTION GUIDE 31 32 34 33 35 36...
Page 9: ...PAGE 9 21 ORC BOOMKILLA DEFFSTOMPER BODY CONSTRUCTION GUIDE 37 38 40 39 41 42...
Page 10: ...PAGE 10 21 ORC BOOMKILLA DEFFSTOMPER BODY CONSTRUCTION GUIDE 43 44 46 45 47 48...
Page 11: ...PAGE 11 21 ORC BOOMKILLA DEFFSTOMPER BODY CONSTRUCTION GUIDE 49 50 52 51 53 54...
Page 12: ...PAGE 12 21 ORC BOOMKILLA DEFFSTOMPER BODY CONSTRUCTION GUIDE 55 56 58 57 59 60...
Page 13: ...PAGE 13 21 ORC BOOMKILLA DEFFSTOMPER BODY CONSTRUCTION GUIDE 61 62 64 63 65 66...
Page 14: ...PAGE 14 21 ORC BOOMKILLA DEFFSTOMPER BODY CONSTRUCTION GUIDE 67 68 70 69 71 72...
Page 15: ...PAGE 15 21 ORC BOOMKILLA DEFFSTOMPER BODY CONSTRUCTION GUIDE 73 74 76 75 77 78...
Page 16: ...PAGE 16 21 ORC BOOMKILLA DEFFSTOMPER BODY CONSTRUCTION GUIDE 79 80 82 81 83 84...
Page 17: ...PAGE 17 21 ORC BOOMKILLA DEFFSTOMPER BODY CONSTRUCTION GUIDE 85 86 88 87 89 90...
Page 18: ...PAGE 18 21 ORC BOOMKILLA DEFFSTOMPER BODY CONSTRUCTION GUIDE 91 92 94 93 95 96...
Page 19: ...PAGE 19 21 ORC BOOMKILLA DEFFSTOMPER BODY CONSTRUCTION GUIDE 97 98 100 99 101 102...
Page 20: ...ORC BOOMKILLA DEFFSTOMPER BODY CONSTRUCTION GUIDE PAGE 20 21 104 103...
Page 21: ...PAGE 21 21 ORC BOOMKILLA DEFFSTOMPER BODY CONSTRUCTION GUIDE FINISHED STRUCTURE...


