background image

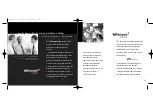
power

connection

setting controls

switch on

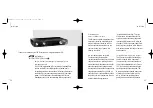
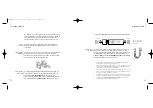
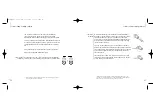
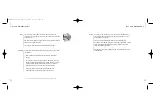
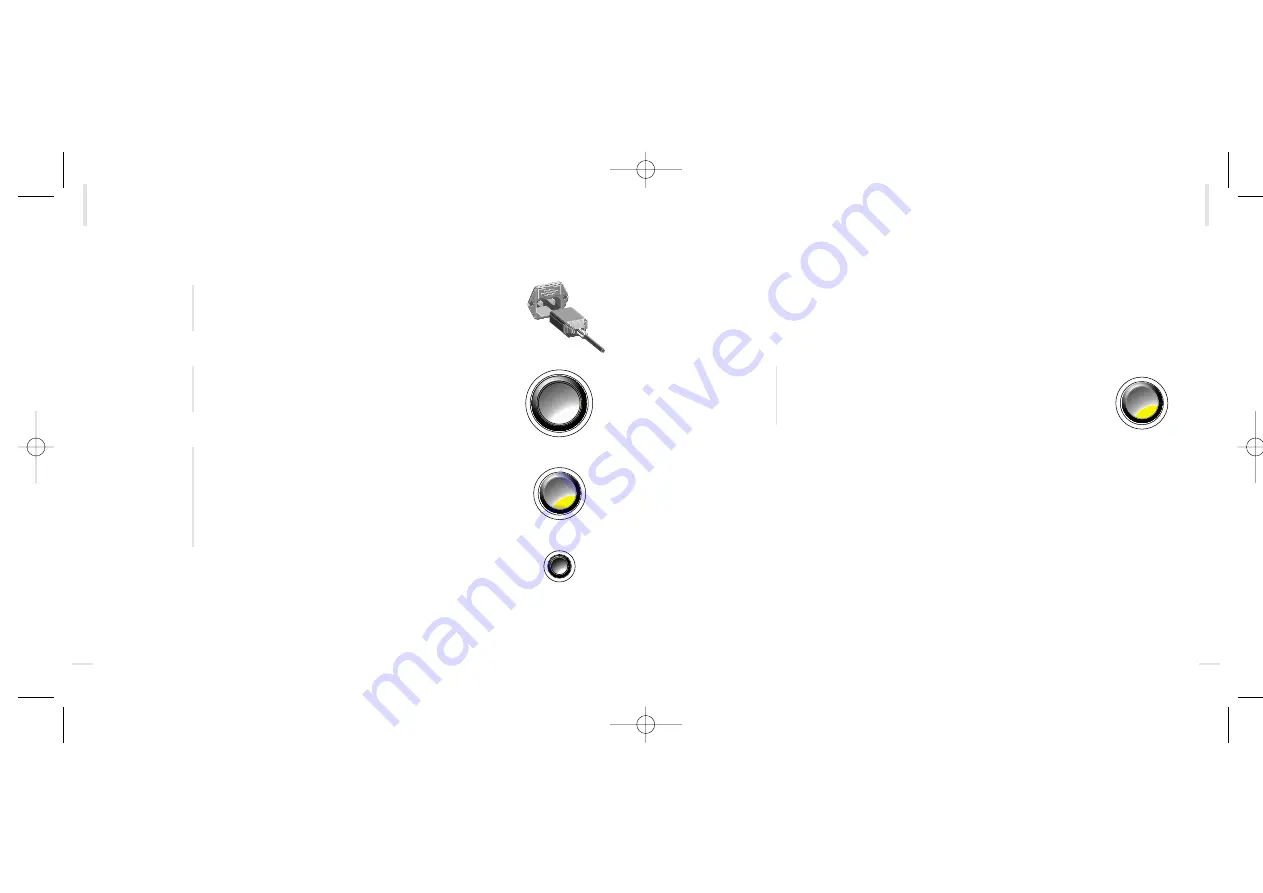
Check that the power button is 

out

so that power is off when you

plug in

(1)

. Using the cable supplied, connect the socket on the

back of your 60i to an AC supply outlet. For the best sound
quality, we recommend that you do not use multi-plug adaptors.

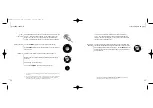
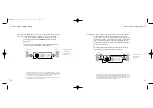
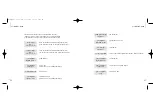
Turn the 

VOLUME

right down (all the way anticlockwise).

Set the 

INPUT

selector to the input to which you connected your

sound source.

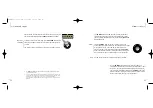
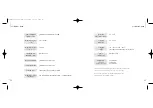
Press the power button in. The blue power LED will come on.

Wait for about 10 seconds until the mute LED on the front panel
goes out

(2)

.

Start playing your sound source.

Turn up the 

VOLUME

, sit back and enjoy the music.

12

13

getting started 

selecting an input

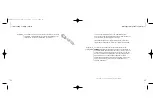
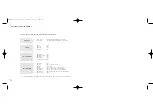
Your 60i has six line level inputs which can be selected by
name

(1)

. The input for listening can be selected independently

from the input for recording so you can listen to one source and
record another at the same time.

The signal from your chosen input source will be amplified and
sent to the loudspeaker terminals, the headphone socket and the
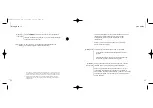
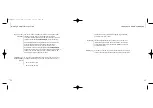
preamplifier output. To select your source, turn the 

INPUT

selector

until the mark on its side points to the name of the input that you
want to listen to.

inputs for

listening

1. The inputs for 

cd

,

tuner

,

aux

,

TAPE 1

,

TAPE 2

and 

TAPE 3

are all the same

electrically. They are named for your convenience

1. The power button is a latching switch. One press will hold it in, the next will

release it

2. The output is muted when the power is switched on to allow all the voltages to

stabilize. This protects your 60i and loudspeakers and prevents unpleasant
switching noises from upsetting your listening experience

cd

tuner

I N P U T

aux

tape 1

tape 2

tape 3

V O L U M E

cd

tuner

I N P U T

aux

tape 1

tape 2

tape 3

GRA00046.1-[CA]60i  12/03/01  12:06  Page 13

Summary of Contents for F3 Series

Page 1: ...in P O W E R A M P P R E A M P T A P E aux tuner cd S O U R C E 2 1 in fuse carrier tape in out sockets power amp input sockets loudspeaker terminals input sockets preamplifier output sockets ac suppl...

Page 2: ...nal excellence and sheer listening pleasure celebrating a TAG McLaren victory All TAG companies perpetually strive for and achieve excellence and high performance in every area of their business These...

Page 3: ...ities of human hearing Although sound outside the human hearing range of approximately 20 to 20 000 Hz cannot be heard it can significantly distort the quality of music reproduction through an effect...

Page 4: ...describe but not easy to realise The design has taken our expert engineers years to perfect supersonic high frequency response In order to reproduce high frequencies the 60i is constructed using high...

Page 5: ...s for CD tuner auxiliary and three tape recorders Independent input selection for listening and tape recording Low impedance stereo output from preamplifier to allow long cable runs Three stereo outpu...

Page 6: ...CD20R or our tuner T20 to feed into your 60i Use a good quality screened phono phono audio cable to connect the phono output sockets of your sound source to the appropriate pair of left and right sock...

Page 7: ...ed independently from the input for recording so you can listen to one source and record another at the same time The signal from your chosen input source will be amplified and sent to the loudspeaker...

Page 8: ...r is selected as the record input This may cause feedback if your recorder is set to record To avoid this possibility we recommend that you select the input for recording before you set your recorder...

Page 9: ...need to be connected to ground audio engineers call this floating However if you want to ground your system please contact your retailer who will be able to assist you headphone connection loudspeaker...

Page 10: ...t conductors Screw the knob of the terminal all the way in and push the plug into the centre of the knob If you do not have BFA plugs you can use spade connectors Unscrew the terminal enough to push t...

Page 11: ...ows a 60i bi wired to loudspeakers standard connection The simplest way to connect your loudspeakers is to run a single cable consisting of two wires to each one For each stereo channel connect the re...

Page 12: ...monobloc 1 power amplifiers such as our 125M The 60i can be used as a stand alone preamplifier or it can form part of a bi amp system in which its built in power amplifier is used in conjunction with...

Page 13: ...fier in which case the sockets labelled POWER AMP in are not connected Some multiple amplifier configurations require the internal link between the preamplifier and the power amplifier to be disconnec...

Page 14: ...use carrier contains a spare fuse this is the first one that you see when you open the carrier There are no other user serviceable parts inside the 60i In order to maintain the appearance of your 60i...

Page 15: ...k nominal 175 mV rms relative to 0 5 V rms preamplifier output 9 dB at 1 kHz greater than 80 dB relative to 0 5 V rms preamplifier output preamplifier input level preamplifier input impedance rated ou...

Page 16: ...reater than 80 dB at 1 kHz non inverting for all inputs and outputs 330 suitable for headphones of 8 2 k impedance total harmonic distortion noise dimensions including feet terminals and controls We r...

Page 17: ...ltage Directive as amended by 93 23 EEC IEC65 1985 IEC65 A2 1989 IEC65 A3 1992 EN60065 1993 EN50081 1 1992 EN55022 Class B 1994 EN60555 2 1987 EN61000 3 3 1995 FCC Part 15 Class B 1997 EN50082 1 1992...

Reviews: