7
OPERATION | ON SCREEN DISPLAY (OSD) (2/3)
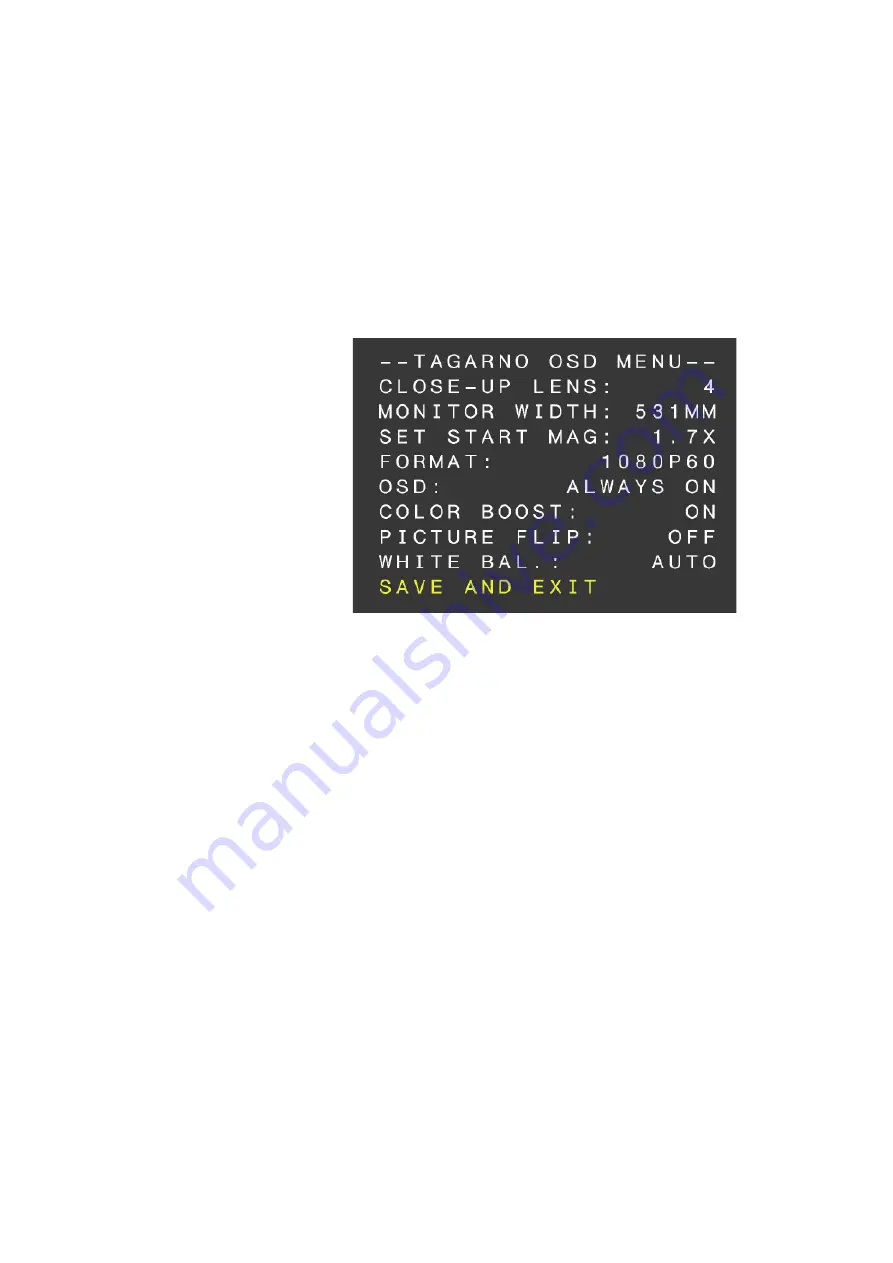
2. Choose lens
Set the current close-up lens by using the left/right arrows on the XKEY Control box. The
choice is naturally between LENS +3, +4, +5 or +10. LENS +4 is factory default. Continue
using the down arrow.
3. Choose monitor width
Press the center button to set up the width of the monitor. You need to measure the
horizontal width of the monitor panel on your monitor. Select one digit at a time by using the
left/right arrows and adjust the digits with the up/down arrows. Switch between millimeters
and inches via the up/down buttons. Monitor 24” FHD is factory default. To store modified
settings, press the center button.
4. Set start magnification
Select the magnification level you wish to use as start up level. Press the center button and
select one digit at a time in the bottom of the page by using the left/right arrows and adjust
the digits with the up/down arrows. By pressing the center button one more time, you have
selected the values chosen. Press the down arrow to choose format.
5. Choose format
You have the option to switch between different video formats, 1080p 60fps being the
highest quality. Select the required format by pressing the center button, and use arrow keys
left/right to select between 6 different formats.
When turning on your FULL HD system, you are informed of the given units, serial number
(SN), version and resolution.
1. Open the OSD menu
To open the TAGARNO On Screen Display Menu, press and hold down the center button for
approximately 5 seconds.


