TM8260 Installation and Programming Guide
Installing a Dual-Radio System
33
© Tait Limited
October 2014
Mounting the
Control Head
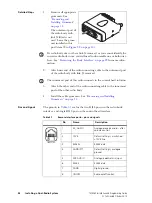
The remote U-bracket is used to install the remote control-head assembly
on the dashboard or on any sufficiently flat surface.
Notice
Check that the remote U-bracket is not distorted when the
screws are tightened.
The screws provided are self-drilling. For more precise positioning, pre-
drill
∅
1/8 inch (3 mm) pilot holes for self-drilling screws. Reduce the
hole size in metal that is less than 1/32 inch (1mm) thick.
Notice
Ensure that drilling at the selected points will not damage
existing wiring.
1.
Drill any holes required for cables and install suitable grommets or
bushings in the holes.
2.
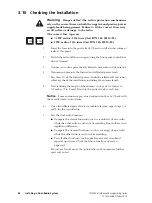
Screw the remote U-bracket in the chosen mounting position using
the self-drilling screws provided. Use all four screws provided.
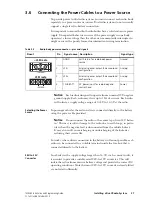
3.
Place the control-head assembly in the remote U-bracket and
position it for a good viewing angle.
4.
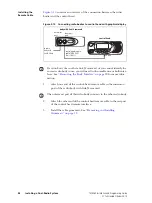
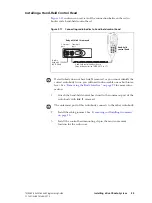
Screw the remote control-head assembly into position using the two
thumb screws provided.
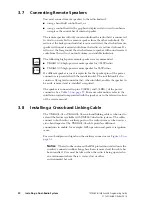
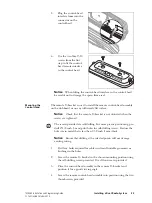
5.
Plug the control-head
interface loom into the
connector on the
control head.
6.
Use the two Torx T-20
screws from the first
step to fit the control-
head remote interface
to the control head.
Notice
When fitting the control-head interface to the control-head,
be careful not to damage the space-frame seal.

