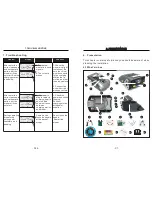
2. PRESENTATION
2.2 Function of 2000series
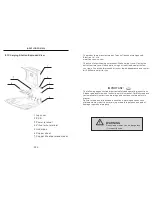
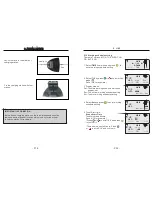
- Lift sensor
There are lift sensors located on each omni-directional wheel. If the
mower was lifted 2cm from the ground in level way, it will stop working
within 2 seconds.
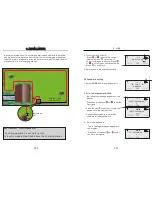
- Tilt sensor
There is tilt sensor installed on the mower too, when the mower was
tilted over 30 degree at any direction, it also will stop working within 2
seconds.
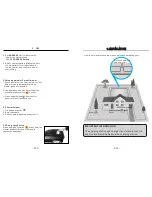
- Ultrasonic sensors
Compare to traditional bumpers, the ultrasonic obstacles is much more
safety. The mower selects a new direction before it bumps people or
obstacles automatically. That means no touch! Don't worry, the mower
will never hit your children and pets. Ultrasonic sensors can be selected,
that means it can be turn on or turn off freely.
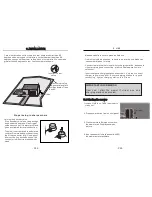
- Bump sensors
In front of the mower there equipped with bump sensors that will activate
when the mower strikes solid, fixed object when that object is at least 6cm
in vertical height from the supporting surface of the mower. When the
bump sensor is activated, the mower will stop movement in that direction
and reverse itself away from the obstacle.
- Rain sensors
There are two rain sensors on top cover of mower. The mower will go back
to the charging station automatically when it's raining. Rain sensors can
be selected from control panel or remote control.
Turn on it: the mower will go back to home if it is raining.
Turn off it: the mower will go on mowing when it is raining.
- Human sensor
Touch the handle when the mower is cutting, it will cease function within 2
seconds.
- Wireless controller
To control the operate of mower in manual pattenr.
-
P9
-
6. MAINTENANCE AND STORAGE
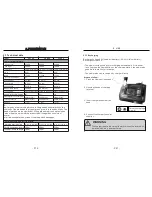
6.2 Robot Storage
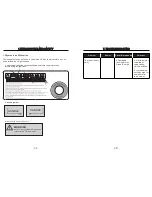
Packed the mower and all spareparts with the original package, and
storage the carton off the ground in a cool, dry place. Temperature should
not be colder than
-4
F
°(-20℃)
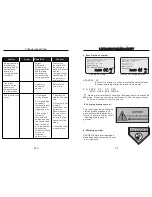
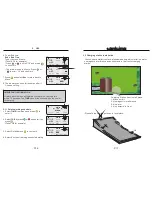
6.3 Blade replacement
Blade model: 2000B
Blade replace steps:
1.Stop the robot in safety conditions.
2. Wear protective gloves.
3. Turn the Robot upside down.
4. Unscrew the blade and remove it.
5. Replace a new blade and screw it.
6.4 Fuse replacement
1. Press the clamshell and open it.
2. Unscrew the cap and take out the
broken Fuse.
3. Replace a new Fuse and screw the
cap.
Fuse model: 2000F
Fuse replace steps:
-
P44
-

