16
5 MAINTENANCE AND REPAIR
Regular machine maintenance ensures reliable operation and long lifetime of the machine
5.1 CUTTING CHAIN REPLACEMENT
Before replacing the chain, you must disconnect the machine drive (RCA 320-2) or unplug the power
cord from the electrical outlet (RCA 320-2 E)!
•
Disconnect the P.T.O. shaft or unplug the power cord from the electrical outlet.
•
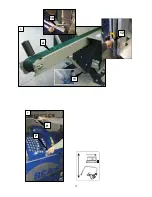
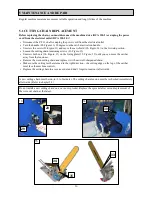
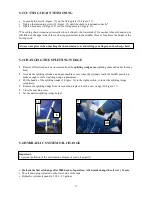
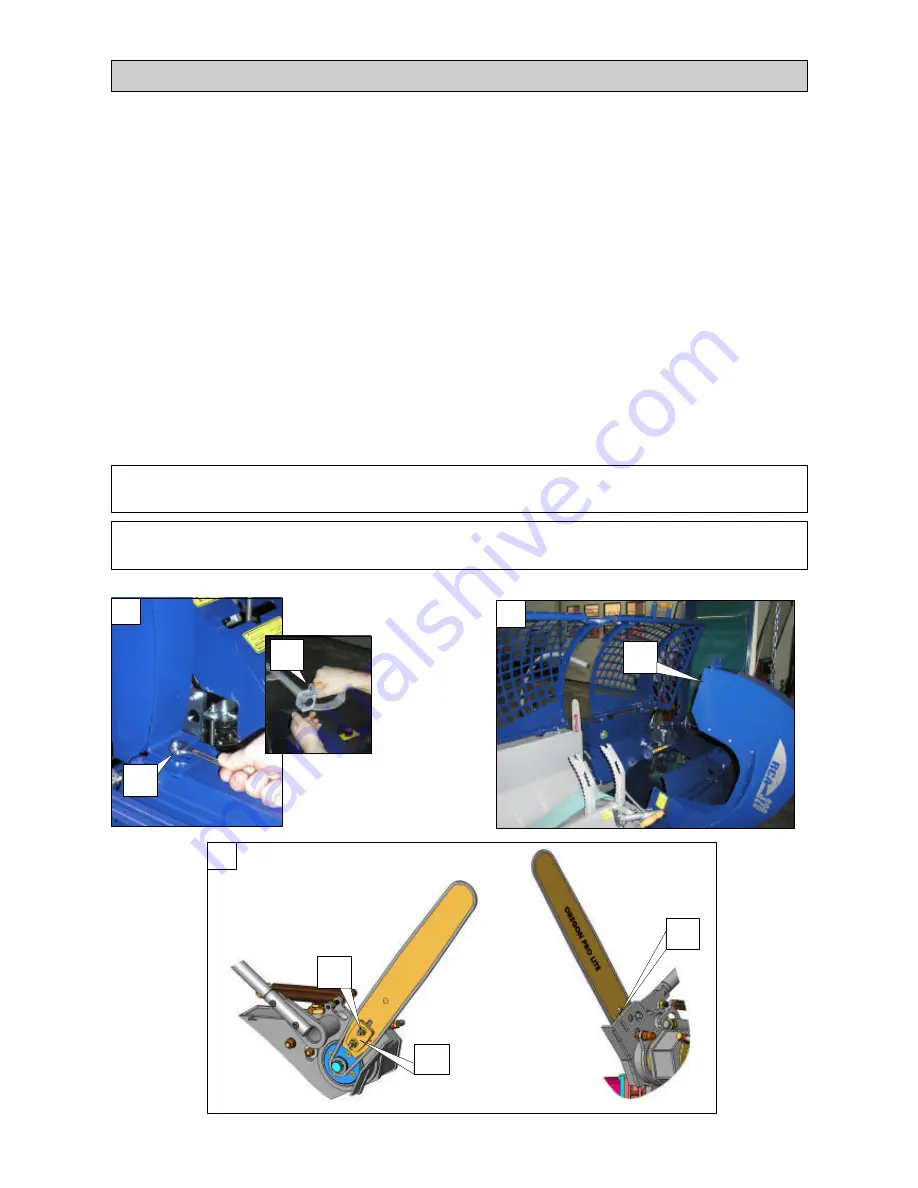
Turn the handle (28-Figure:13) 90 degrees on the sawbar activation handle.
•
Unscrew the screw (29-Figure:13) and move the saw shield (30- Figure:14) in the forward position.
•
Loosen the cutting chain tensioning screws (33-Figure:15)
•
Unscrew both nuts (34- Figure: 15) on the fixing plate (35- Figure: 15) until you can move the sawbar
away from the tensioner.
•
Remove the worn cutting chain and replace it with new well-sharpened chain.
•
Make sure the cutting teeth are turned in the right direction – the cutting edge on the top of the sawbar
must face the machine controls.
•
Replace the cutting chain in a reverse order and don’t forget to tension it afterwards.
A new cutting chain must be run-in; 2 to 3 minutes. The cutting chain tension must be rechecked immediately
afterwards. (Refer to chapter 5.2)
Do not install a new cutting chain on a worn out sprocket. Replace the sprocket after second replacement of
the worn out chain at the latest.
15
35
34
33
13
28
29
14
30

