17
5.2 CUTTING CHAIN TENSIONING
•
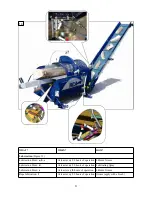
Loosen both nuts (34-Figure: 15) on the fixing plate (35-Figure: 15)
•
Tighten the tensioning screw (33-Figure: 15) until the chain in tensioned correctly*
•
Tighten both nuts (34-Figure: 15) on the fixing plate (35-Figure: 15)
*The cutting chain is tensioned correctly when it clings to the lower side of the sawbar when cold and can be
still lifted on the upper side of the sawbar (approximately in the middle), three or four times the height of the
driving teeth.
Always wear gloves when checking the chain tension to avoid cutting your fingers on the sharp chain!
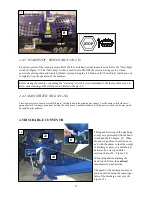
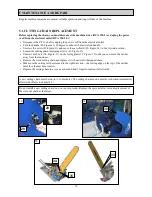
5.3 CHANGING THE SPLITTING WEDGE
•
Remove all firewood and wood remains from the
splitting wedge area
(splitting chute and under the mac-
hine).
•
Activate the splitting cylinders and open machine cover when the cylinders reach the middle position to
make enough room for splitting wedge replacement.
•
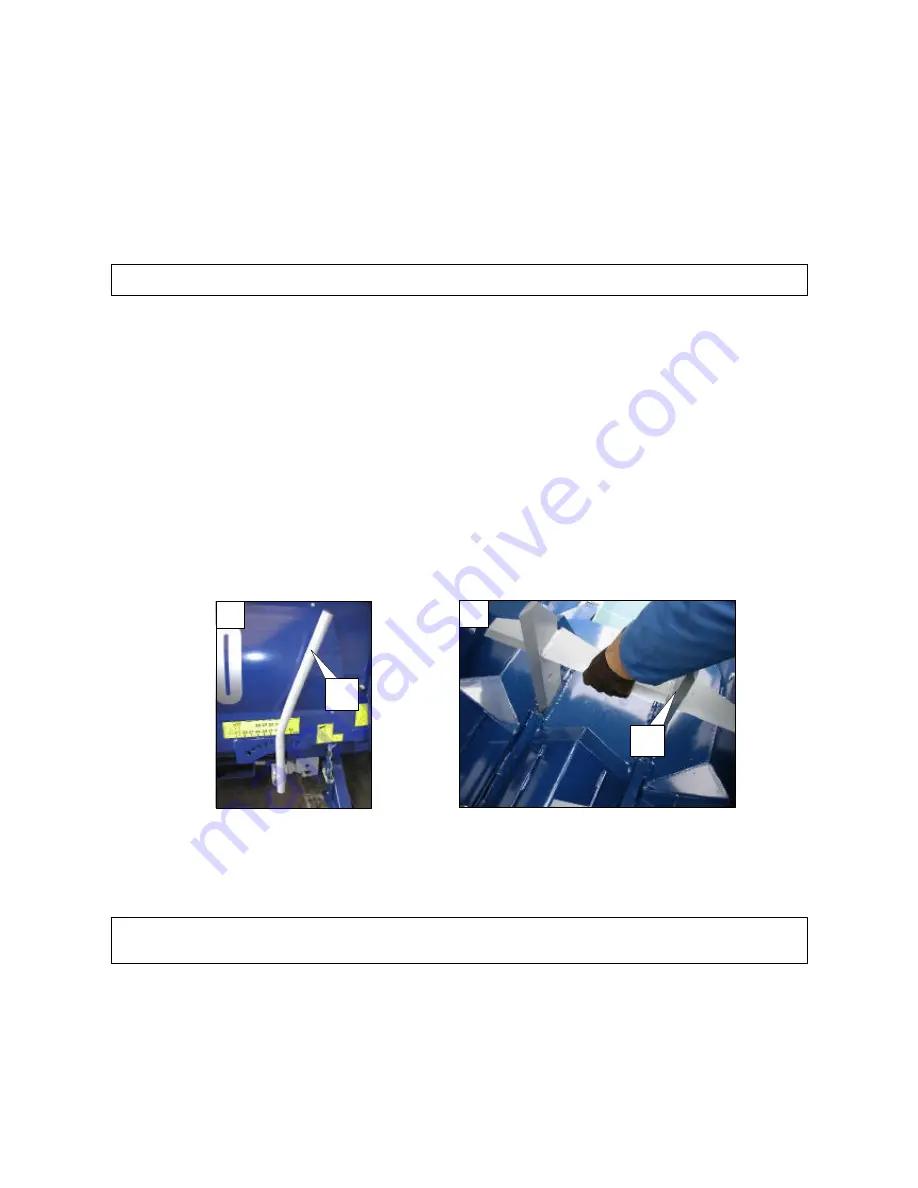
Put the handle of the splitting wedge (L-Figure: 16) in the right position, to lower the splitting wedge
completely.
•
Remove the splitting wedge from its mount and replace it with a new wedge (39-Figure: 17)
•
Close the machine cover.
•
Set the desired splitting wedge height.
5.4 HYDRAULIC SYSTEM OIL CHANGE
Important:
To prevent pollution of the environment, dispose of used oil properly!
•
Perform the first oil change after 5000 hours of operation. Afterwards change the oil every 2 years.
•
The oil drain plug is located on the lower side of the tank.
•
Hydraulic system oil quantity: 100 l. / 25 gallons
16
L
17
39


