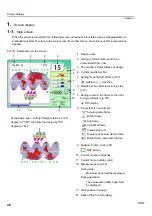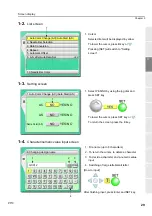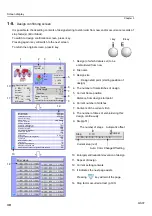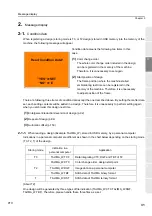
How to use each part
17
1
2
3
4
5
6
7
8
9
10
11
Chapter 2
RR10
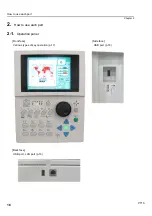
2-1-1.
Front face
#5 ($
'
5'6
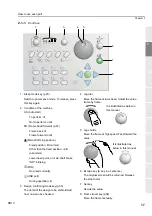
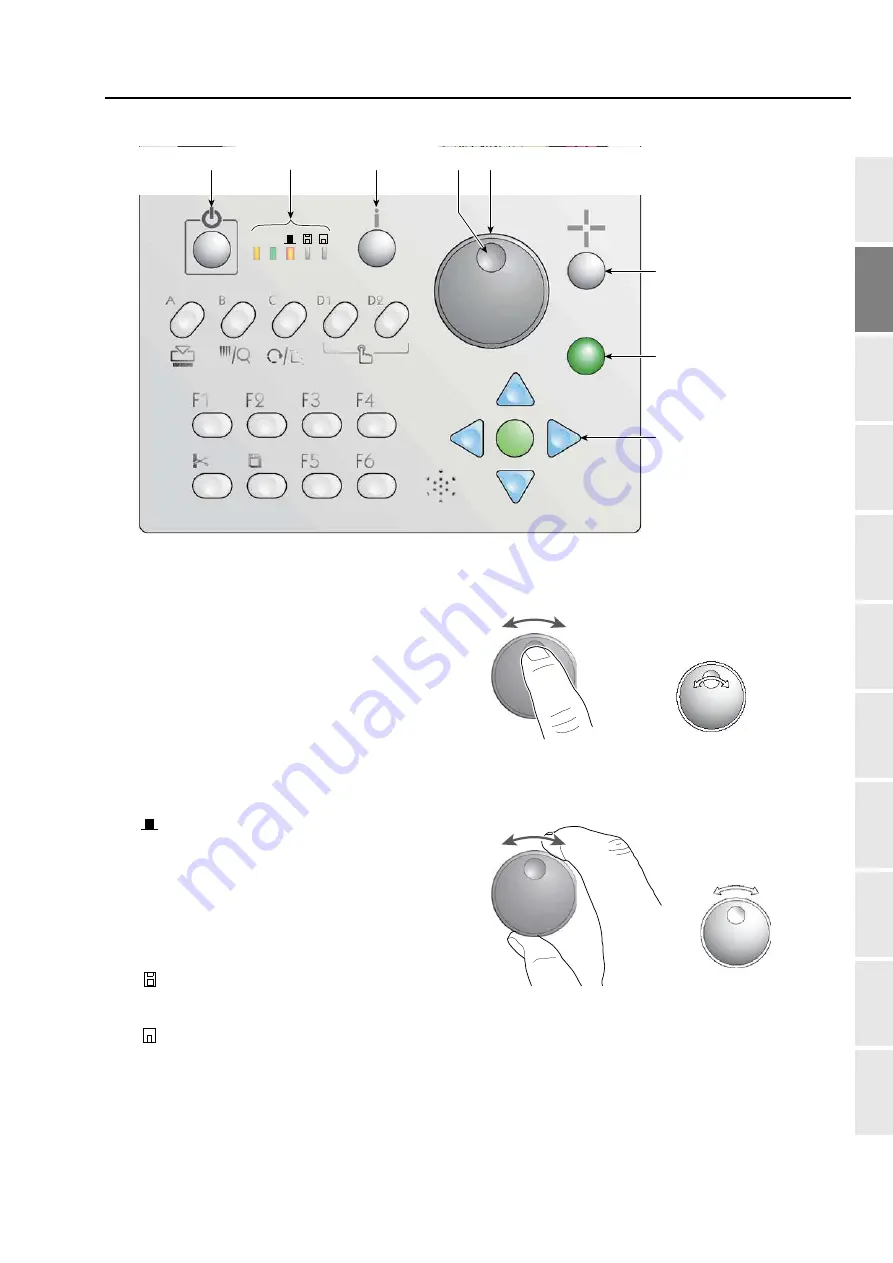
4. Jog dial
Move the frame at low speed. Adjust the value
frame by frame.
5. Jog shuttle
Move the frame at high speed. Fast-forward the
value.
6. Escape key (E key in a sentence)
The original screen will be returned. Release
the stop factor.
7. Set key
Decide the value.
8. Frame travel key(p.58)
Move the frame manually.
It is illustrated as below in
this manual.
It is illustrated as
below in this manual.
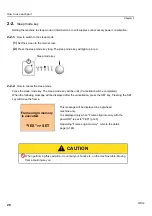
1. Sleep mode key (p.20)
Switch to power save mode. To release, press
this key again.
2. Condition of the machine
AS (Auto start)
To perform: lit
Not to perform: unlit
FB (Frame back/forward) (p.67)
Frame back: lit
Frame forward: unlit
(Main shaft stop position)
Fixed position: lit (normal)
Other than the fixed position: unlit
(abnormal)
Lower dead point, or main shaft brake
"NO": blinking
(FDD)
Not used currently
(USB port)
During operation: lit
3. Design confirming mode key(p.55)
The detail of the design to be embroidered
from now can be checked.
1
2
3
4
6
7
8
5
Summary of Contents for TEMX-C Series
Page 13: ...To search from the menu key ...
Page 25: ...Inspection before starting work 12 Chapter 1 ...
Page 39: ...How to use each part 26 Chapter 2 ...
Page 40: ... E 1 2 3 4 5 6 7 8 9 10 11 27 PT10 Chapter 3 Screen 1 Screen display 28 2 Message display 31 ...
Page 147: ...Other functions that must be remembered 134 Chapter 5 ...
Page 171: ...To move the frame to the position registered 158 Chapter 6 ...


