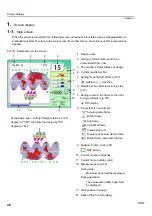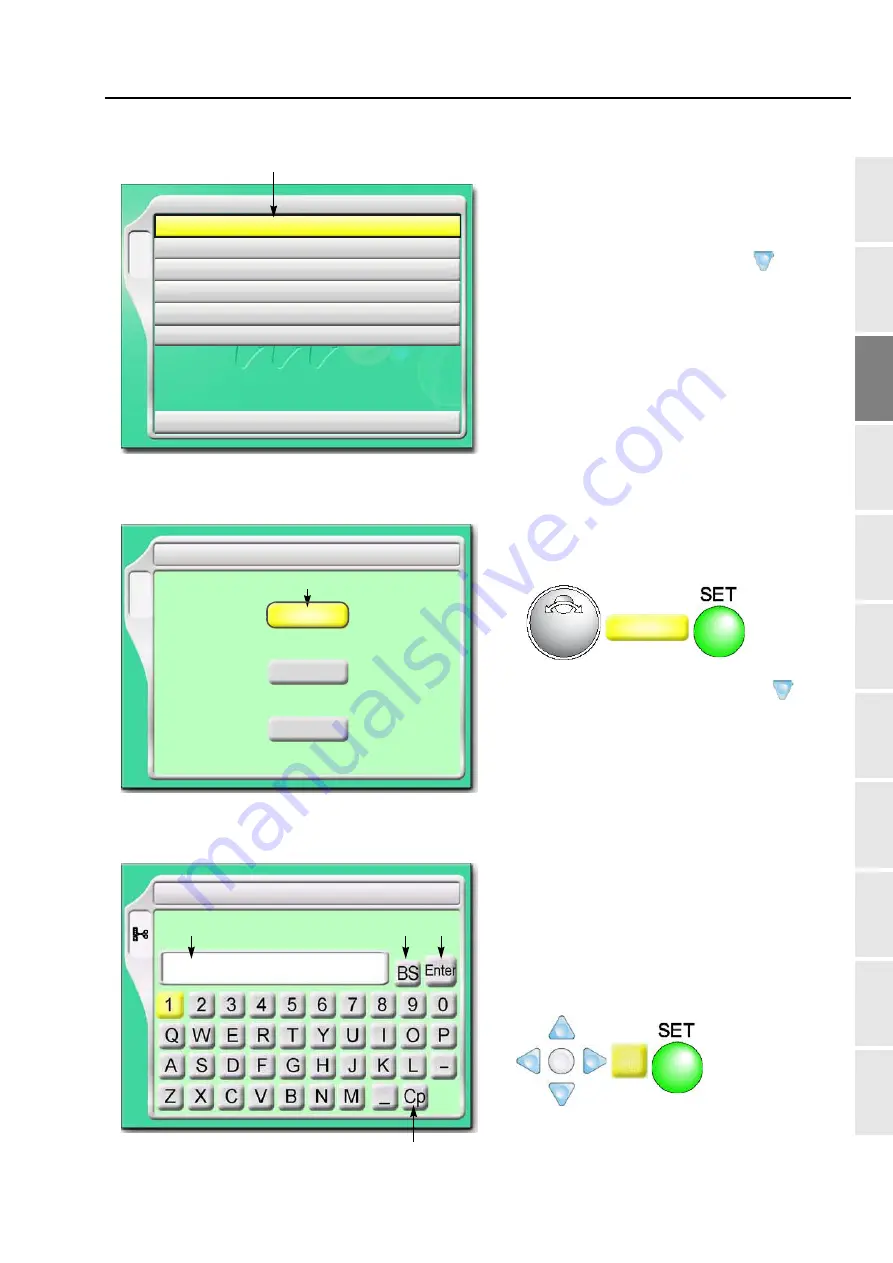
Screen display
29
1
2
3
4
5
6
7
8
9
10
11
Chapter 3
PT10
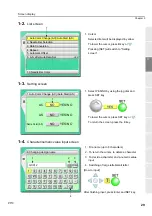
1-2.
List screen
1-3.
Setting screen
1-4.
Character/numeric value input screen
1. Cursor
Selected item will be displayed in yellow.
To lower the cursor, press B key or
.
Pressing [SET] will switch to "Setting
screen".
B
YES
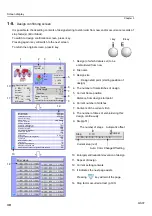
1 Auto Color Change (AC)/Auto Start (AS)
2 Needle Bar Selection
3 Data Conversion
4 Repeat
5 Automatic Offset
6 A.S. after Auto Data Set
10 Needle Bar Color
1
1. Select YES/NO by using the jog dial and
press SET key.
To lower the cursor, press SET key or
.
To return the screen, press the E key.
YES
B
AC
YES/NO
AS
YES/NO
YES/NO
Same Color (AS)
NO
NO
NO
1
1 Auto Color Change (AC)/Auto Start (AS)
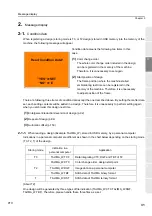
1. File name (up to 8 characters)
2. To return the cursor, to delete a character
3. To decide a character and a numeric value
input
4. Switching of large letter/small letter
[How to input]
After finishing input, press Enter and SET key.
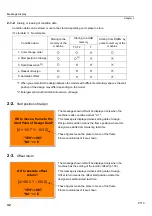
T
6 Changing design name
G0012
1
2
3
4
Summary of Contents for TEMX-C Series
Page 13: ...To search from the menu key ...
Page 25: ...Inspection before starting work 12 Chapter 1 ...
Page 39: ...How to use each part 26 Chapter 2 ...
Page 40: ... E 1 2 3 4 5 6 7 8 9 10 11 27 PT10 Chapter 3 Screen 1 Screen display 28 2 Message display 31 ...
Page 147: ...Other functions that must be remembered 134 Chapter 5 ...
Page 171: ...To move the frame to the position registered 158 Chapter 6 ...

