background image

6


Page

SAFETY GUIDELINES

SAFETY DEFINITION

GENERAL


1.

  Follow all local codes, or in the absence of local codes, follow the most recent edition of CSA B149.1,

        Natural Gas and propane installation code.


2.

  Properly ground the unit in accordance with all local codes or in the absence of local codes, with CSA

       standard C22.1 Canadian Electrical Code Part 1.


3. 

 Carefully plan where you intend to install the water heater.  Please ensure:

             •   Your water heater will have enough combustible air and proper ventilation.

             •   Locate your heater where water leakage will not damage surrounding areas. (Please refer to  

                  p. 8.)


4.

  Check the rating plate for the correct 

GAS TYPE, GAS PRESSURE, WATER PRESSURE and ELECTRIC

        RATING

.

     *If this unit does not match your requirements, 

do not install and consult with the manufacturer

.


5.

  If any problem should occur, turn off all hot water taps and turn off the gas.  Then call a trained

        technician or the Gas Company or the manufacturer.

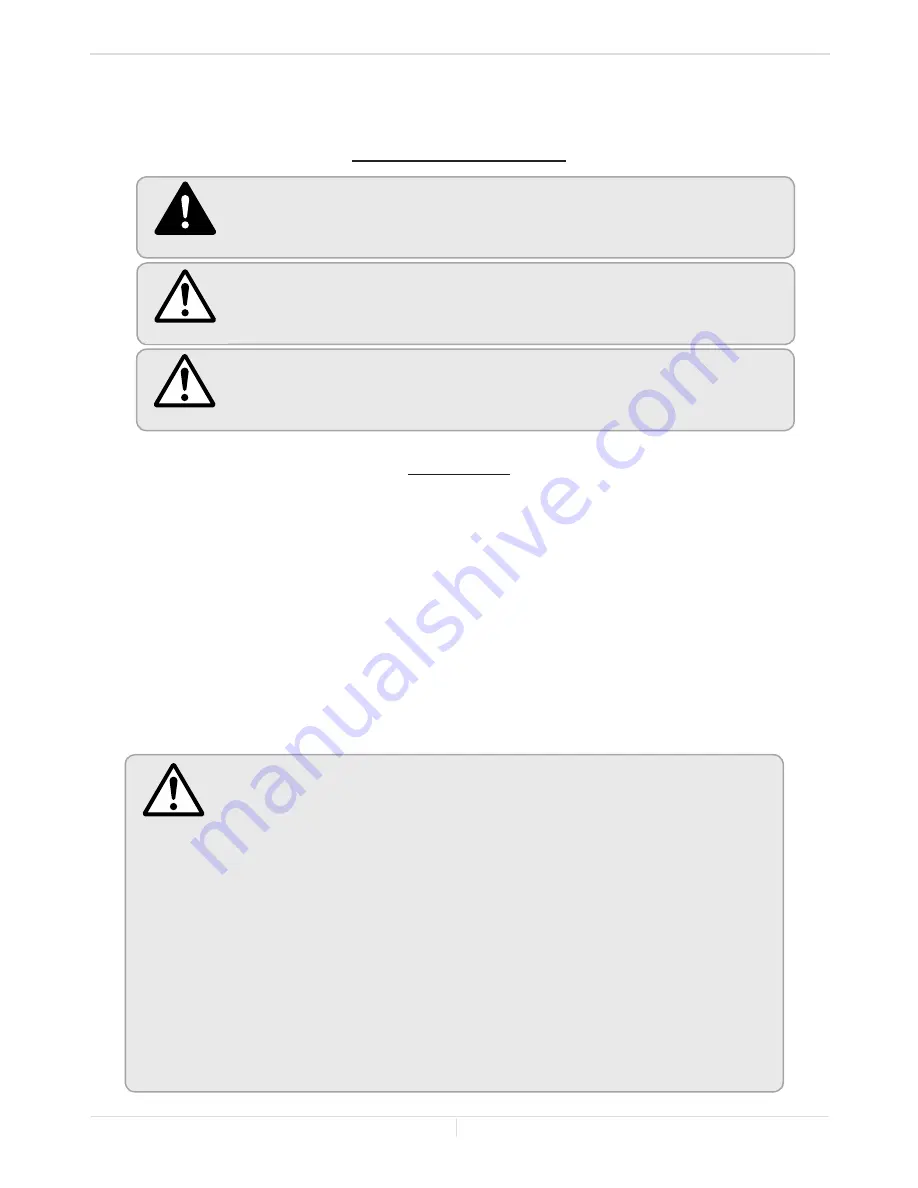
WARNING

Indicates an imminently hazardous situation which, if not avoided, could result 

in death or serious injury.

CAUTION

Indicates an imminently hazardous situation which, if not avoided, could result 

in minor or moderate injury.

Safety Guidelines

Installation Manual

Indicates an imminently hazardous situation which, if not avoided, will result in 

death or serious injury.

DANGER

WARNING

• 

Water temperatures over 52 °C (125 °F) can cause severe burns instantly or 

death from scalding.  The water temperature is set at 50 °C (120 °F) from the 

factory to minimize any scalding risk.  Before bathing or showering always 

check the water temperature.

• 

Do not store or use gasoline or other flammables, vapors, or liquids in the 

vicinity of this appliance.

• 

Do not reverse the water and/or gas connections as this will damage the gas 

valves and can cause severe injury or death.  Follow the diagram on p. 25 

when installing your water heater.

• 

Do not use this appliance if any part has been in contact with or been 

immersed in water.  Immediately call a licensed plumber, a licensed gas 

fitter, or a professional service technician to inspect and/or service the unit if 

necessary.

• 

Do not disconnect the electrical supply if the ambient temperature will drop 

below freezing.  The Freeze Protection System only works if the unit has 

electrical power.  The heat exchanger will not be covered under warranty if 

it is damaged due to freezing.  Refer to the section on the Freeze Protection 

System on p. 44 for more information.

Summary of Contents for T-H3J-DV / 240H

Page 1: ...phone Follow the gas supplier s instructions If you cannot reach your gas supplier call the fire department Installation and service must be performed by a qualified installer service agency or the g...

Page 2: ...inkSystem 29 Multi UnitSystem 33 APPLICATIONS 34 INITIAL OPERATION 36 Owner s Guide OPERATING SAFETY 38 NORMAL OPERATION 40 Temperature controller and Remote controller 40 General 40 Temperaturesettin...

Page 3: ...his safety manual carefully Please refer to the back of the manual for details about the warranty Keep this manual for future reference If you lose the manual contact the manufacturer your local distr...

Page 4: ...Range BTU h Min 15 000 Max 160 000 Min 15 000 Max 180 000 Min 15 000 Max 199 000 Propane Input Operating Range BTU h Min 13 000 Max 160 000 Min 13 000 Max 180 000 Min 13 000 Max 199 000 Gas Connection...

Page 5: ...iple behind tankless water heaters is simple This diagram illustrates tankless water heater design concepts only and does not accurately represent the water heater s physical description 1 A hot water...

Page 6: ...f not avoided could result in minor or moderate injury Safety Guidelines Installation Manual Indicates an imminently hazardous situation which if not avoided will result in death or serious injury DAN...

Page 7: ...flour aerosols clothes dryers and other airborne contaminants may clog the air vent build up and reduce the functions of the rotating fan cause improper burning of the gas or cause damage to the water...

Page 8: ...ge is required to be installed under the water heater in case of leaks WARNING The warranty will not cover damage caused by water quality Only potable water can be used with this water heater Do not i...

Page 9: ...y 1 Qty 1 Model Top Bottom Front Back Sides T H3J DV 240H T H3S DV 340H T H3 DV 540H 305 mm 12 in 305 mm 12 in 102 mm 4 in 13 mm 0 5 in 76 mm 3 in 610 mm 24 inches recommended for maintenance OPTIONAL...

Page 10: ...ubleshooting section p 49 to 52 for information on possible error codes This pipe cover is fixed to the bottom of the water heater which hides the plumbing and improves the visual aspects of the whole...

Page 11: ...cation where gas and water can accumulate Do not install the water heater vent terminator within 914 mm 3 ft of any air intake or building opening Refer to p 20 Do not install next to a dryer or any s...

Page 12: ...s 3 100 m 10 100 ft 0 to 610 m 0 to 2 000 ft DEFAULT 611 to 914 m 2 001 to 3 000 ft 915 to 1 523 m 3 001 to 5 000 ft 1 524to2 285m 5 001 to 7 500 ft 2 286to3 100m 7 501 to 10 100 ft T H3J DV 240H and...

Page 13: ...ion that prevents rain water from entering into the water heater must be installed Do not terminate vent into a chimney If the vent must go through the chimney the vent must run all the way through th...

Page 14: ...7 OFF No 3 ON No 4 OFF 1 5 to 15 2 m 5 to 50 ft DEFAULT No 6 OFF No 7 OFF No 3 OFF No 4 OFF 15 5 to 30 5 m 51 to 100 ft OFF ON 1 2 3 4 5 6 7 8 OFF ON 1 2 3 4 5 6 7 8 OFF ON 1 2 3 4 5 6 7 8 9 10 OFF O...

Page 15: ...ions 915 to 1 828 m 3 001to6 000ft Elevations 1 829 to 3 100 m 6 001to10 100ft Elevations 0to3 100m 0to10 100ft 0 21 3 m 70 ft 12 2 m 40 ft 7 6 m 25 ft 30 5 m 100 ft 1 19 8 m 65 ft 10 7 m 35 ft 6 1 m...

Page 16: ...ey If the vent must go through the chimney the vent must run all the way through the chimney with Category III IV approved or Special BH vent pipe The maximum length of exhaust vent piping must not ex...

Page 17: ...izontal Vent Length 0 30 5 m 100 ft 1 29 0 m 95 ft 2 27 4 m 90 ft 3 25 9 m 85 ft 4 24 4 m 80 ft 5 22 9 m 75 ft Excludes vent terminators one termination elbow or rain caps Installation Installation Ma...

Page 18: ...t version of the Canadian gas code or authority having jurisdiction to see if common venting is approved in your area Only the models listed in the table above can be common vented together Different...

Page 19: ...h and the maximum number of elbows is 5 NOTICE Regardingtheclearances between the exhaust termination and the intake termination refer to p 20 to 22 Insert bird screen in elbow terminals Common ventin...

Page 20: ...eter regulator assembly 3 feet I Clearance to service regulator vent outlet 3 feet J Clearance to non mechanical air supply inlet to building or the combustion air inlet to any other application 3 fee...

Page 21: ...nside corner If the adjacent wall is less than 610 mm 2 ft of length the minimum required distance away from the inside corner will be equal to the length of that adjacent wall Please follow all local...

Page 22: ...local codes For multiple unit rooftop terminations whether for standard or direct vent installations space all exhaust and intake terminations in accordance with local codes An exhaust termination mu...

Page 23: ...s in excess of 3 5 kPa 1 2 psi The water heater must be isolated from the gas supply piping system by closing its individual manual shutoff valve during any pressure testing of the gas supply piping s...

Page 24: ...Pipe Size Length Diameter 10 20 30 40 50 60 70 80 90 100 125 150 200 3 4 567 393 315 267 237 217 196 185 173 162 146 132 112 1 1 071 732 590 504 448 409 378 346 322 307 275 252 213 1 1 4 2 205 1 496 1...

Page 25: ...r to replace any damaged parts Do not reverse the hot outlet and cold inlet connections to the water heater This will not properly activate the water heater CAUTION Installation Installation Manual 1...

Page 26: ...inage without any restrictions If the pressure relief valve installed on the water heater discharges periodically this may be due to a defective thermal expansion tank or defective pressure relief val...

Page 27: ...zer assembly 1 Connect a 1 2 FPT X 3 8 MPT Adaptor to the condensate drain port at the bottom of the water heater 2 Connect a Neutralizer to the 3 8 MPT connection of the adaptors There is a flow dire...

Page 28: ...ortions of the condensate drain neutralizer and drain tube must be at a lower elevation than the water heater to prevent condensate water from building up inside the heat exchanger Condensate cannot b...

Page 29: ...he entire system Installation Installation Manual General When the T H3 DV 540H is connected to other models listed above as part of an Easy Link System Contact the manufacturer WARNING The Easy Link...

Page 30: ...isplays a number turn on CHILD 2 When the remote and or temperature controller displays a number turn on CHILD 3 Make sure the remote and or temperature controllers display the unit The numbering syst...

Page 31: ...ank of DIP switches 1 2 3 4 5 6 OFF ON PARENT 1 2 PARENT 1 2 Unless you change DIP switch No 1 of the PARENT unit to the ON position the system will not work as an Easy Link System The units will oper...

Page 32: ...ol the unit on the system Connecting two PARENT connectors together from two separate units may damage the computer board The communication cable has a female end and a male end so it s impossible to...

Page 33: ...water heaters The Multi Unit Controller automatically allocates the unit 1 20 to each water heater that is part of the Multi Unit System In a Multi Unit System connect the 1 connector and the 2 connec...

Page 34: ...er system The water heater can be used to supply potable water and space heating and shall not be connected to any heating system or component s previously used with non potable water where any chemic...

Page 35: ...in heating unit NSF 61 product approved pump Automatic tempering device must be installed below the top of the water heater as per manufacturer s recommendations Piping loop between water heater and f...

Page 36: ...t water Check the GAS and WATER CONNECTIONS for leaks before firing unit for the first time Open the main gas supply valve to the unit using only your hand to avoid any spark Never use tools If the kn...

Page 37: ...fety manual carefully Please refer to the back of the manual for details about the warranty Keep this manual for future reference If you lose the manual contact the manufacturer your local distributor...

Page 38: ...a qualified service technician to inspect the water heater and to replace any damaged parts OPERATING INSTRUCTIONS 1 STOP Read the safety information above or in the Owner s Manual 2 Turn off all elec...

Page 39: ...1 Cannot be seen 2 Vapors are heavier than air 3 Go a long way on the floor 4 Can be carried from other rooms to the main burner by air currents Keep flammable products 1 Far away from heater 2 In app...

Page 40: ...ter heater stops operating the backlight of the controllers turns off The backlight of the controllers will turn back on once the water heater begins firing again 1 Open a hot water tap 2 Mix cold wat...

Page 41: ...the set temperature on its display as shown in the picture on the right EX 50 C 5 Press the HOT button or the COLD button to set the temperature setting of the unit Increasing temperature from 50 C 12...

Page 42: ...played on the screen 4 Press the INFO buttons for at least 3 seconds 5 The set temperature should now be displayed in the alternate unit of measurement EX 100 F EX 38 C Operation Screen on the control...

Page 43: ...with dark squares The dark squares indicate the direction the DIP switches should be set to WARNING Please be sure to adjust the DIP switches of the lower bank for the T H3 DV 540H for the temperature...

Page 44: ...and being damaged Normal Operation Owner s Guide Appliance Use Flow rate GPM US L min Lavatory Faucet 1 0 3 8 Bath Tub 4 0 10 0 15 2 37 8 Shower 2 0 7 5 Kitchen Sink 1 5 5 6 Dishwasher 1 5 5 6 Washing...

Page 45: ...ecessary by a licensed technician If repairs are needed any repairs should be done by a licensed technician UNIT DRAINING and FILTER CLEANING Normal Operation Owner s Guide Turn off the electrical pow...

Page 46: ...r heater by temporarily opening up the pressure relief valve c Drain the water heater and connect hoses pump to the drain ports of the isolation valves Outlet of the pump to valve B cold side and anot...

Page 47: ...ontroller and or temperature controller is the power button turned on Is the gas supply valve fully open p 36 Is the water supply valve fully open p 36 Is the filter on cold water inlet clean p 45 Is...

Page 48: ...controller and Remote controller Controller does not display anything when the power button is turned on Make sure the unit is supplied with power NOTICE When the unit has not operated for five minut...

Page 49: ...Link System not only to show what the error code is but to also indicate which unit within the system has the error code Below is a sample of how the same error code is displayed in an Easy Link Syste...

Page 50: ...fan motor Part 103 especially if the water heater has been installed in a contaminated area Check the DIP switches match gas type of unit Check the manifold pressure at Max and Min Check proportional...

Page 51: ...lve contacts and gas valve wire harness connections for signs of rust or corrosion 551 Six Times Abnormal gas solenoid valve Check for connection breakage of wires Part 708 and or burn marks on the co...

Page 52: ...Abnormal exhaust temperature Check if the set temperature is higher than 60 C 140 F and the system is Recirculation 991 Five Times Imperfect combustion Check the gas type of the water heater matches t...

Page 53: ...ase assembly Temperature remote controller 724 723 722 056 Temperature controller Components Diagram Owner s Guide 052 052 003 007 002 050 702 704 008 052 050 052 717 713 004 001 004 COMPONENTS DIAGRA...

Page 54: ...DV 340H Computer board assembly Surge box assembly 121 713 703 706 063 709 053 703 Components Diagram Owner s Guide 711 701 713 103 709 402 707 708 714 721 407 408 701 714 403 715 721 707 722 715 402...

Page 55: ...Burner assembly 101 104 115 106 107 108 110 109 111 711 112 062 053 053 709 053 401 103 105 065 054 113 114 102 708 119 151 118 055 051 150 057 055 063 117 053 116 062 121 714 719 707 711 117 T H3 DV...

Page 56: ...et section Water inlet section 403 456 460 458 462 B A Bypass section T H3 DV 540H D A E 459 454 411 412 058 F 413 452 450 414 451 414 418 416 009 C 453 468 468 052 455 463 455 469 052 463 462 467 064...

Page 57: ...or EK192 EK181 EK182 EK109 104 105 106 107 Burner gasket Fan damper Burner window Rod holder gasket EKK2X EM381 EKK2V EKK2W 108 109 110 111 Flame rod Igniter rod Rod holder Rod cap EK193 EKK0F EKK32 E...

Page 58: ...DV 340H for T H3 DV 540H EK219 EK220 467 468 469 470 Stainless heat exchanger out pipe Header connection Drain port Thermistor fixing plate EK222 EK226 EK228 EK13H 471 472 473 Exhaust thermistor gaske...

Page 59: ...ow rate is limited to 8 0 GPM T H3 DV 540H Output Hot Water GPM Output Temperature vs GPM Max 10 0 GPM with Various Inlet Water Temperature Output Hot Water GPM Output Temperature vs GPM Max 6 6 GPM w...

Page 60: ...urer will honor the warranty to the original retail buyer at the original location only within the United States or Canada and it is not transferable THIS WARRANTY COVERS ONLY FAILED MECHANICAL AND EL...

Page 61: ...gas type and or gas pressures that fall outside the product s specified range Water incorrect water pipe sizing water pressures that fall outside the product s specified range recirculation flow rates...

Page 62: ...89V012 3 If you have any questions please call 1 888 479 8324...

Reviews: