

19
<
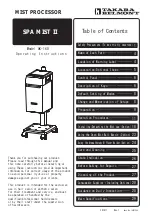
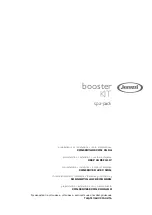
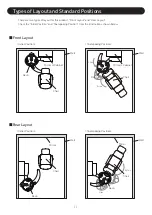
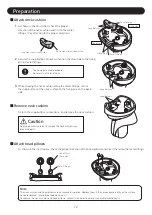
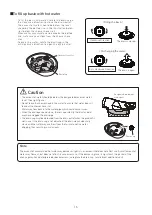
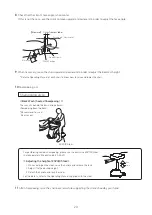
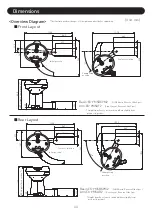
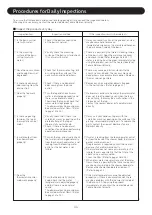
Image of Rear Layout
>
<
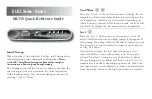
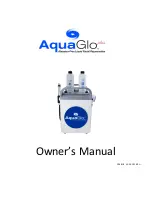
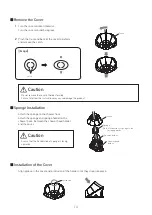
Image of Front Layout
>
Chair
YUME Basin
Chair
YUME Basin
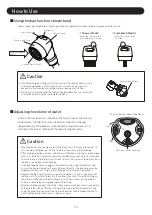
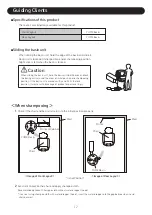
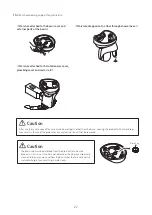
*Chair at the
maximum height
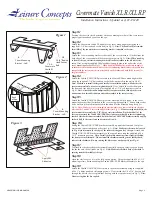
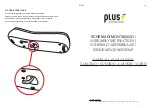
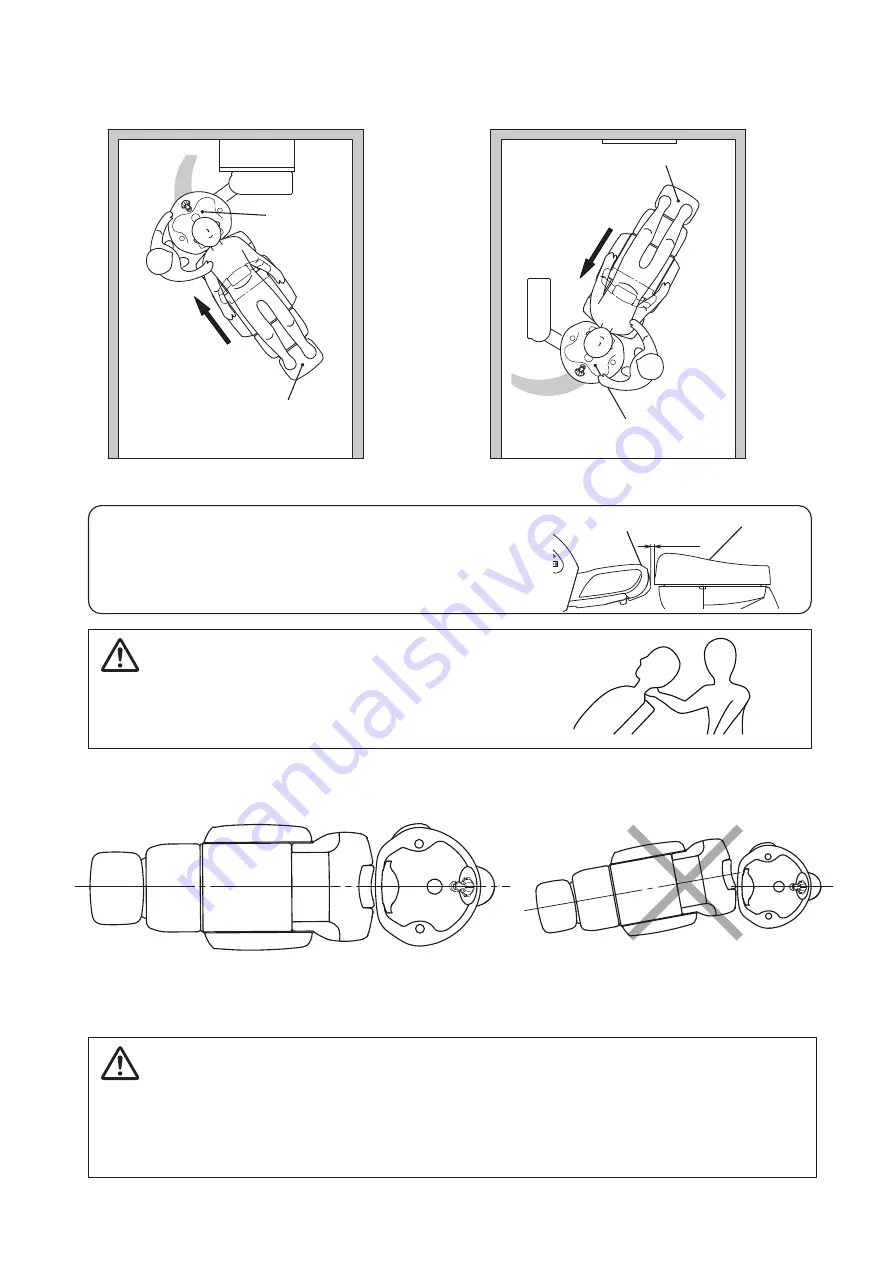
15mm
Backrest
Basin
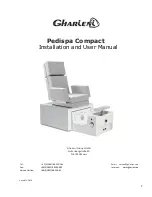
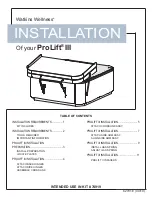
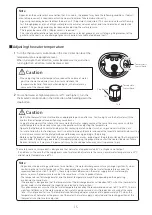
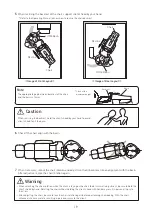
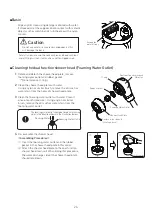
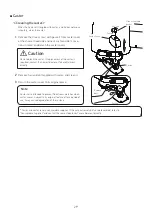
*Refer to the Operating Manual to know how to recline the chair backrest.
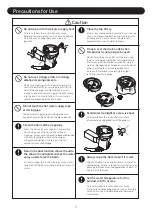
5
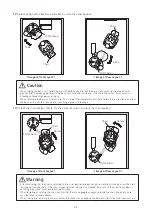
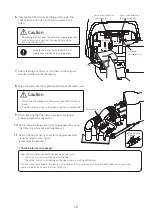
When reclining the backrest of the chair, support client’s head by your hand.
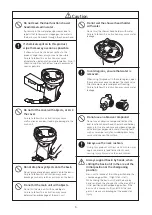
7
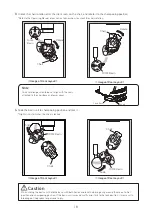
When necessary, unlock the chair rotation and adjust it so that it becomes into an alignment with the basin.
After adjustment, lock the chair rotation again.
6
Check if the chair align with the basin.
When reclining the backrest, hold the client’s head by your hand to avoid
client’s head to hit the basin.
・
When unlocking the chair rotation while the client is laying on the chair to do this small adjustment, be sure to hold the
client’s head by hand. Rotating the chair without holding the client’s head with hand may result in personal injury to
the client.
・
After adjusting the chair, be sure to lock the chair rotation again before performing shampooing. With the chair
unlocked, chair may rotate, resulting in personal injury to the client.
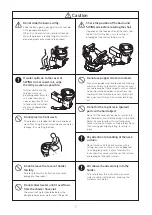
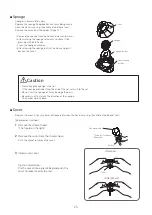
Note
The appropriate gap between backrest of the chair
and the basin is 15mm.
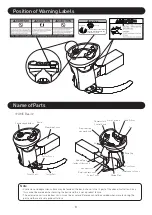
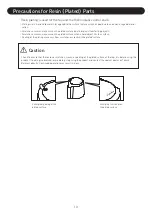
Caution
Warning
Recline
Recline