Mounting Instructions
Installation Instructions
After determining the rated capacity of your loader and adding any counterweight kits that are needed you
are ready to install your bucket.
1. Remove the chutes and hydraulic hoses from inside of the auger bucket.
2. Remove dust plugs from the auger motor.
3. Locate the fittings from the chute box and install them into the motor. Do not allow dirt or
contaminants to get into the hydraulic system (motor, hoses or fittings).
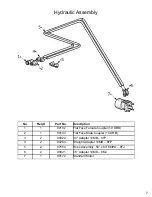
4. Tighten the fittings into the motor and install the hydraulic hoses provided.
5. Install the bucket by following your skid-steer operators manual for installing an attachment. Be sure
to lock the bucket to the skid-steer.
Note: Keep in mind that the buckets are manufactured with two universal quick-tach mounts, one on each
side of the bucket to allow for right or left discharge.
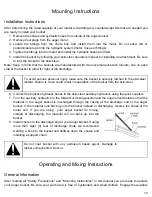
To avoid serious personal injury make sure the bucket is securely latched to the skid-steer
toolbar. Failure to do so could result in separation of the bucket from the skid-steer.
6. Connect the bucket's hydraulic hoses to the skid-steer auxiliary hydraulics using the quick couplers.
7. Turn the auxiliary hydraulics to the forward or locking position and the auger should rotate so that the
material in the auger bucket is discharged through the casing at the discharge end of the auger
bucket. If the material runs back up into the bucket instead or discharging, reverse the hoses at the
motor end. If you are using
your auger bucket for mixing,
instead of discharging, the material will run back up into the
bucket.
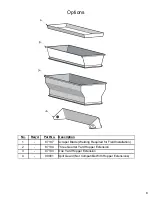
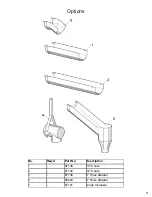
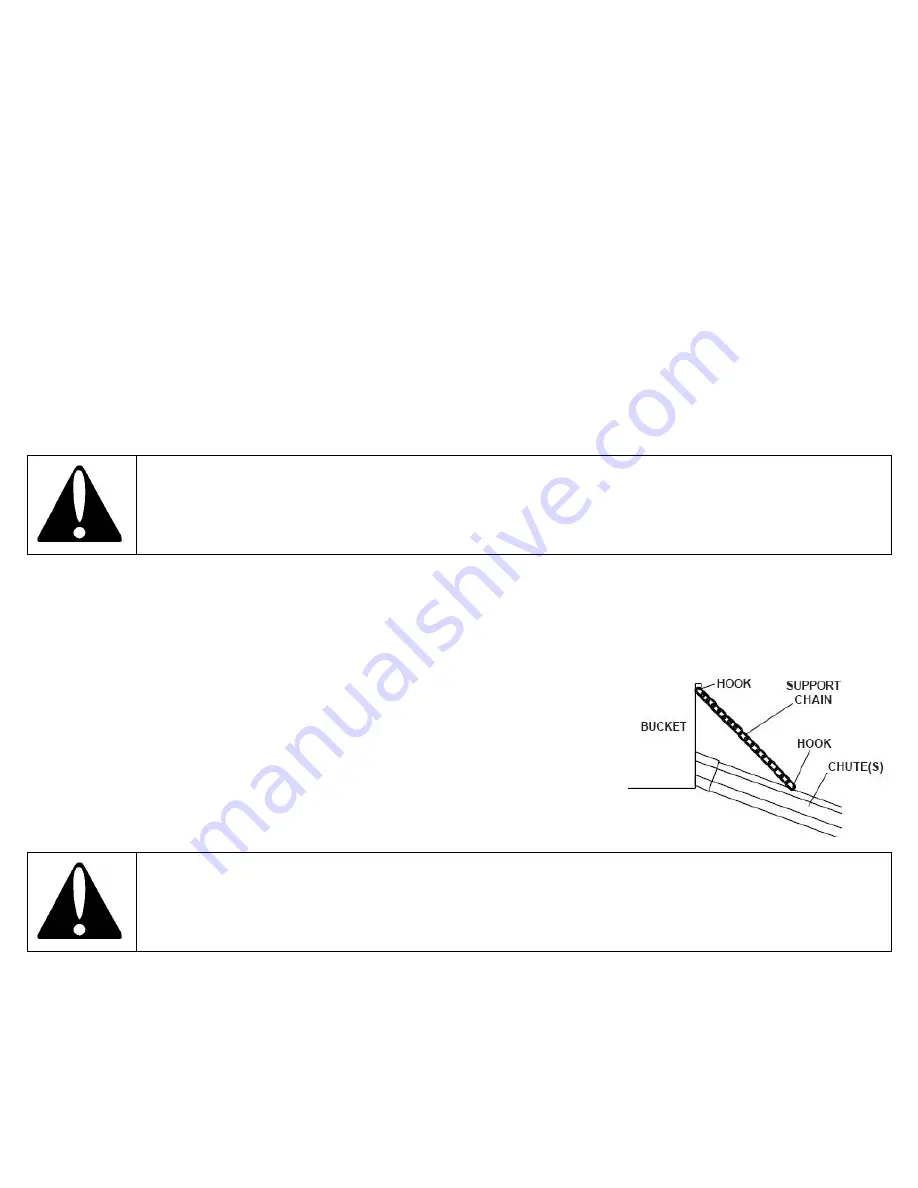
8. Install chutes to the discharge end of your auger bucket. If using
more than eight (8) feet of discharge chute we recommend
welding a hook to the bucket and halfway down the chutes and
installing a support chain.
Do not coat bucket with any petroleum based agent. Damage to
rubber components will occur.
Operating and Mixing Instructions
General Information
After reading all "Safety Precautions" and "Mounting Instructions" in this manual you are ready to operate
your auger bucket. Be sure your work area is free of bystanders and small children. Engage the auxiliary
10
Summary of Contents for 3000 Series
Page 1: ...Parts Operators Manual 888 317 5878 www talet ca...
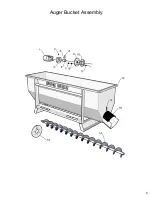
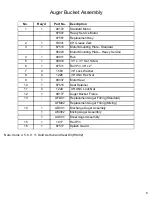
Page 6: ...Auger Bucket Assembly 5...
Page 16: ...Decals 15...


