1 8
T A L K S W I T C H U S E R G U I D E • U K & I R E L A N D
2.3.2.1 Configuration considerations connecting multiple units to a LAN
When two or more units are connected to a LAN and are set up for network
use, you can configure all the connected units via the Serial or the USB port
to one of the TalkSwitch units, or to a PC connected to the same LAN as the
TalkSwitch units.
When two or more TalkSwitch units are connected to the same LAN, they are
designed to act like a single phone system. For example, if you have two
TalkSwitch units with LAN ports connected on the same LAN, the system will
function as a single system supporting 8 PSTN lines, 16 local extensions and
16 remote extensions.
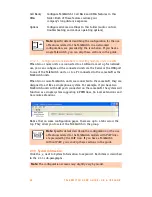
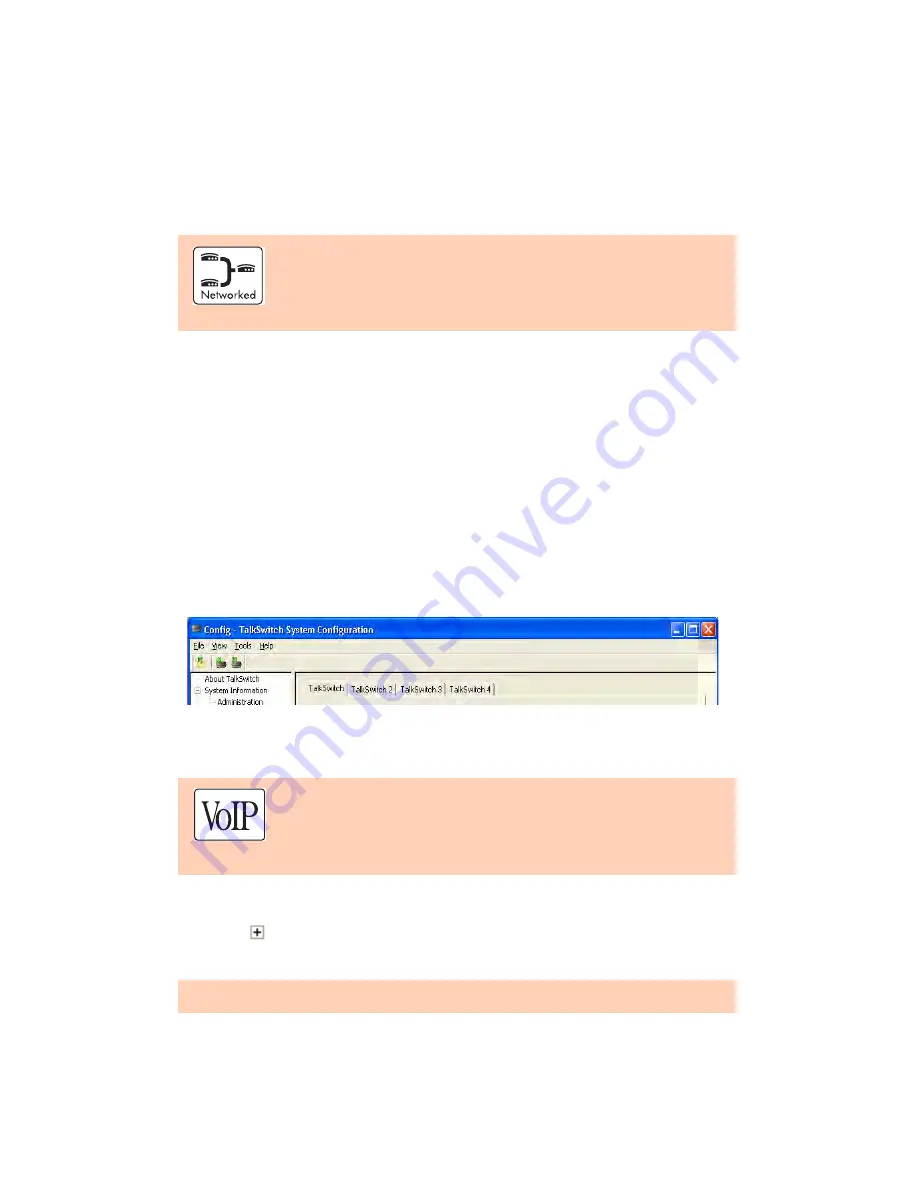
Notice that on some configuration pages, there are up to 4 tabs across the
top. They allow you to select the TalkSwitch in the group.
2.3.3 System Information
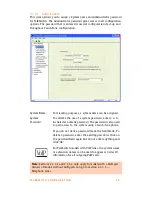
Click the
next to System Information to expand it. Each item is described
in the 2.3.3 sub-paragraphs.
Call Back/
DISA
Configure TalkSwitch’s Call Back and DISA features in this
folder. Both of these features reduce your
company’s long distance expenses.
Options
Configure advanced settings In this folder (audio controls,
troubleshooting and various operating options).
Note:
Specific details describing the configuration for the use
of features related to the TalkSwitch in a networked
configuration, are preceded by the icon below. If you have a
single Talkswitch, you can skip these sections in the guide.
Note:
Specific details describing the configuration or the use
of features related to the TalkSwitch models with VoIP lines,
are preceded by the VoIP icon. If you have a TalkSwitch
without VoIP, you can skip these sections in the guide.
Note:
The configuration screens may slightly vary by model.


