E V E R Y C A L L C O U N T S
1 3
SETTING UP A MULTI-BRANCH PROFILE FOR A SIP CLIENT
The multi-branch profile for a SIP client contains registration details and authentication information.
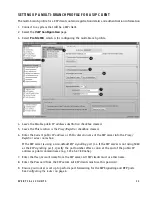
1. Connect to a system that will be a SIP client.
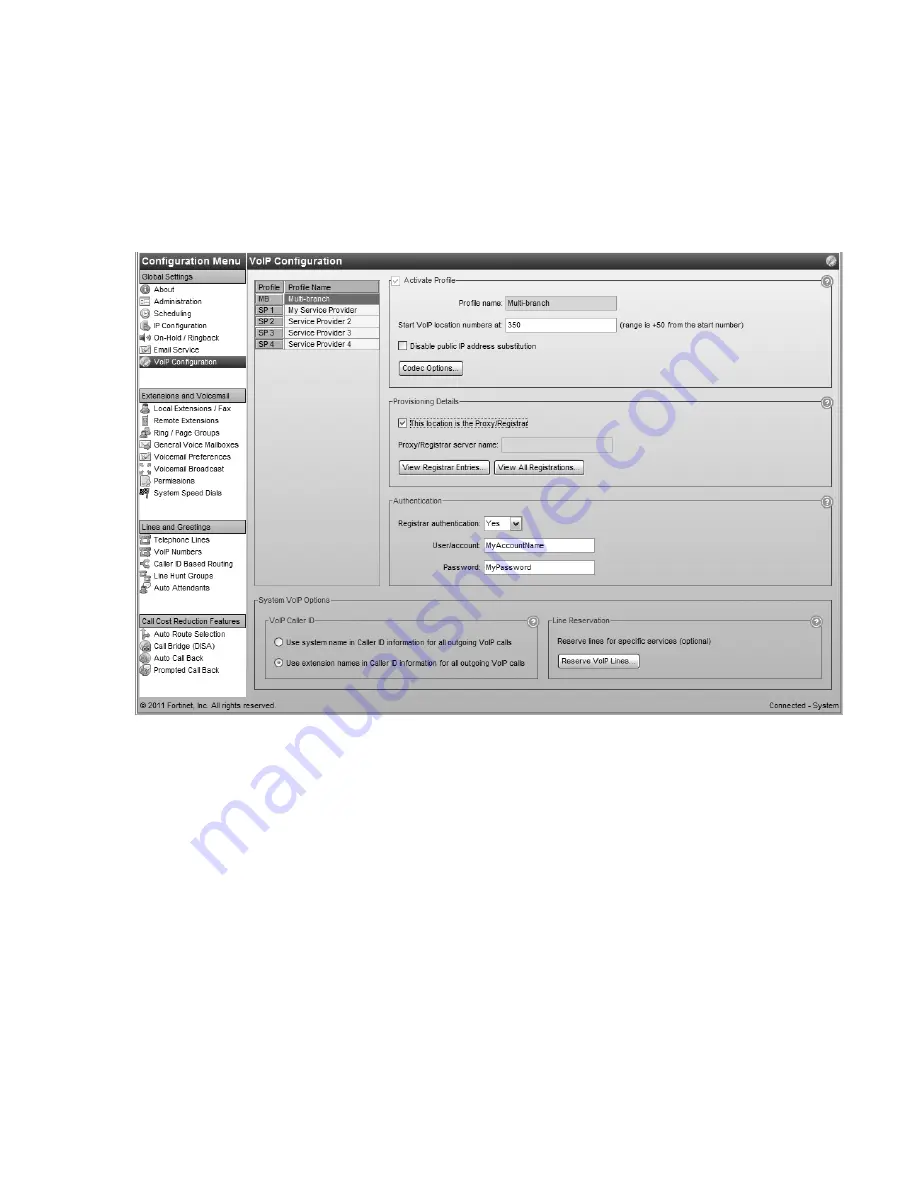
2. Select the
VoIP Configuration
page.
3. Select
Profile MB
, which is for configuring the multi-branch profile.
4. Leave the
Disable public IP address substitution
checkbox cleared.
5. Leave the
This location is the Proxy/Registrar
checkbox cleared.
6. Enter the
Current public IP address
or
Public domain name
of the SIP server into the
Proxy/
Registrar server name
box.
If the SIP server is using a non-default
SIP signalling port
(i.e. if the SIP server is not using 5060
as the
SIP signalling port
), specify the port number after a colon at the end of the public IP
address or public domain name (e.g. 123.45.67.89:3456).
7. Enter the
User/account
name from the SIP server. All SIP clients must use this name.
8. Enter the
Password
from the SIP server. All SIP clients must use this password.
9. Ensure your router is set up to perform port forwarding for the SIP Signalling and RTP ports.
See
Configuring the router
on page 6.
Y
Z
[
\
]
^
_


