5.13
Replacing the
carriage
—
Remove the casing parts (see section 5.1).
—
Remove the main controller board (incl. casing, see section 5.4.1).
—
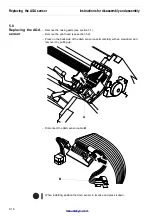
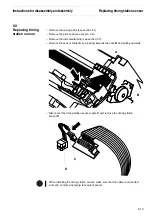
Remove the AGA and timing station sensor (see section 5.8 and 5.9).
—
Remove the printhead cable (see section 5.11).
—
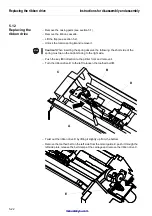
Remove the ribbon drive (see section 5.12)
—
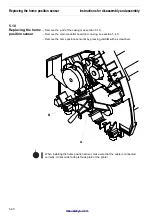
Remove the carriage motor (see section 5.14).
—
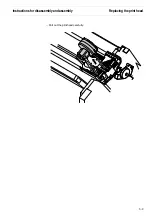
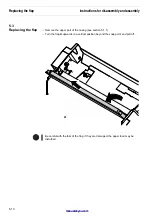
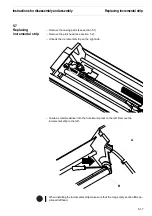
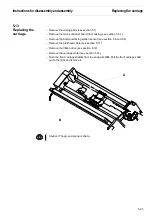
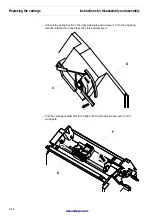
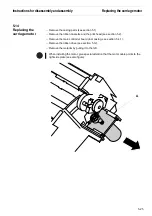
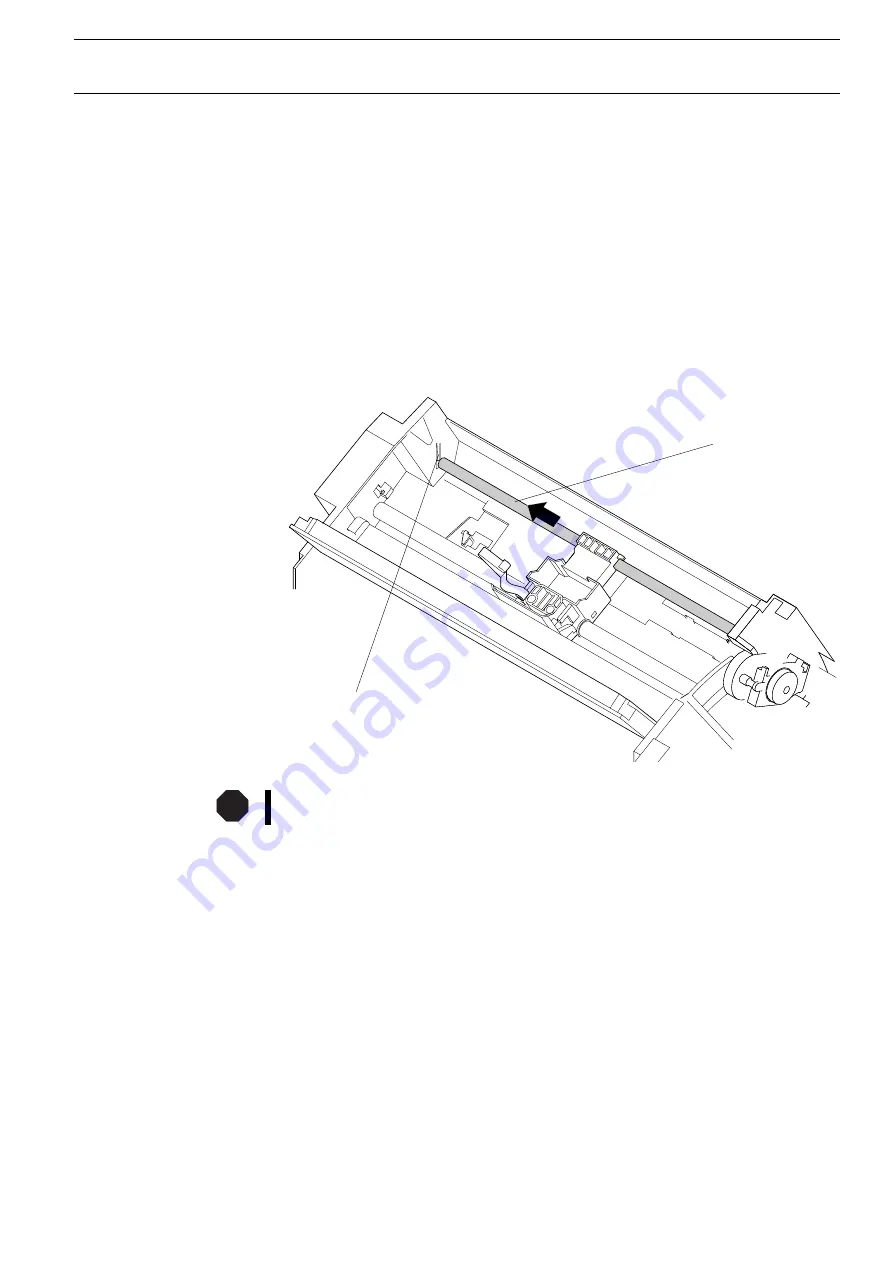
Push the front carriage shaft A from the snap arrest B. Pull the front carriage shaft
out to the right and remove it.
Caution! The ground spring is sharp.
A
B
STOP
Instructions for disassembly and assembly
Replacing the carriage
5-23
Summary of Contents for T2150 SprintPro
Page 2: ...This page intentionally left blank manuals4you com manuals4you com ...
Page 8: ...This page intentionally left blank manuals4you com manuals4you com ...
Page 24: ...This page intentionally left blank manuals4you com manuals4you com ...
Page 50: ...This page intentionally left blank manuals4you com manuals4you com ...
Page 90: ...This page intentionally left blank manuals4you com manuals4you com ...
Page 92: ...6 1 1 Housing Panel a Printer Spare parts and schematics 6 2 manuals4you com manuals4you com ...
Page 121: ...STOP Spare parts and schematics Interface adapter cpl 6 31 ...
Page 122: ...This page intentionally left blank manuals4you com manuals4you com ...

