Mechanical Adjustments
Adjustments
6-2
6.1
Mechanical
Adjustments
6.1.1
Tension of the Toothed
Belt
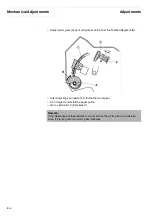
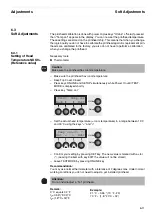
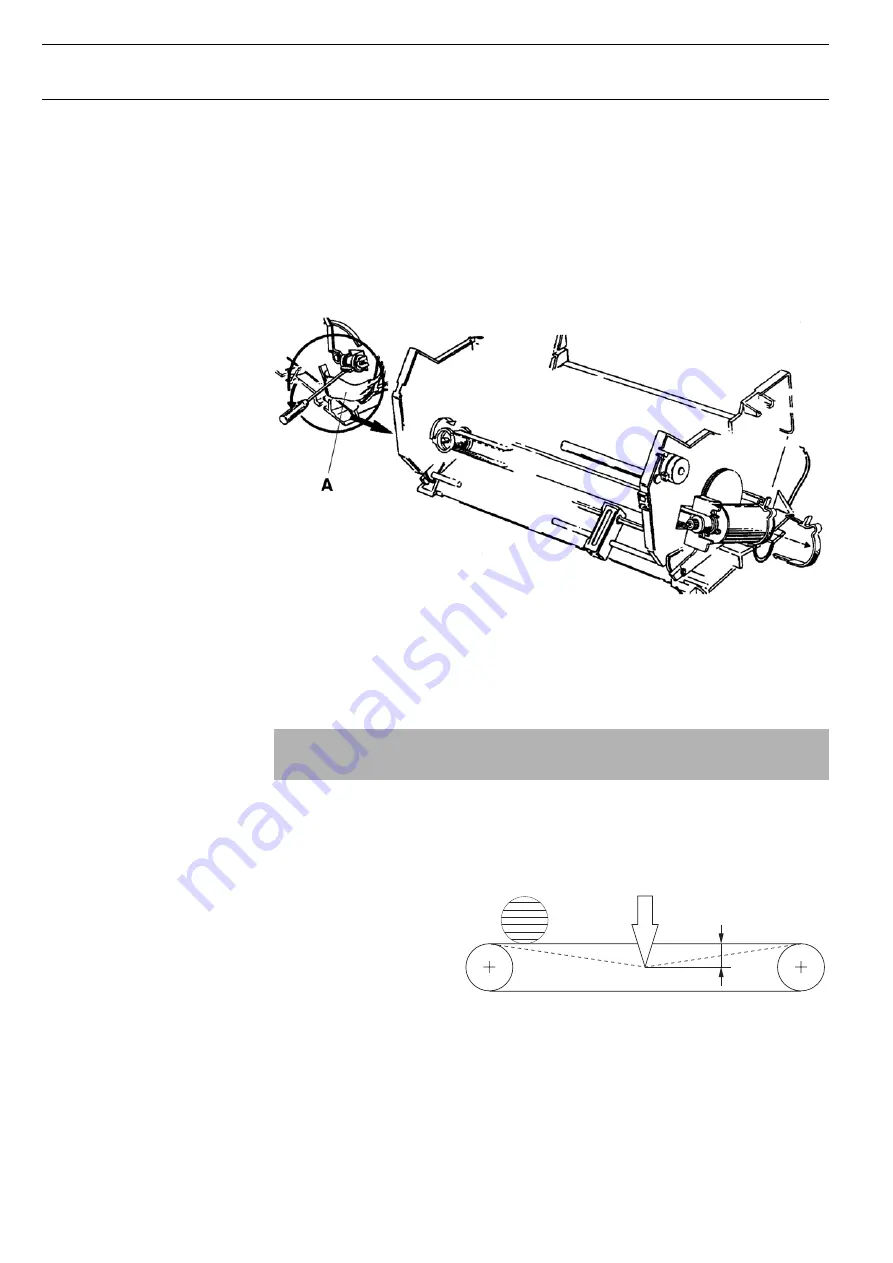
The tension of the toothed belt can be adjusted by means of the eccentric tension
pulley located at the left side wall.
First you must remove the top casing as described in chapter 5.1.1.
Necessary tool: Scale
– Loose the belt by turning the eccentric pulley in upward direction. Tighten the belt
by turning the pulley downwards.
– The point of measure is within the range of 150 mm to 200 mm from the left side
wall.
– The scale should be adjusted to 2 N by 7 mm stroke.
Caution:
Do not bend the cables “A” next to the pulley while turning the eccentric pulley.
F = 2 N
Print head at left
stop position
7 mm
Tolerances
F = 1.2 N – 2.0 N
Summary of Contents for 2365
Page 1: ...Maintenance manual Matrix printer 2365 2380...
Page 2: ...This page intentionally left blank...
Page 8: ...This page intentionally left blank...
Page 10: ...This page intentionally left blank...
Page 20: ...This page intentionally left blank...
Page 32: ...Mechanical Functions Functional Description 3 12 right mark mark mark...
Page 35: ...Functional Description Electronic Functions 3 15 2365 2380 Electronic groups...
Page 128: ...This page intentionally left blank...
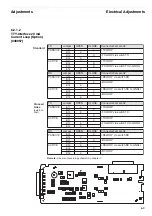
Page 134: ...Mechanical Adjustments Adjustments 6 6...
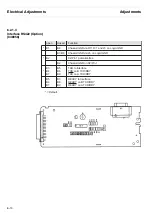
Page 136: ...Electrical Adjustments Adjustments 6 8...
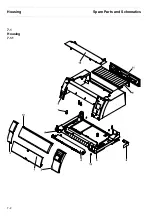
Page 142: ...Housing Spare Parts and Schematics 7 2 7 1 Housing 7 1 1...
Page 144: ...Basic Printer Spare Parts and Schematics 7 4 7 2 1 Basic Printer 1 3 36...
Page 145: ...Spare Parts and Schematics Basic Printer 7 5 Basic Printer 2 3 462646...
Page 146: ...Basic Printer Spare Parts and Schematics 7 6 Basic Printer 3 3...
Page 151: ...This page intentionally left blank...
Page 164: ...Option Recognition Spare Parts and Schematics 7 24 7 10 Option Recognition...
Page 168: ...This page intentionally left blank...
Page 170: ...Tractor Complete Rear Tractor 2T Model 8 2 8 2 Tractor Complete 4 1...
Page 172: ...This page intentionally left blank...
Page 174: ...Cutting Device Option Specifications 9 2 14 6 4 12 1 5 6 11 7 13 7 8 17 2 9 3 16 15 4...
Page 176: ...This page intentionally left blank...
Page 177: ...2nd Front Tractor option 10 1 10 2nd Front Tractor option...
Page 179: ...Printer Stand Overview 11 1 11 Printer Stand 11 1 Overview...
Page 180: ...Installing the Printer Stand Printer Stand 11 2 11 2 Installing the Printer Stand 1 2 3 4...
Page 181: ...Printer Stand Installing the Printer Stand 11 3 6 8 7 5...
Page 182: ...Installing the Printer Stand Printer Stand 11 4 9 10...


