Functional Description
Electronic Functions
3-23
3.3.3.3
Shared Interface
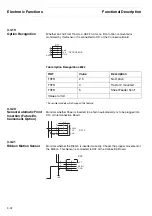
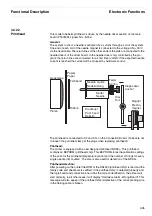
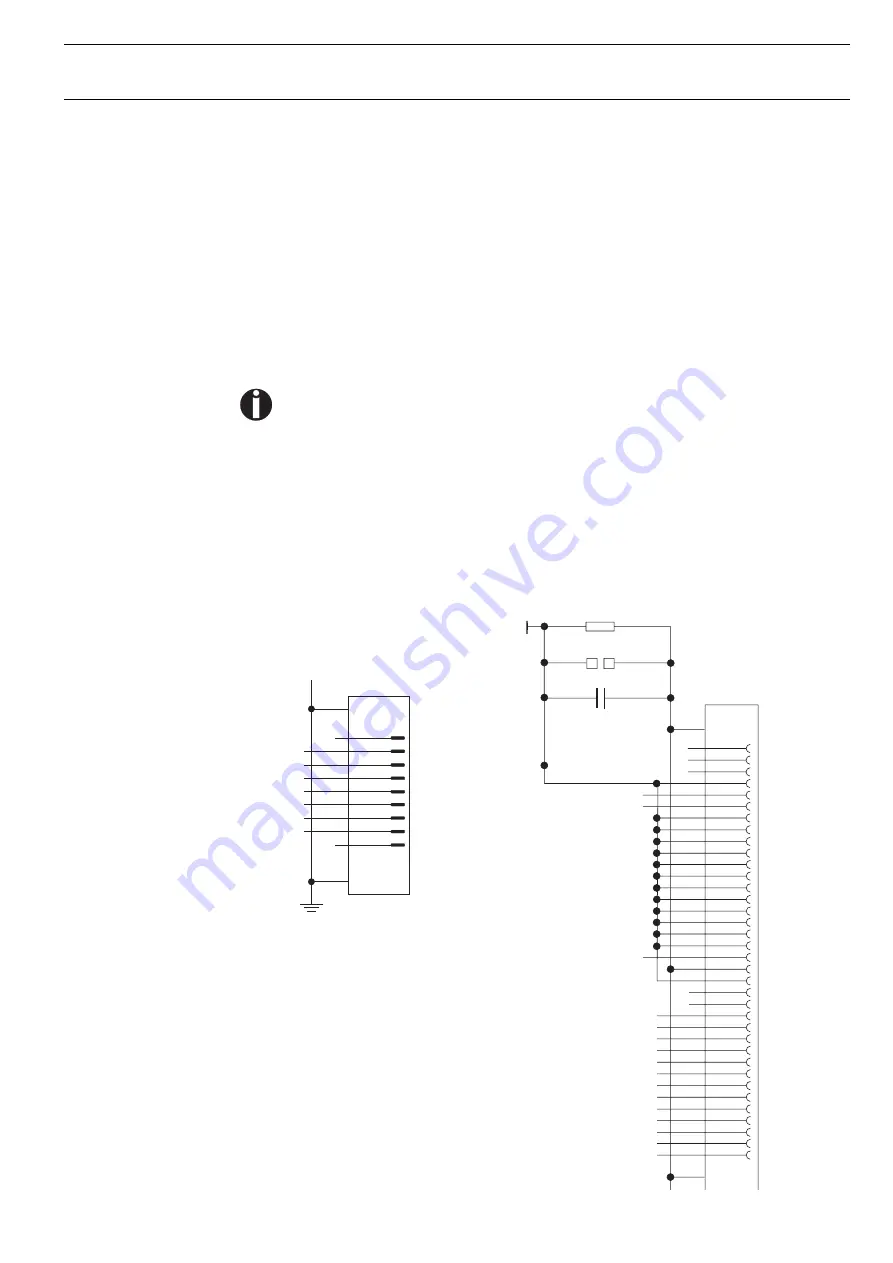
The parallel, the internal ethernet and the optional serial interface are linked to form
a so-called shared interface. Your printer can be configured to use only one interface
or all alternately. When only one interface is used, it is monitored by the printer. If the
printer is configured to use all interfaces simultaneously it monitors all interfaces for
incoming data. As soon as the printer recognizes a signal it switches to the respective
interface and sends the BUSY signal to the other interfaces. After finishing the data
transmission, the printer remains switched to this interface for a certain period of time
(30 seconds). When this time has elapsed, the controller reenables both interfaces
and the sequence described restarts. If incoming data is on the other interface and
the current print position is not “Top of Form”, a form feed is carried out.
If shared = parallel or shared = serial is set, all other interfaces are disabled.
CX
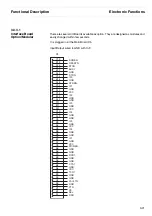
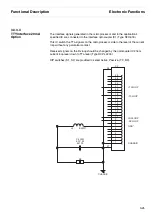
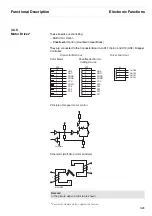
The parallel section is controlled by the main logic, only I/O Drivers (7407, 74244) are
necessary. Please see also section 3.3.3.1 “General Information”.
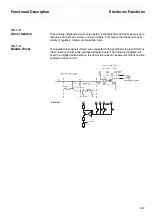
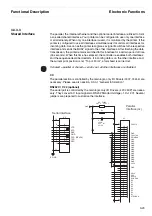
RS232C / V 24 (optional)
The serial part is controlled by the main logic only I/O Drivers (L 232 50P) are neces-
sary. They convert 5 V Input signals to RS232 Standard voltage (-12/+12 V). Several
jumpers are prepared to customize the interface.
9
X6
8
7
6
5
4
3
1
10
11
2
9
8
7
6
5
4
3
1
2
E GND
CTS
RTS
DSR
GND
DTR (READY)
TXD
RXD
Serial Interface
36
35
34
33
32
31
28
27
26
25
24
23
22
21
20
19
17
18
16
15
14
13
12
11
10
9
8
7
6
5
4
3
2
1
30
29
GND
FAULTNX
PRIMENX
GND
GND
GND
GND
GND
GND
GND
GND
GND
GND
GND
GND
VCCX
GND
SELX
STROBEN
PEX
BUSYX
DONENX
D8
D7
D6
D4
D3
D2
D1
D5
GND
37
38
CASSIS
C1
100N
63V
M
62130
B2
R4
52050
2K2
0
25W
J
X2
Parallel
Interface (cx)
Summary of Contents for 2365
Page 1: ...Maintenance manual Matrix printer 2365 2380...
Page 2: ...This page intentionally left blank...
Page 8: ...This page intentionally left blank...
Page 10: ...This page intentionally left blank...
Page 20: ...This page intentionally left blank...
Page 32: ...Mechanical Functions Functional Description 3 12 right mark mark mark...
Page 35: ...Functional Description Electronic Functions 3 15 2365 2380 Electronic groups...
Page 128: ...This page intentionally left blank...
Page 134: ...Mechanical Adjustments Adjustments 6 6...
Page 136: ...Electrical Adjustments Adjustments 6 8...
Page 142: ...Housing Spare Parts and Schematics 7 2 7 1 Housing 7 1 1...
Page 144: ...Basic Printer Spare Parts and Schematics 7 4 7 2 1 Basic Printer 1 3 36...
Page 145: ...Spare Parts and Schematics Basic Printer 7 5 Basic Printer 2 3 462646...
Page 146: ...Basic Printer Spare Parts and Schematics 7 6 Basic Printer 3 3...
Page 151: ...This page intentionally left blank...
Page 164: ...Option Recognition Spare Parts and Schematics 7 24 7 10 Option Recognition...
Page 168: ...This page intentionally left blank...
Page 170: ...Tractor Complete Rear Tractor 2T Model 8 2 8 2 Tractor Complete 4 1...
Page 172: ...This page intentionally left blank...
Page 174: ...Cutting Device Option Specifications 9 2 14 6 4 12 1 5 6 11 7 13 7 8 17 2 9 3 16 15 4...
Page 176: ...This page intentionally left blank...
Page 177: ...2nd Front Tractor option 10 1 10 2nd Front Tractor option...
Page 179: ...Printer Stand Overview 11 1 11 Printer Stand 11 1 Overview...
Page 180: ...Installing the Printer Stand Printer Stand 11 2 11 2 Installing the Printer Stand 1 2 3 4...
Page 181: ...Printer Stand Installing the Printer Stand 11 3 6 8 7 5...
Page 182: ...Installing the Printer Stand Printer Stand 11 4 9 10...

