Troubleshooting
Testmodes and Troubleshooting
4-6
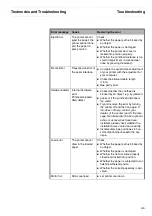
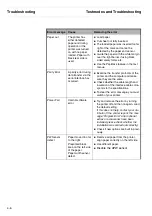
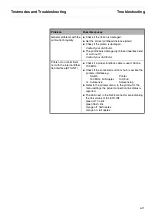
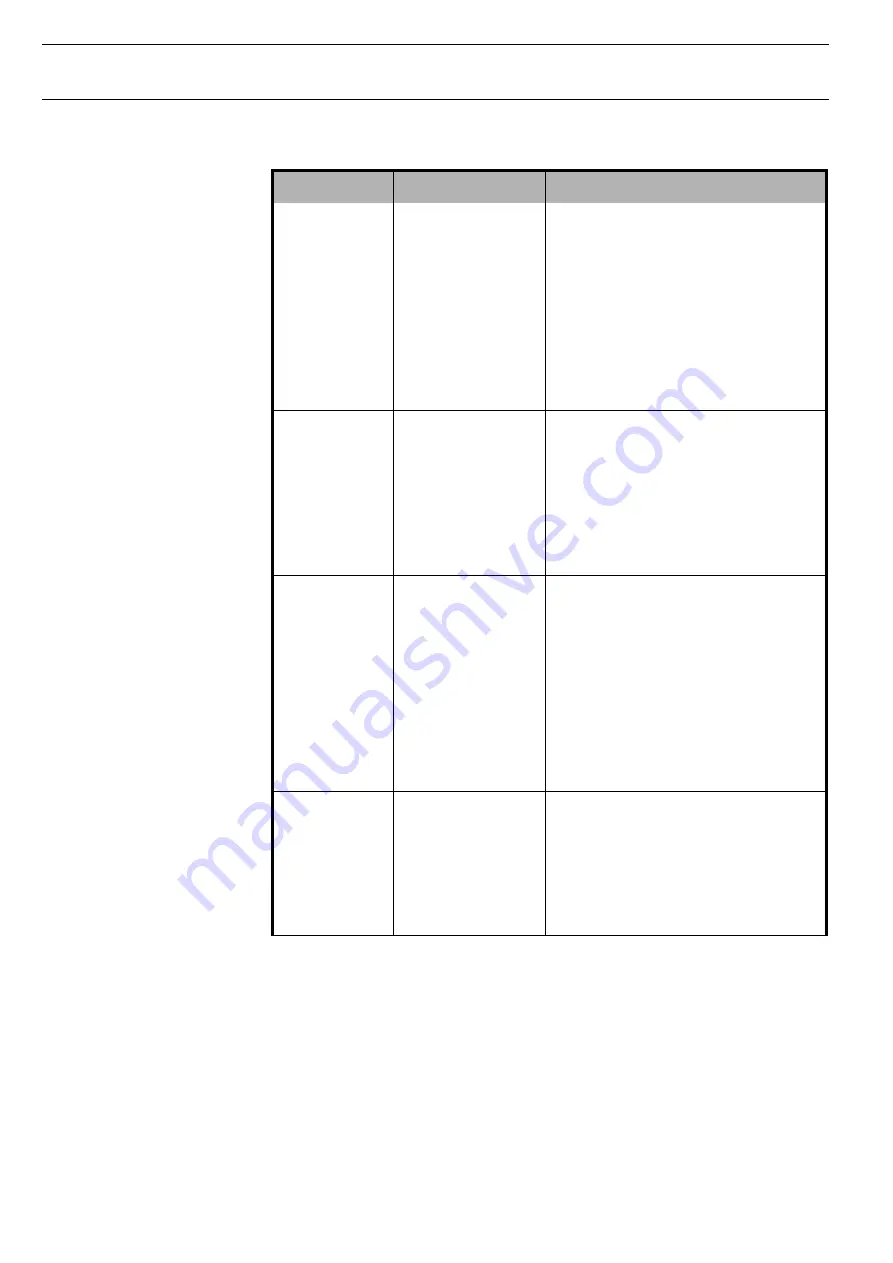
Paper out
The printer has
either detected
paper end during
operation or the
printer was turned
on with no paper
loaded. Paper with
black rear side is
used.
Load paper.
Cut sheet not fully inserted.
The loaded paper was inserted too far
right of the mark and cannot be
detected by the paper end sensor.
Guide the paper with the white margin
over the light barrier if using black
sided salary forms etc.
Use the Pap.Back feature in the test
menue.
Parity Error
A parity error during
data transfer via the
serial interface has
occurred.
Examine the transfer protocols of the
printer and the computer and make
sure they are the same.
Check whether the cable length and
insulation of the interface cable corre-
sponds to the specifications.
To clear the error message, you must
switch of your printer.
Power Fail
Internal software
error
Try and remove the error by turning
the printer off and then on again. Load
the default setting.
If this does not help, contact your dis-
tributor (If the printer reports the mes-
sage “Program Error” after optional
extras or accessories have been
installed, please check whether the
installation was carried out correctly).
Check if new options are built in previ-
ously.
PW Sensor
defect
Paper moved too far
to the right.
Preprinted black
area on the left side
of the paper
Paper width sensor
defect.
Remove all paper from the printer,
align paper correctly on the left side.
Use different paper.
Disable the APW sensor
Error message
Cause
Removing the error
Summary of Contents for 2365
Page 1: ...Maintenance manual Matrix printer 2365 2380...
Page 2: ...This page intentionally left blank...
Page 8: ...This page intentionally left blank...
Page 10: ...This page intentionally left blank...
Page 20: ...This page intentionally left blank...
Page 32: ...Mechanical Functions Functional Description 3 12 right mark mark mark...
Page 35: ...Functional Description Electronic Functions 3 15 2365 2380 Electronic groups...
Page 128: ...This page intentionally left blank...
Page 134: ...Mechanical Adjustments Adjustments 6 6...
Page 136: ...Electrical Adjustments Adjustments 6 8...
Page 142: ...Housing Spare Parts and Schematics 7 2 7 1 Housing 7 1 1...
Page 144: ...Basic Printer Spare Parts and Schematics 7 4 7 2 1 Basic Printer 1 3 36...
Page 145: ...Spare Parts and Schematics Basic Printer 7 5 Basic Printer 2 3 462646...
Page 146: ...Basic Printer Spare Parts and Schematics 7 6 Basic Printer 3 3...
Page 151: ...This page intentionally left blank...
Page 164: ...Option Recognition Spare Parts and Schematics 7 24 7 10 Option Recognition...
Page 168: ...This page intentionally left blank...
Page 170: ...Tractor Complete Rear Tractor 2T Model 8 2 8 2 Tractor Complete 4 1...
Page 172: ...This page intentionally left blank...
Page 174: ...Cutting Device Option Specifications 9 2 14 6 4 12 1 5 6 11 7 13 7 8 17 2 9 3 16 15 4...
Page 176: ...This page intentionally left blank...
Page 177: ...2nd Front Tractor option 10 1 10 2nd Front Tractor option...
Page 179: ...Printer Stand Overview 11 1 11 Printer Stand 11 1 Overview...
Page 180: ...Installing the Printer Stand Printer Stand 11 2 11 2 Installing the Printer Stand 1 2 3 4...
Page 181: ...Printer Stand Installing the Printer Stand 11 3 6 8 7 5...
Page 182: ...Installing the Printer Stand Printer Stand 11 4 9 10...

