User guide
Installation
9
Checking the printer
voltage
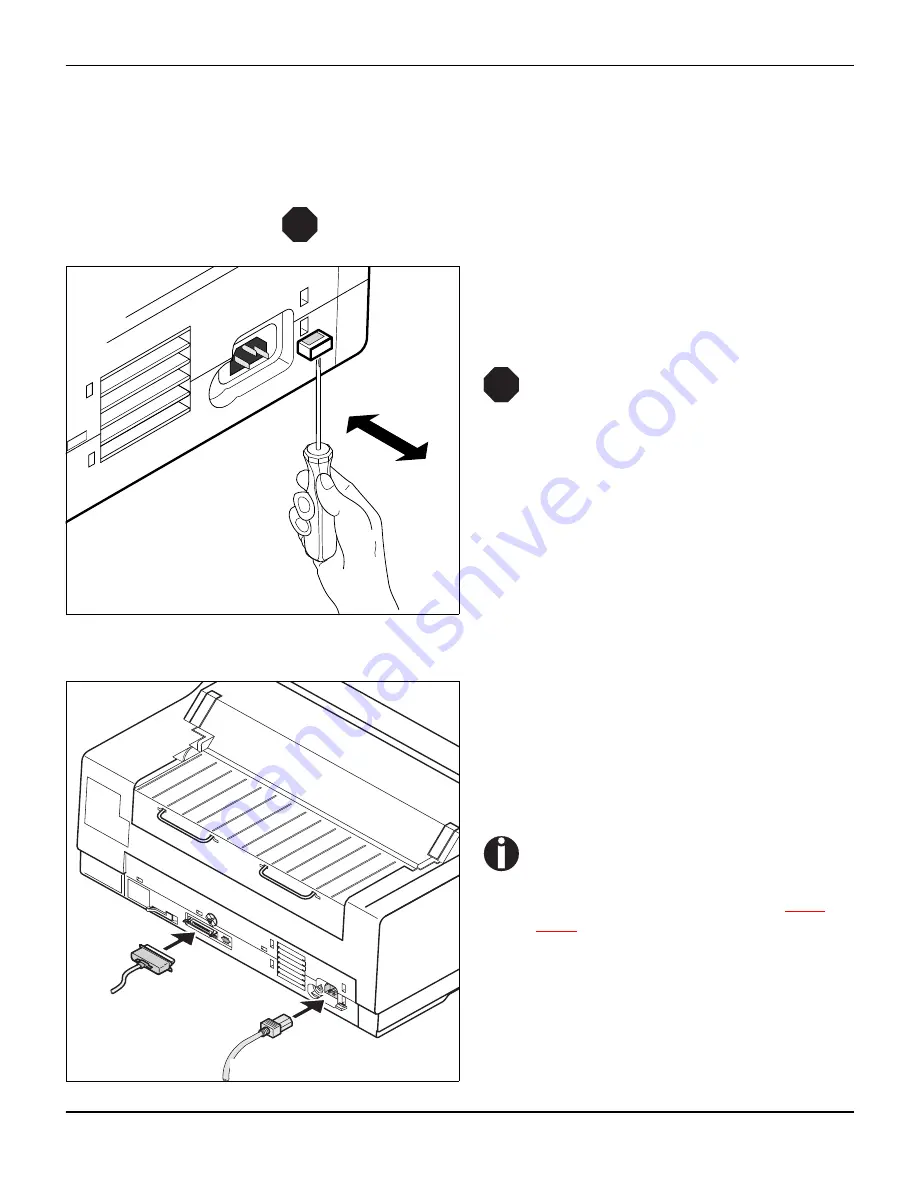
Make sure that the device has been set to the correct voltage (e.g.
230 V in Europe, 120 V in the USA). To do this, check the type plate
above the power inlet at the back of the printer. Contact your dealer
if the setting is incorrect.
Never switch on the printer if the voltage setting is incorrect,
since this may result in severe damage.
If the setting is incorrect, set the coloured switch at
the rear of the printer to the correct position, using
a pointed object (e.g. screwdriver, ball pen or
tweezers).
Make sure that the printer is switched
off before setting the correct voltage;
otherwise severe damage may be
caused.
Connecting the printer
Connect the power cable
c
to the power inlet of
the printer. Connect the power cable plug to a
mains socket.
Make sure that the printer and the computer are
switched off and connect the data cable
d
be-
tween the printer and the computer.
The printer by default is provided with a
parallel and an Ethernet interface. For
further information about the inter-
faces, refer to the section (see
Inter-
faces
, page 157).
STOP
120V
STOP
d
c
Summary of Contents for 2365
Page 1: ...User guide Matrix printer 2365 2380 ...
Page 2: ......
Page 10: ......
Page 14: ...Printer at a glance User guide 4 Printer in tractor mode Tractors ...
Page 16: ......
Page 38: ......
Page 46: ......
Page 62: ......
Page 100: ...The Menu User guide 90 Menu settings example ...
Page 178: ......


