background image


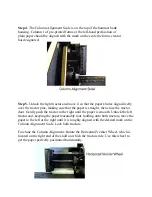
Step 4. 

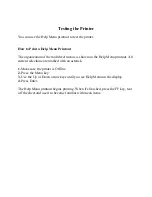
The Column Alignment Scale is on the top of the hammer bank 

housing. Column 1 of pre-printed forms or the left-hand perforation of 
plain paper should be aligned with the mark on the scale the forms creator 
has designated. 


Step 5. 

Unlock the right tractor and move it so that the paper's holes align directly 

over the tractor pins, making sure that the paper is straight, then close the tractor 
door. Gently push the tractor to the right until the paper is smooth. Unlock the left 
tractor and, keeping the paper reasonably taut, holding onto both tractors, move the 
paper to the left or the right until it is roughly aligned with the desired mark on the 
Column Alignment Scale. Lock both tractors. 
 
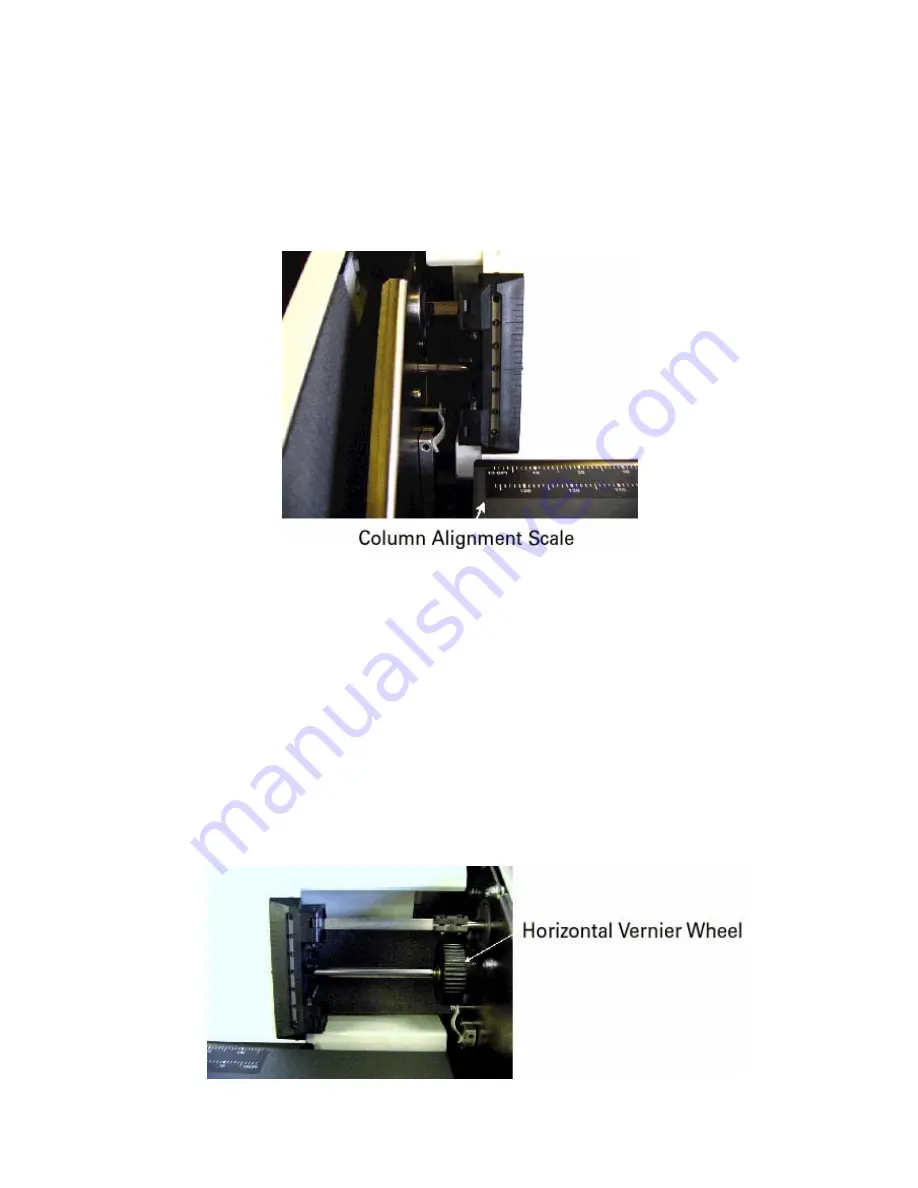
Fine tune the Column Alignment: Rotate the Horizontal Vernier Wheel, which is 
located on the right end of the shaft on which the tractors ride. Use this wheel to 
get the paper perfectly positioned horizontally. 


Summary of Contents for 6312

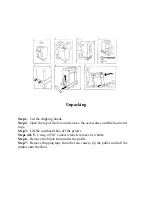
Page 1: ...6306 6312 Unpacking Installation...

Page 2: ...he accessories and the foam end caps Step 3 Lift the cardboard box off the printer Steps 4 5 Using a 9 16 socket wrench remove two bolts Step 6 Remove the block from under the pallet Step 7 Remove shi...

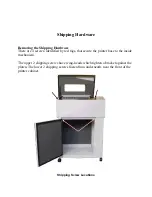
Page 3: ...tified by red tags that secure the printer base to the inside mechanism The upper 2 shipping screws have wing heads which tighten a bracket against the platen The lower 2 shipping screws fasten from u...

Page 4: ...back of the printer with two existing Phillips head screws Setting Up Paper Stacking Chains Paper exits the print area through a set of passive Paper Stacking Chains that help fold and stack printed f...

Page 5: ...uses a standard DB 25 serial cable connector and standard RS 232 C signals The Centronics parallel port is IEEE 1284 compliant and uses a 36 pin 1284 B type connector AMP 555119 1 or equivalent To co...

Page 6: ...the arrow next to the knob then slip the ribbon left side first over the two ribbon guides and between the front and rear panels of the ribbon shield on the printer Step 3 Press down lightly on the c...

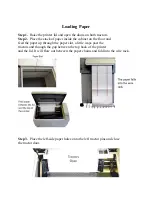
Page 7: ...inet on the floor and feed the paper up through the paper slot a little ways past the tractors and through the gap between the top back of the printer and the lid It will flow out between the paper ch...

Page 8: ...t the paper is straight then close the tractor door Gently push the tractor to the right until the paper is smooth Unlock the left tractor and keeping the paper reasonably taut holding onto both tract...

Page 9: ...an initial Print Gap setting appropriate for the thickness of the paper that has been loaded will have been automatically determined when you pressed the TOF key You may press the or Print Gap key to...

Page 10: ...on the Help Menu printout All current selections are marked with an asterisk 1 Make sure the printer is Offline 2 Press the Menu key 3 Use the Up or Down arrow keys until you see Help Menu on the dis...

Reviews: