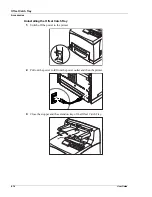
8-20
User Guide
Memory Expansion Module
Accessories
Memory Expansion Module
1.
Ensure that the printer power switch is set to the OFF <
O
> position.
2.
Disconnect the power cord from the wall outlet.
3.
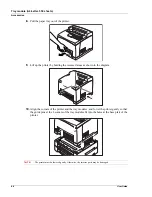
Remove the side cover from the printer.
4.
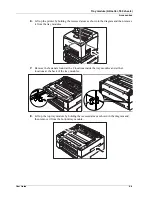
Remove the inside panel by removing the screws as shown below:
5.
Pull the inside panel away from the printer by the top edge.
6.
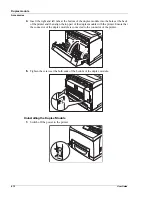
Carefully insert a Memory Module into the slot as shown below. When properly seated,
gently push down on the module until the side braces close onto the ends of the Memory
Module.
7.
Reinstall the side covers in reverse order (Steps 3, 4, and 5).
8.
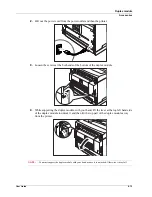
Connect the power cord to the wall outlet. Turn the printer power switch to the ON <
I
>
position.
Summary of Contents for 9040
Page 1: ...9040 9045N Laser Printer User Guide ...
Page 26: ...2 18 User Guide Understanding Printing Options Getting to Know Your Printer ...
Page 48: ...3 22 User Guide Operator Panel Menus Operator Panel ...
Page 72: ...4 24 User Guide Job Options Tab Windows Operations ...
Page 80: ...5 8 User Guide Navigating the Driver Macintosh Operations ...
Page 88: ...6 8 User Guide Navigating the EWS Embedded Web Server ...
Page 118: ...8 24 User Guide Power On Files Feature Accessories ...
Page 152: ...I 6 User Guide ...

