


Feb 05
6-24
34PPM Laser Printer User Guide
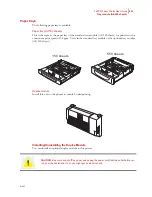
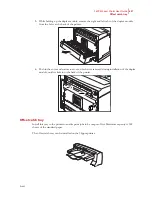
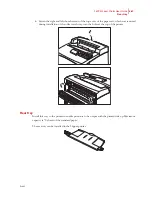
Rear tray
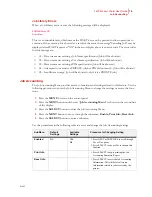
Installing/Uninstalling the Rear Tray
You can install an optional rear tray to this printer.
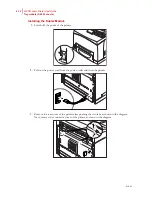
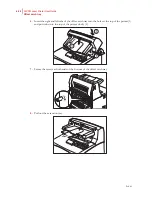
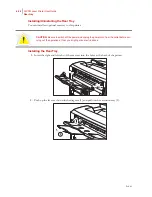
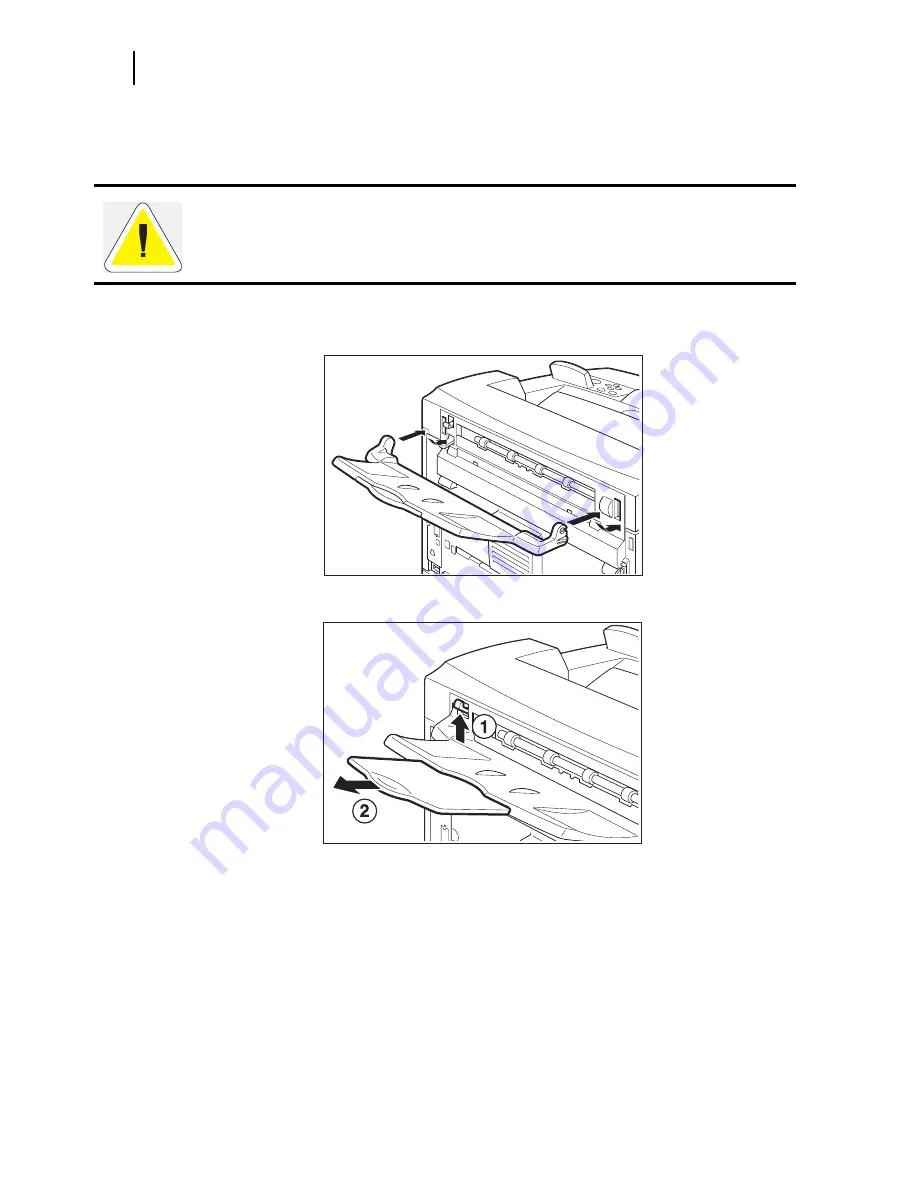
Installing the Rear Tray
1.
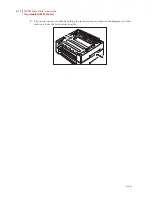
Insert the right and left tabs of the rear tray into the holes at the back of the printer.
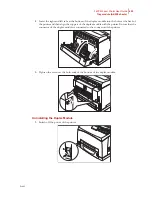
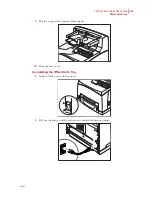
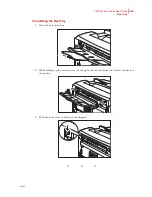
2.
Push up the lever as shown in the diagram (1) and pull out the extension tray (2).
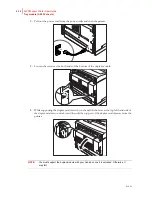
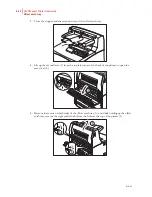
CAUTION: Be sure to switch off the power and unplug the power cord from the outlet before car-
rying out the operations. If not, you might get an electric shock.
Summary of Contents for Intelliprint 9035
Page 1: ...Feb 05 User Guide TallyGenicom Intelliprint 9035 Laser Printer ...
Page 14: ...h Feb 05 6 34PPM Laser Printer User Guide Special Features of This Printer ...
Page 37: ...Feb 05 34PPM Laser Printer User Guide 1 23 Printing a Configuration Summary ...
Page 40: ...Feb 05 1 26 34PPM Laser Printer User Guide Printing PCL and PostScript Font Lists ...
Page 66: ...Feb 05 2 26 34PPM Laser Printer User Guide When Moving the Printer ...
Page 80: ...Feb 05 3 14 34PPM Laser Printer User Guide Warning Messages and Error Messages ...
Page 94: ...Feb 05 4 14 34PPM Laser Printer User Guide At the Offset Catch Tray ...
Page 140: ...Feb 05 6 26 34PPM Laser Printer User Guide Rear tray ...
Page 166: ...Feb 05 7 26 34PPM Laser Printer User Guide DISK Menu ...


