


Feb 05
34PPM Laser Printer User Guide
8-9
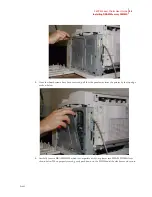
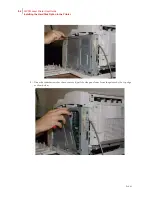
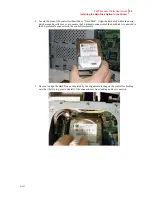
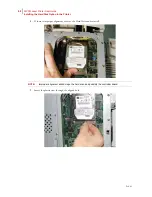
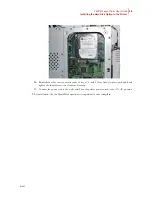
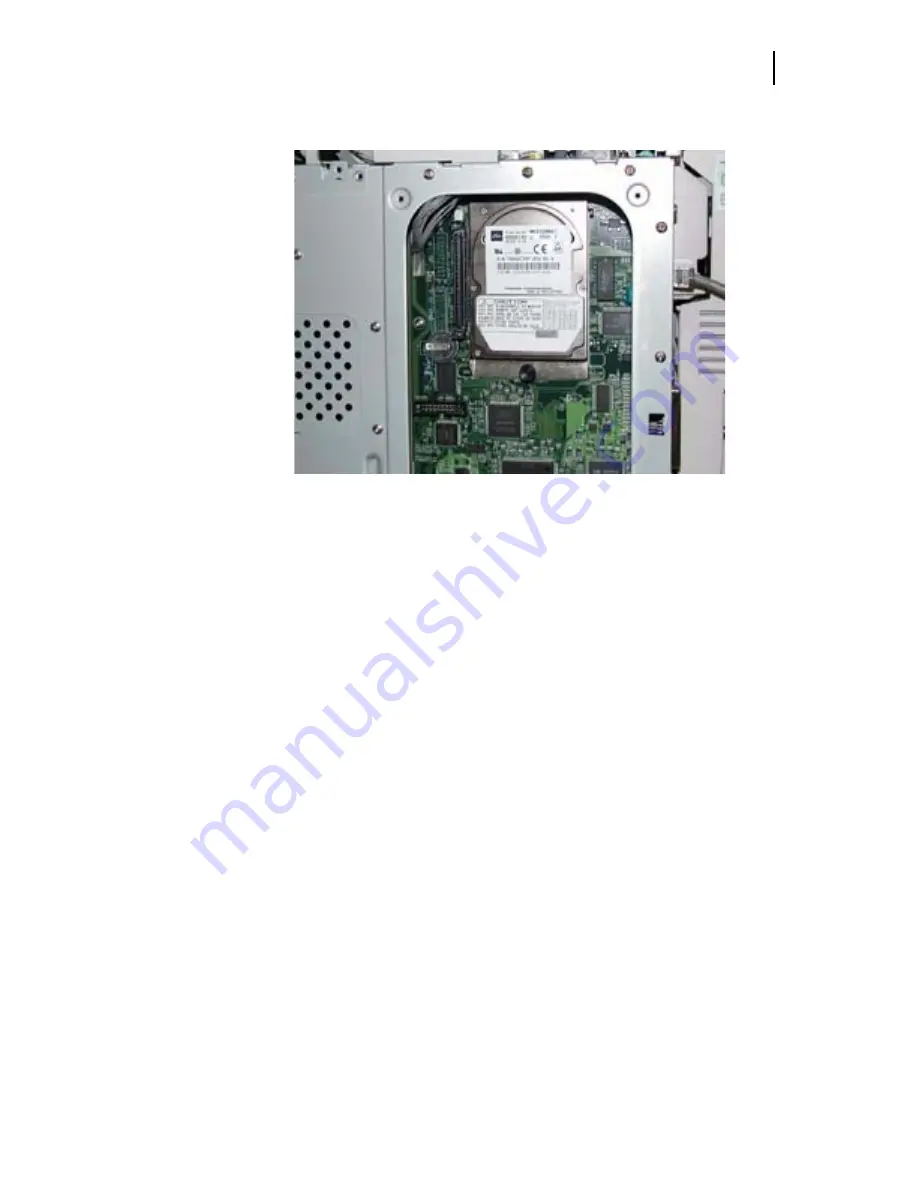
Installing the Hard Disk Option in the Printer
10.
Reinstall the side covers in reverse order of steps 3, 4, and 5. Once firmly in place, push and hand
tighten the thumbscrews in a clockwise direction.
11.
Connect the power cord to the wall outlet.Turn the printer power switch to the ON <
I
> position.
The installation of your Hard Disk option in your printer is now complete.
Summary of Contents for Intelliprint 9035
Page 1: ...Feb 05 User Guide TallyGenicom Intelliprint 9035 Laser Printer ...
Page 14: ...h Feb 05 6 34PPM Laser Printer User Guide Special Features of This Printer ...
Page 37: ...Feb 05 34PPM Laser Printer User Guide 1 23 Printing a Configuration Summary ...
Page 40: ...Feb 05 1 26 34PPM Laser Printer User Guide Printing PCL and PostScript Font Lists ...
Page 66: ...Feb 05 2 26 34PPM Laser Printer User Guide When Moving the Printer ...
Page 80: ...Feb 05 3 14 34PPM Laser Printer User Guide Warning Messages and Error Messages ...
Page 94: ...Feb 05 4 14 34PPM Laser Printer User Guide At the Offset Catch Tray ...
Page 140: ...Feb 05 6 26 34PPM Laser Printer User Guide Rear tray ...
Page 166: ...Feb 05 7 26 34PPM Laser Printer User Guide DISK Menu ...


