general, plastic containers are unsuitable.
• Stop the engine and disconnect the spark plug lead before inspecting the mower if:
(a) the mower begins to vibrate abnormally, or
(b) after striking a foreign object.
• Check the catcher for wear and tear, and replace any worn or broken parts.
• To reduce fire hazard, keep the engine free of grass, leaves and any spilt fuel.
• Shut the engine off and wait until the blades come to a complete stop before removing the
catcher or un-clogging the chute.
• Never pick up or carry a mower when it is operating.
• Replace worn or faulty silencers.
• Before using, always visually inspect to see that blades, blade bolts and cutter assembly
are not worn or damaged. Replace worn or damaged blades and bolts in sets to preserve
balance.
• Do not mow whilst people, especially children, or pets are in the mowing area.
• Do not allow children or people unfamiliar with these instructions to use the mower.
• Store the mower in a well-ventilated room away from naked flames such as may be found
in hot water heaters.
• Do not over-speed the engine or alter governor settings. Excessive speed is dangerous and
shortens mower life.
• Turn the fuel off at the conclusion of mowing and reduce the throttle setting during engine
run-out.
• Never cut grass while walking backwards.
• Walk, never run.
• Never use the mower unless the grass catcher, or guards provided, are in position.
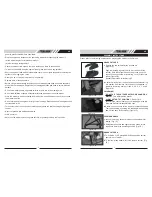
GRASS CATCHER
1.
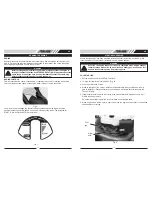
Position the two catcher halves as shown in
(Figure 1A).
Align the locating lugs marked 1 & 2 at the front of the
catcher. With the catcher base on the ground, push the
top section on each side of locator lug 1 until it clicks into
place. (Figure 1B).
Repeat this process for locator lug 2
2.
Continue working from the front and push each locator lug
into position from number 1 through 8 until completed. i.e.
start with locator lug number 1 then 2, 3, 4, 5, 6, 7, and 8.
(Figure 1A)
3. WARNING:
DO NOT HIT THE CATCHER WITH YOUR HAND OR A
MALLET.
This will break the plastic.
ALWAYS START AT POSITION 1
. Do not try to
assemble the catcher from any other starting point as this
will make it difficult to assemble the clips.
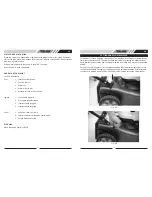
4.
Before use, check that all the lugs are completely clipped.
Test the assembly by holding the top handle and pushing
down of the base of the catcher. (Figure 1C)
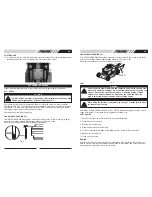
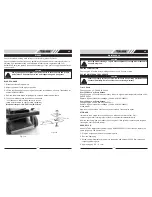
FOLDING HANDLE
1.
Loosen the locking knobs to release the handle bars for
folding. (Fig. 1D)
2.
Straighten the handle and tighten locking knobs to lock
the handle bars in the operating position. (Fig. 1D)
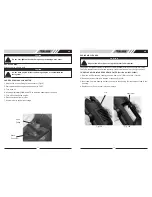
GRASS CATCHER
1.
To fit: Raise FLAP, grasp HANDLE and position catcher
against rear of mower.
2.
To remove: grasp handle, lift FLAP, remove catcher. (Fig.
1E)
Figure. 1A
Figure. 1B
Figure. 1C
Figure. 1D
Figure. 1E
Locking
Knobs
ASSEMBLY INSTRUCTIONS
AU
Please refer to the following sections when preparing the mower for it’s first use.
6
7
AU


