(a)
(b)
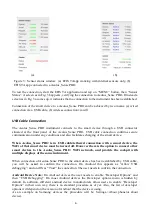
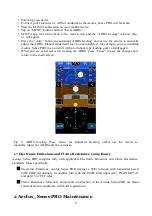
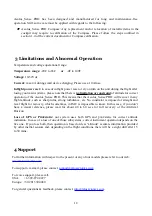
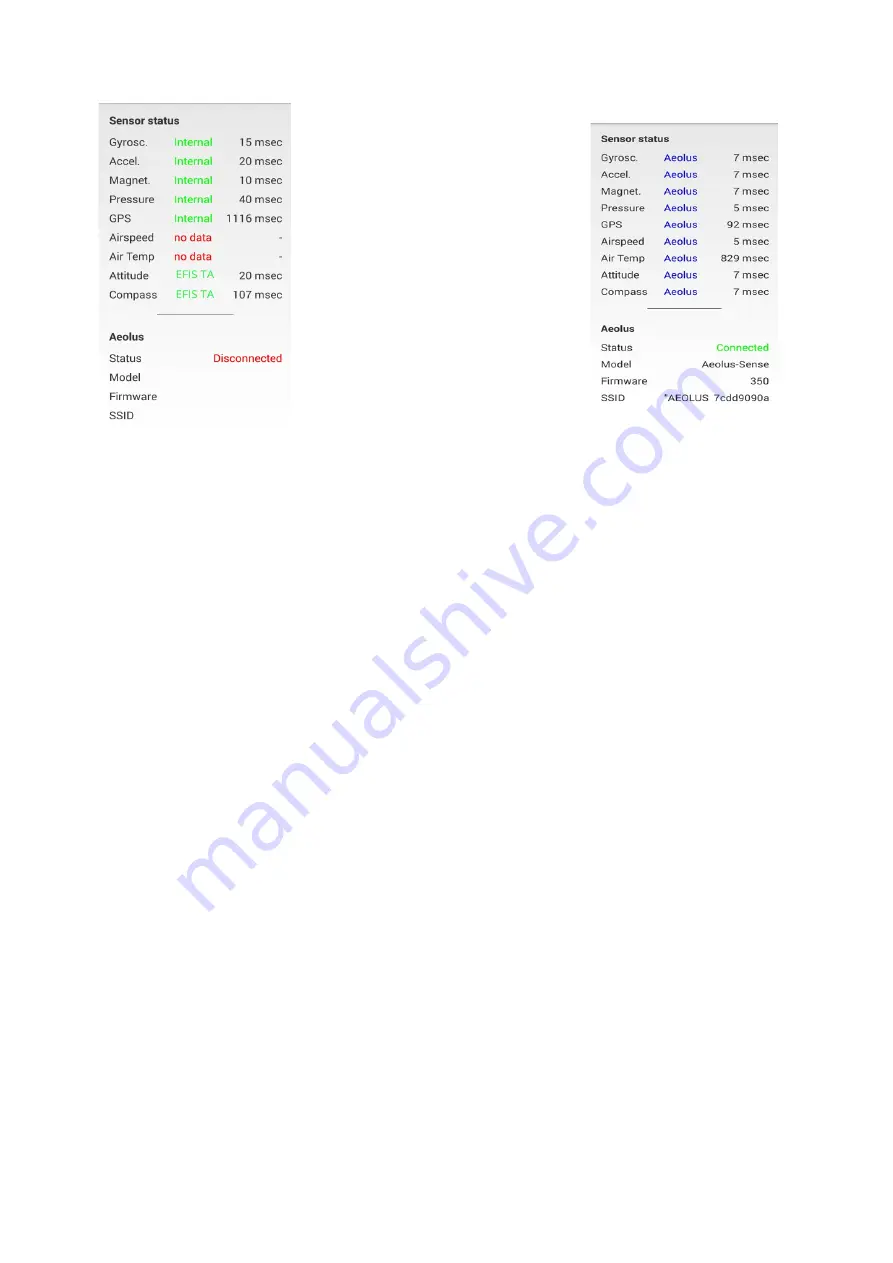
Figure 3: Sensor status window. (a) EFIS TA app working with internal sensors only, (b)
EFIS TA app connected to a Aeolus_Sense PRO.
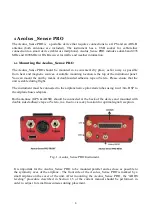
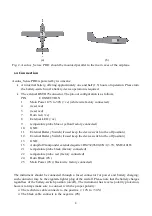
To test the connection, start the EFIS TA application and tap on “MENU” button, then “Sensor
Status”. A screen as in Fig. 3b appears, verifying the connection to Aeolus_Sense PRO. If instead a
screen as in Fig. 3a comes up, it indicates that no connection to the instrument has been established.
Connection of the smart device to a Aeolus_Sense PRO can be achieved by two means: (a) wired
connection via a USB cable, (b) wireless connection via wifi.
USB Cable Connection
The Aeolus_Sense PRO instrument connects to the smart device through a USB connector
situated at the front panel of the Aeolus_Sense PRO. USB cable connection confirms secure
communication under any conditions and also facilitates charging of the smart device.
When Aeolus_Sense PRO is in USB cable/tethered connection with a smart device, the
WiFi of that smart device must be turned off. However there is the option to connect other
smart devices to the Aeolus_Sense PRO WiFi network, and provide the cockpit with
multiple displays of the same instrument.
When connection of Aeolus-Sense PRO to the smart device has been established by USB cable,
you will be asked to confirm the connection. On Android this appears as “Allow USB
debugging”, and on iOS as “Trust” the connection. The user needs to confirm the connection.
Android Device Note:
On Android devices the user needs to enable “Developer Options” and
then “USB Debugging”. On most Android devices the Developer options menu is hidden by
default. In addition, different android device manufacturers allow users to enable “Developer
Options” in their own way, there is no standard procedure as of yet. Also, the list of developer
options will depend on the version of Android that the device is using.
As an example on Samsung devices the procedure will be: Settings->About phone(or about
device).
6
Summary of Contents for Aeolus Sense PRO
Page 11: ...11 ...

