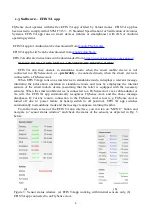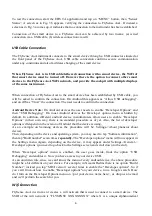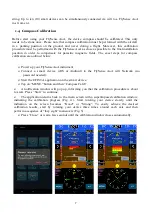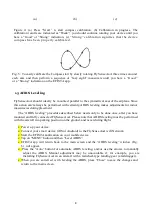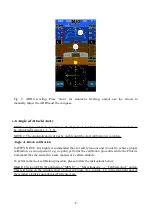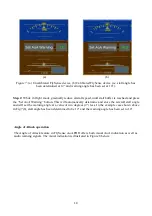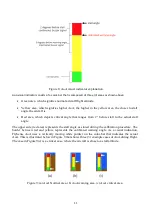
To test the connection, start the EFIS TA application and tap on “MENU” button, then “Sensor
Status”. A screen as in Fig. 3b appears, verifying the connection to FlySense AoA. If instead a
screen as in Fig. 3a comes up, it indicates that no connection to the instrument has been established.
Connection of the smart device to a FlySense AoA can be achieved by two means: (a) wired
connection via a USB cable, (b) wireless connection via wifi.
USB Cable Connection
The FlySense AoA instrument connects to the smart device through a USB connector situated at
the front panel of the FlySense AoA. USB cable connection confirms secure communication
under any conditions and also facilitates charging of the smart device.
When FlySense AoA is in USB cable/tethered connection with a smart device, the WiFi of
that smart device must be turned off. However there is the option to connect other smart
devices to the FlySense AoA WiFi network, and provide the cockpit with multiple displays
of the same instrument.
When connection of FlySense AoA to the smart device has been established by USB cable, you
will be asked to confirm the connection. On Android this appears as “Allow USB debugging”,
and on iOS as “Trust” the connection. The user needs to confirm the connection.
Android Device Note:
On Android devices the user needs to enable “Developer Options” and
then “USB Debugging”. On most Android devices the Developer options menu is hidden by
default. In addition, different android device manufacturers allow users to enable “Developer
Options” in their own way, there is no standard procedure as of yet. Also, the list of developer
options will depend on the version of Android that the device is using.
As an example on Samsung devices the procedure will be: Settings->About phone(or about
device).
Then, depending on the device and operating system, you may need to tap "Software information",
then tap "Build number" seven times
repeatedly.
The "Developer options" menu will now appear in
the Settings menu. Again, depending on the device, it may appear under Settings->General->
Developer options (you need to go back to the Settings screen and scroll down to the end).
When "Developer options" menu is enabled, the user goes inside, finds the option “USB
Debugging” and enables it. Now you have access to your device USB.
As an unwritten rule, since we can't know the menu of every android device, the above procedure
might be a bit different on your device. For example, in Xiaomi Redmi there is no option “Build
Number”, instead you tap “MIUI version” several times to enable the "Developer options". So if
you can't find-out how to enable "Developer options"on your device, run a Google search: How
do I turn on the Developer Options menu on <put your device name here>, or drop us an email
and we'll perform the search for you.
Wifi Connection
FlySense AoA i n s t r u m e n t creates a wifi network that is used to connect to a smart device. The
SSID of the wifi network is “FLYSENSE XXXXXXXXX” where X is a unique alphanumerical
6


