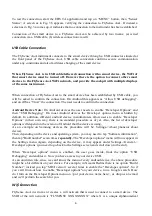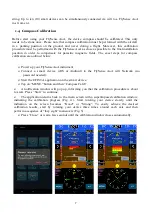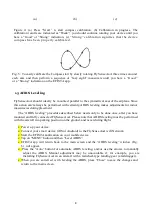
(a)
(b)
(c)
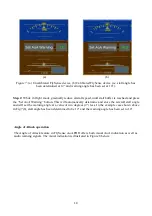
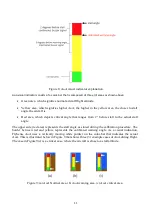
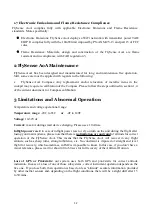
Figure 4: (a) Press “Start” to start compass calibration. (b) Calibration in progress. The
calibration results are indicated as “Weak”; you should continue rotating your device until you
have a “Good” or “Strong” indication. (c) “Strong” calibration signifies that the device
compass has been properly calibrated.
Fig. 5: To easily calibrate the Compass start by slowly rotating FlySense AoA three times around
each axis and then perform a sequence of “lazy eight” maneuvers until you have a “Good”
or a “Strong” indication on the EFIS TA app.
1.5 AHRS Leveling
FlySense AoA should ideally be mounted parallel to the symmetrical axes of the airplane. Since
this action can't always be performed with certainty, AHRS leveling makes adjustments for minor
inaccuracies during placement.
The “AHRS leveling” procedure described below needs only to be done once, after you have
mounted and fully connected FlySense AoA. Please note that AHRS leveling must be performed
with the aircraft in a parking position on the ground, and never during flight.
Power up your device.
Connect your smart device (iOS or Android) to the FlySense AoA wifi Network.
Start the EFIS TA application on your mobile device.
Tap on “MENU” button and then “Level AHRS”.
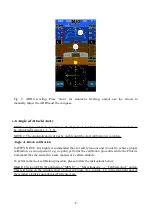
EFIS TA app will return back to the main screen and the “AHRS leveling” window (Fig.
6) will appear.
Press the “Auto” button for automatic AHRS leveling, and/or use the arrows to manually
adjust the AHRS. Manual adjustment may be unavoidable if, for example, you are
installing FlySense AoA in an aircraft with a tailwheel-type landing gear (a taildragger).
When you are satisfied with leveling the AHRS, press “Close” to save the changes and
return to the main screen.
8


