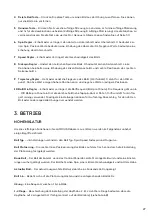
12
Take Down, Storage, & Transport
Upon finishing your training session, please power off your robot by unplugging from power; or alterna-
tively, plug your robot into a power strip and use the switch on the strip to turn the power off to your
robot.
If you’re ready to remove your robot from the table temporarily, please follow these steps:
1.
Unplug the robot from power and from the base. Unplug
the Control Panel Cable from the base and the Control
Panel. Roll these cables up and place them temporarily
on your table.
2.
Disconnect the rubber bands that connect your Side
Nets to your table. Place the Side Nets in the Ball Trays
of the Main Net.
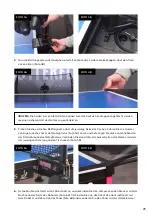
3.
Fold up the Main Net until the first stop of the folding mechanism. Unhook your robot from your
table and set it on your table with the open end facing you.
4.
Place your rolled-up cables, Control Panel, and Control Panel Mounting Bracket in the center area
of the net on top of the balls (you do not need to remove the balls).
5.
Stand your robot upright on the floor off to the side of your table or in a nearby closet. When you’re
ready to train again, it’s a quick, easy matter to set your robot back up on your table.
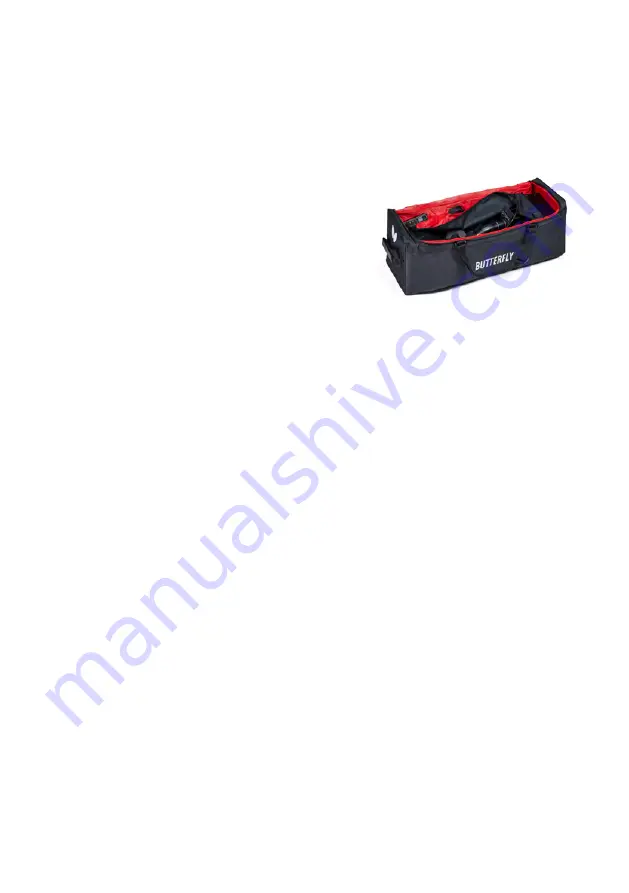
If you’re removing the robot for transport or long-term storage, we recommend placing your robot
into the included Carrying Case with these additional steps:
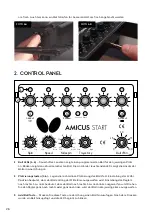
6.
Loosen the Black Knob on the rear of the Ball Tube, turn the head around 180° so it faces into the
net, and lower the head to only 1 ring. Then retighten the knob.
7.
Remove the cables, Control Panel, and bracket from the center area and place those items in the
storage pockets of the Carrying Case. The Carrying Case is also a handy place to store this manual,
balls, spare parts and tools, and other items that came with your robot.
8.
Finish folding up the net until the two Net Corner Brackets touch and their mating Velcro pieces
adhere to one another. You may need to help the net uprights fold down. You can also stuff parts of
the net that are sticking out into the central part of the net.
9.
Lay the robot net side down into the Carrying Case and secure it in place with the 2 straps found on
the bottom of the case.
Summary of Contents for AMICUS START
Page 1: ...1 AMICUS START Table Tennis Robot Owner s Manual Bedienungsanleitung Manuel d utilisation ...
Page 19: ...19 ...
Page 21: ...21 Owner s Manual Bedienungsanleitung Manuel d utilisation AMICUS START Tischtennis Roboter ...
Page 40: ...40 ...
Page 42: ...42 ...
Page 62: ...62 ...


