Tanco Autowrap -
VariAuto
Operator’s Manual
11
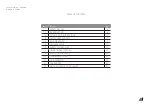
6. MACHINE SETUP
6. Machine Setup
6.1. Mounting of the Machine
6.1.1. Three Point Linkage
6.1.2. Hydraulic Top Link
6.1.3. Front Mounting
6.2. Expert Control Unit
6.3. VariAuto Hydraulic Connection
6.3.1. Open & Closed Center Hydraulics
6.3.2. Open Center Hydraulics
6.3.3. Close Center Hydraulics
6.3.4. Load Sensing Hydraulics
6.4. Emergency Stop
6.5. Mounting the Plastic film
6.6. Tanco Dual Stretch Dispenser
6.6.1. Tanco Dispenser Gear Combination
6.1. Mounting of the Machine
Be careful! There is a danger of being crushed when working implements are fitted and connected. Carry out the fitting procedures slowly and carefully, and use separate and approved
lifting equipment to make the work easier. Note the section on safety precautions and pay attention to the various safety decals displayed on different parts of the bale wrapper.
6.1.1. Three Point Linkage
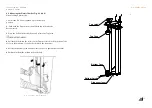
The VariAuto range is intended for mounting to the three point linkage, Category 2. Offset to tractors right hand side. Tighten up and lock the lifting arms so there is no sideways
movement.
6.1.2. Hydraulic Top Link
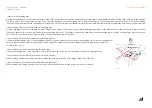
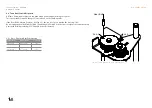
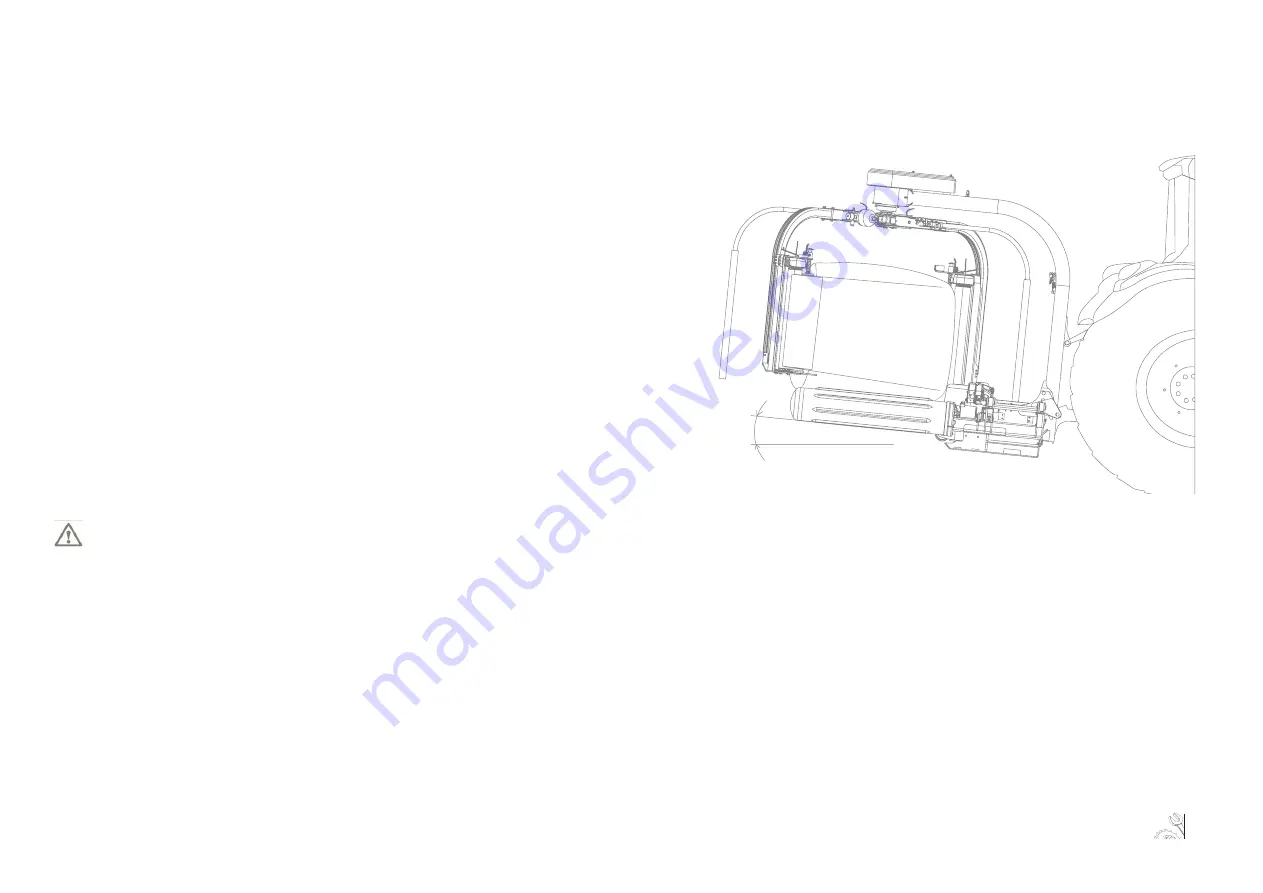
The optional adjustable Hydraulic Top Link is recommended for attaching the machine to the tractor allowing for levelling during loading and offloading of bales. It can also be used to
change the working angle of the machine so it can be tilted upwards at the back for wrapping in hilly areas or when wrapping conical shaped bales.
6.1.3. Front Mounting
This machine can be equipped with attachment brackets for front loader or wheel loader mounting.
(Talk to your dealer for information regarding the mounting brackets available).
When front-mounted there must be a large enough counterweight fitted to the three point linkage, this is to secure the tractors stability.
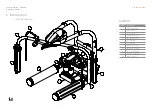
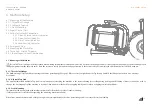
Fig. 6.1
Summary of Contents for S200 VariAuto
Page 1: ...S200 VariAuto S200 VA V 01 18 ENG_002 Innovation in Agricultural Machinery Operator s Handbook...
Page 45: ...3 Tanco Autowrap S200 VA Spare Parts Manual 1 Chassis Assembly...
Page 54: ...Tanco Autowrap S200 VA Spare Parts Manual 12 1 5 Load Arm Assembly LHS...
Page 56: ...Tanco Autowrap S200 VA Spare Parts Manual 14 1 6 Load Arm Assembly RHS...
Page 58: ...Tanco Autowrap S200 VA Spare Parts Manual 16...
Page 59: ...17 Tanco Autowrap S200 VA Spare Parts Manual 2 Cut Start...
Page 62: ...Tanco Autowrap S200 VA Spare Parts Manual 20...
Page 63: ...21 Tanco Autowrap S200 VA Spare Parts Manual 3 Wrap Arm Drive...
Page 66: ...Tanco Autowrap S200 VA Spare Parts Manual 24...
Page 67: ...25 Tanco Autowrap S200 VA Spare Parts Manual 4 Wrapping Arms...
Page 68: ...Tanco Autowrap S200 VA Spare Parts Manual 26 4 1 Wrap Arm Assembly...
Page 72: ...Tanco Autowrap S200 VA Spare Parts Manual 30...
Page 73: ...31 Tanco Autowrap S200 VA Spare Parts Manual 5 Dispenser Assembly...
Page 78: ...Tanco Autowrap S200 VA Spare Parts Manual 36...
Page 79: ...37 Tanco Autowrap S200 VA Spare Parts Manual 6 Expert Controller...
Page 80: ...Tanco Autowrap S200 VA Spare Parts Manual 38 6 1 Expert Controller 1 2 1a 1b...
Page 82: ...Tanco Autowrap S200 VA Spare Parts Manual 40...
Page 83: ...41 Tanco Autowrap S200 VA Spare Parts Manual 7 Hydraulic Valve Assemblies...
Page 86: ...Tanco Autowrap S200 VA Spare Parts Manual 44 1 2 3 4 5 5 6 7 2 Tower Block...
Page 88: ...Tanco Autowrap S200 VA Spare Parts Manual 46 1 2 3 2 2 4 5 6 7 3 Rollers Block...
Page 90: ...Tanco Autowrap S200 VA Spare Parts Manual 48 1 2 3 4 7 4 Oil Filter...

