background image

©Tansun Limited 2008                Part No. 042223                          Issue. 1 

F o l l o w i n g   i n f o r m a t i o n   i s   o n l y   f o r   E U - m e m b e r  
s t a t e s : 
 

The use of this symbol indicates that this product may not be treated as household waste. 
By ensuring this product is disposed of correctly, you will help prevent potential negative 
consequences for the environment and human health, which could otherwise be caused by 
inappropriate waste handling of this product. For more detailed information about recycling 
of this product, please contact your local council, your household waste disposal service or 
the shop where you purchased the product. 

Reference Manual 

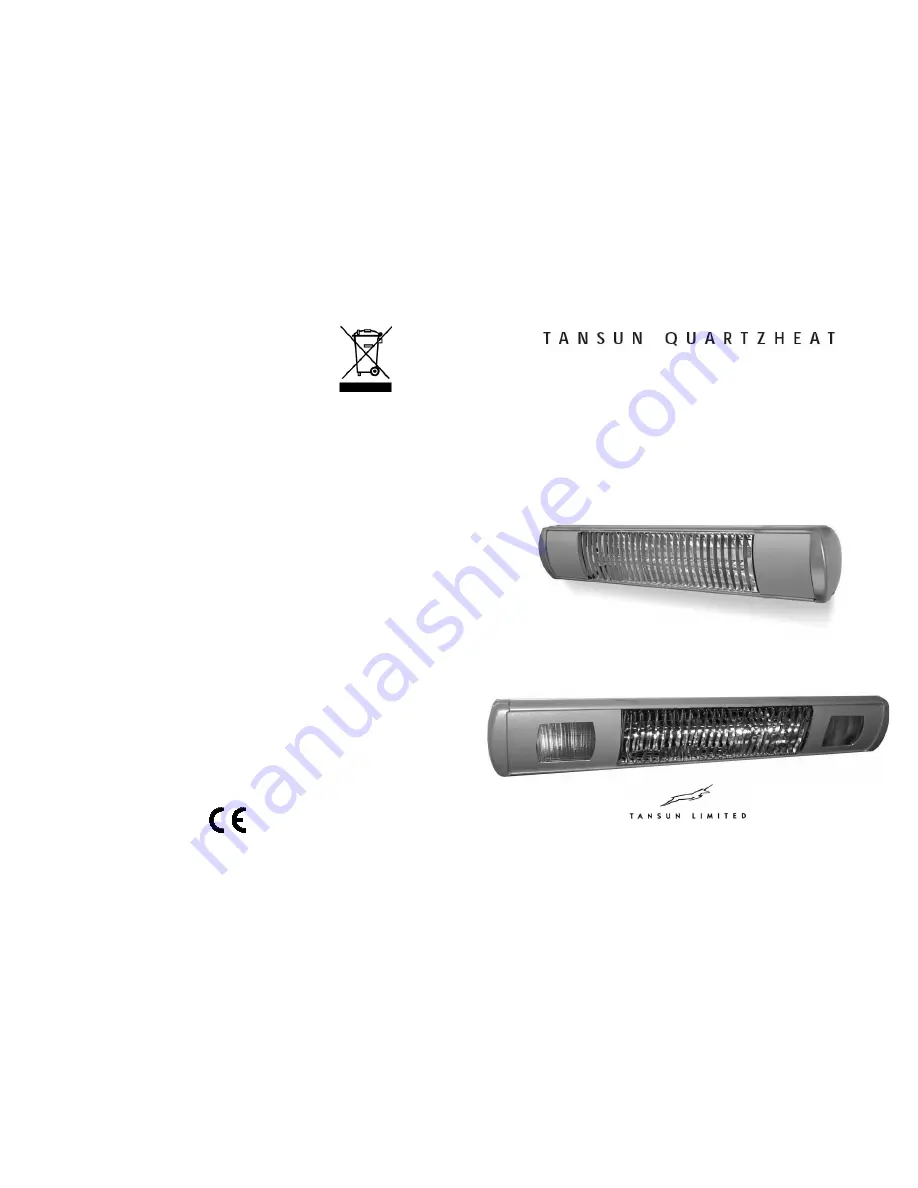
Rio Grande 

UK & EUROPEAN MODEL HEATERS: 

RIO 310 UK & RIO 310 EU, 
RIO 315 UK & RIO 315 EU, 
RIO 320 UK & RIO 320 EU. 

Spectrum House, Unit 1, Ridgacre Road, West Bromwich, 

West Midlands, B71 1BW, England. 

Tel: +44 (0)121 580 6200 - Fax: +44 (0)121 580 6222 

Email: quartzinfo@tansun.com - Website: www.tansun.com 

UK & EUROPEAN MODEL HEATERS WITH LIGHTS: 

RIO 310LL UK & RIO 310LL EU, 
RIO 315LL UK & RIO 315LL EU, 
RIO 320LL UK & RIO 320LL EU. 

Summary of Contents for Rio Grande RIO 315 EU

Page 1: ...e handling of this product For more detailed information about recycling of this product please contact your local council your household waste disposal service or the shop where you purchased the product Reference Manual Rio Grande UK EUROPEAN MODEL HEATERS RIO 310 UK RIO 310 EU RIO 315 UK RIO 315 EU RIO 320 UK RIO 320 EU Spectrum House Unit 1 Ridgacre Road West Bromwich West Midlands B71 1BW Eng...

Page 2: ...logen emitter with bare hands If it is inadvertently touched remove finger marks with a soft cloth and methylated spirit or alcohol Otherwise the marks will burn into the quartz emitter causing premature heater failure Do not use an extension cable with this product Keep the mains cable away from the body of the heater which will get hot during use Do not cover or obstruct the heater while it is i...

Page 3: ...hen mounting this way with the terminal box at the bottom of the heater see Fig 4 Do not position the heater at an angle more than 45 and less than 30 to the horizontal as shown Always allow the heater to cool before attempting to reposition move Never attempt to move the heater while it is switched on Observe the minimum safe distance between the heater body and inflammable surfaces and objects w...

Page 4: ...l burn into quartz causing premature lamp failure 5 7 Firstly remove the two screws as highlighted on the right of Fig 5 to remove the side reflector If your heater is a model with lights models you should then remove the two screws holding the bulb plate as highlighted on the left of Fig 5 to allow the bulb plate to be lifted Repeat at opposite end Fig 5 8 Starting at the end where the emitter wi...

Reviews: