14
15
Caution: Do not tighten the screw with
a cordless screwdriver without torque
control, because you could damage the
Tapkey Smart Lock with the tool.
If necessary, turn the inside knob with the shaft,
thus enabling free access of the screwdriver to the
set screw.
Hand-tighten the set screw M3 (Torx T6) to the
right with the screwdriver (approx. 4 revolutions).
Check that both knobs turn freely without scraping
on the fitting.
Tighten the screw.
Please note: Keep the original packaging
so that you can store the Tapkey Smart Lock
safely at any time.
Tapkey Smart Lock with core pulling protection
Please note: Always make sure that you insert
a cylinder with core pulling protection into the
cylinder hole from the inside to the outside.
The side with core pulling protection belongs
on the outside.
Caution: In general, you should always install
the knob electronics first and then connect
the battery in order to prevent damage to the
electronics.
Please note: The installation of protective fit-
tings or rosettes with round hole is described
below; their core covers generally have to be
removed before installation.
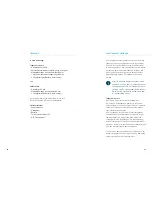
Fig. 5: Tighten inside knob
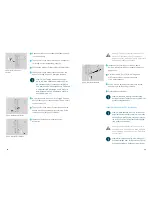
Measure the thickness of the door with fitting.
Ensure that the basic length of the cylinder is adap-
ted to the measured thickness: Note the division into
inside (a) and outside (b).
Please note: Ideally, the door with fitting should
be a little thinner than the cylinder body of the
cylinder, so that the knobs
do not scrape on the fitting and move freely.
Please note: Always install and program the
cylinder with the door open so that you do not
lock yourself out.
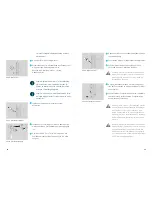
Insert the inside knob accurately until it reaches the
end position.
If necessary, turn the inside knob with the shaft,
thus enabling free access of the screwdriver to the
set screw.
Hand-tighten the set screw M3 (Torx T6) to the right
with the screwdriver (approx. 4 revolutions).
Fig. 6: Measure the thickness
Fig. 7: Insert inside knob
Fig. 8: Tighten inside knob


