background image

11

Air Circulation in the
Oven

Oven Baking

Baking Problems

Cookies and
biscuits burn on the
bottom.

Cakes too dark on top
or bottom.

Cakes not done in the
center.

Cakes not level.

Foods not done when
cooking time is up.

Causes

• Cookies and biscuits put into the oven

before the preheating time is
completed.

• Oven rack overcrowded.
• Dark pan absorbs heat too fast.

• Cakes put into the oven before

preheating time is completed.

• Rack position too high or low.
• Oven too hot.

• Oven too hot.
• Incorrect pan size.
• Pan not centered in oven.

• Range not level.
• Pan too close to oven wall or rack

overcrowded.

• Pan warped.
• Oven rack not level.

• Oven too cool.
• Oven overcrowded.
• Oven door opened too frequently.

Baking Problems and
Solutions Chart 

(Below)

"Baking" means to cook foods such as cakes or casseroles by dry heat in a covered
or uncovered pan. Roasting, often confused with baking, means to cook meat in an
uncovered pan. To bake or roast, follow the instructions provided in the Owner's
Guide. (See "Setting Oven Controls" section.)

Product Expectations

The cooking times and temperatures needed to bake a product may vary slightly
from your previously owned appliance.

Corrections

• Allow oven to preheat to the selected temperature before placing

food in oven.

• Choose pan sizes that will permit 2-4" (5-10 cm) of air space on

all sides when placed in the oven.

• Use a medium-weight aluminum baking sheet.

• Allow oven to preheat to the selected temperature before placing

food in the oven.

• Use proper rack position for baking needs.
• Set oven temperature 25°F/12°C lower than recommended.

• Set oven temperature 25°F/12°C lower than recommended.
• Use pan size suggested in recipe.
• Use proper rack position and place pan so there is 2-4" (5-10 cm)

of space on all sides of pan.

• Place a marked glass measuring cup filled with some water on the

center of the oven rack.  If the water level is uneven, refer to the
installation instructions for leveling the range.

• Be sure to allow 2-4" (5-10 cm) of clearance on all sides of each

pan in the oven.

• Do not use pans that are dented or warped.
• Check oven rack for flatness and proper positioning.

• Set oven temperature 25°F/12°C higher than suggested and bake

for the recommended time.

• Be sure to remove all pans from the oven except the ones to be

used for baking.

• Open oven door only after shortest recommended baking time.

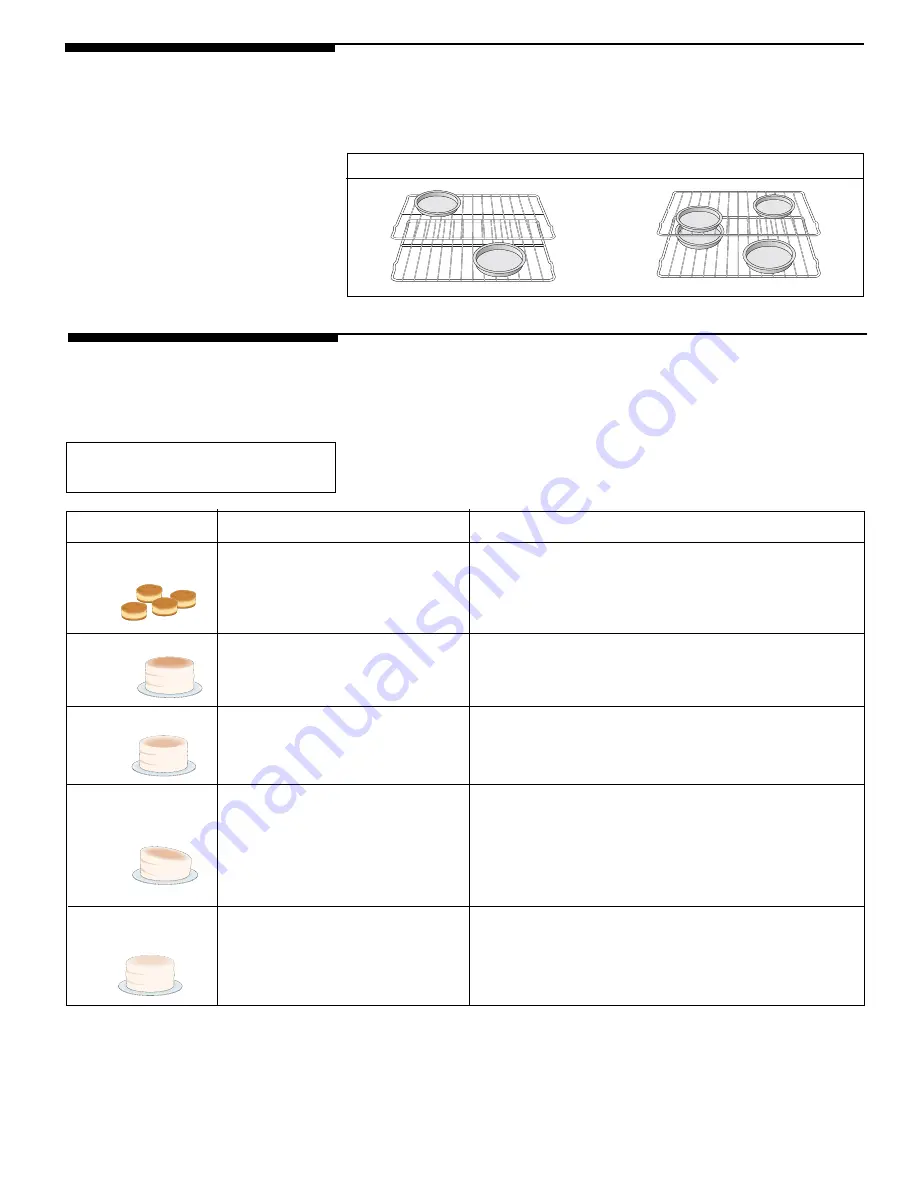
For best air circulation and baking results, center pans as much as possible. Allow
2-4" (5-10 cm) around the utensil(s) for proper air circulation and be sure pans do
not touch each other, the door, sides or back of oven. The hot air must circulate
around the pans in the oven for even heat to reach all parts of the oven.

 If using multiple pans, stagger as shown. If using one pan, place in center of oven.

Summary of Contents for 318200764

Page 1: ...Recycled paper P N 318200753 0203 Rev C P N 318200764 0703 Rev A...

Page 2: ...rn more about your new appliance Record Your Model and Serial Numbers Record in the space provided below the model and serial numbers found on the serial plate located under the lift up cooktop Model...

Page 3: ...ildren to climb or play around the range The weight of a child on an open door may cause the range to tip resulting in serious burns or other injury Do not use the oven for storage Storage in or on Ap...

Page 4: ...and greasy spillovers that may ignite or a pan that has boiled dry may melt ProtectiveLiners Donotusealuminumfoiltolinesurface burner pans oven bottom or any other part of the range Use of protective...

Page 5: ...endeddirectionsforuse Beaware that excess residue from cleaners and aerosols may ignite causing damage and or injury CONTINUOUS CLEANING OVENS some models Do not use oven cleaners on the oven liner or...

Page 6: ...to light Wooden matches work best 2 Push in and turn the control knob slowly Be sure you are turning the correct knob for the burner you are lighting Note If the burner does not light within 5 seconds...

Page 7: ...er burner adjustment A good flame is clear blue and hardly visible in a well lighted room Each cone of flame should be steady and sharply defined Adjust or clean burner if flame is yellow orange To cl...

Page 8: ...rative Agricultural Extension Service or a manufacturer of glass jars for the latest canning information 2 Use flat bottomed canners only Heat is spread more evenly when the bottom surface is flat 3 C...

Page 9: ...ons could catch fire if placed too close to a flame Griddle some models Your non stick griddle must first be conditioned to insure non stick cooking Remove the enamel griddle cover Wipe a teaspoon of...

Page 10: ...e compartment below the oven cavity Food is broiled by the same burner that heats the oven The broiler compartment rolls out for easy checking and turning of food 1 Open the broiler drawer and roll th...

Page 11: ...permit 2 4 5 10 cm of air space on all sides when placed in the oven Use a medium weight aluminum baking sheet Allow oven to preheat to the selected temperature before placing food in the oven Use pr...

Page 12: ...h Adhere to the following precautions when using oven cleaners 1 DO NOT spray on the electrical controls or switches because it could cause a short circuit and result in sparking or fire 2 DO NOT allo...

Page 13: ...knob to 450 F 230 C 5 Operate oven for 15 minutes 6 Remaining soil will fade with continued oven use Cleaning the Oven Bottom The oven bottom is not a continuous cleaning finish Oven cleaners can be u...

Page 14: ...ollowing manufacturer s instructions Rinse with clean water and dry If the racks are cleaned in the self clean cycle their color will turn slightly blue and the finish will be dull After the self clea...

Page 15: ...2 Lift burner pair straight up and out of range To Replace Burners Figure 1 1 Slide the burner tube over the gas valve at the front of the range front burners fit over the right valve rear burners fi...

Page 16: ...iddle can be washed in the sink with a mild detergent and plastic scouring pad For greasy residue use a grease dissolving dishwashing liquid and a nylon scrub brush Avoid abrasive cleansers that can s...

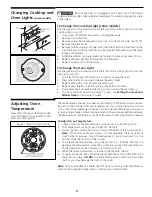
Page 17: ...adjustment Adjusting Oven Temperature Easy and continuous cleaning models only Self cleaning model refer to the electronic timer guide Figure 1 Back of Control Knob Changing Cooktop and Oven Lights s...

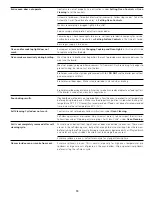
Page 18: ...inet maker to correct the problem Contact builder or installer to make appliance accessible Carpeting interferes with range Provide sufficient space so range can be lifted over carpet Gas line is hard...

Page 19: ...use the broiler pan without grid or cover grid with foil Broiler drawer door open Make sure drawer door is closed when broiling Broiler drawer door needs cleaning Excessive smoke is caused by old gre...

Page 20: ...e companies or external causes such as abuse misuse inadequate power supply accidents fires or acts of God DISCLAIMER OF IMPLIED WARRANTIES LIMITATION OF REMEDIES CUSTOMER S SOLE AND EXCLUSIVE REMEDY...

Reviews: