Page 1: ...djustments 7 Setting Surface Controls 7 Setting Warmer Drawer Controls 8 Arranging Warmer Drawer Rack Positions 8 Setting Oven Controls 9 11 Oven Cleaning 12 13 General Cleaning 14 16 Changing Oven Li...
Page 2: ...uacibn Solicitela P N316080288 Version fran_aise si vous d_sirez obtenir un exemplaire de la version fran_ aisede ce Guidede I utilisateur faites en la demande par 6crit _ I adresse indiqu6e ci dessou...
Page 3: ...r play around the range The weight of a child on an open door may cause the range to tip resulting in serious burns or other injury Do not use the oven warmer drawer if equipped for storage Never use...
Page 4: ...he backguard Touching the surfaces in this area when the oven is operating may cause severe burns Also do not place plastic or heat sensitive items on or near the oven vent These items could melt or i...
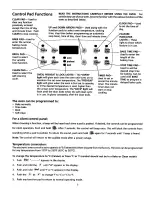
Page 5: ...swhen the self dean cycle is in use It glows constantly after the door locks J TIMER PAD Used to set or cancel the minute timer The minute timer does not start or stop cooking length of the baking tim...
Page 6: ...the _ first the timer w advanceto 11 hours and 59 minutes 3 The display shows the timer count down in minutes until one minute remains Then the display will count down in seconds 4 When the set time...
Page 7: ...ing Your range is equipped with 4 standard burners 2 standard and 2 large burners or 3 standard and 1 large burner Regardless of size always select a utensil that is suitable for the amount and type o...
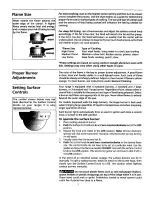
Page 8: ...id or aluminum foil to maintain quality Do not use plastic wrap to cover food Plastic may melt onto the drawer and be very difficult to clean Use only dishware utensils and cookware recommended for ov...
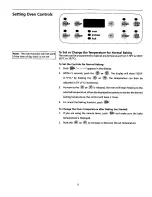
Page 9: ...the _ or _ The display will show 350 F 177 C By holding the _ or _ the temperature can then be adjusted in 5 F 1 C increments 3 As soon asthe _ or _ is released the oven will begin heating to the sel...
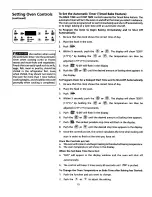
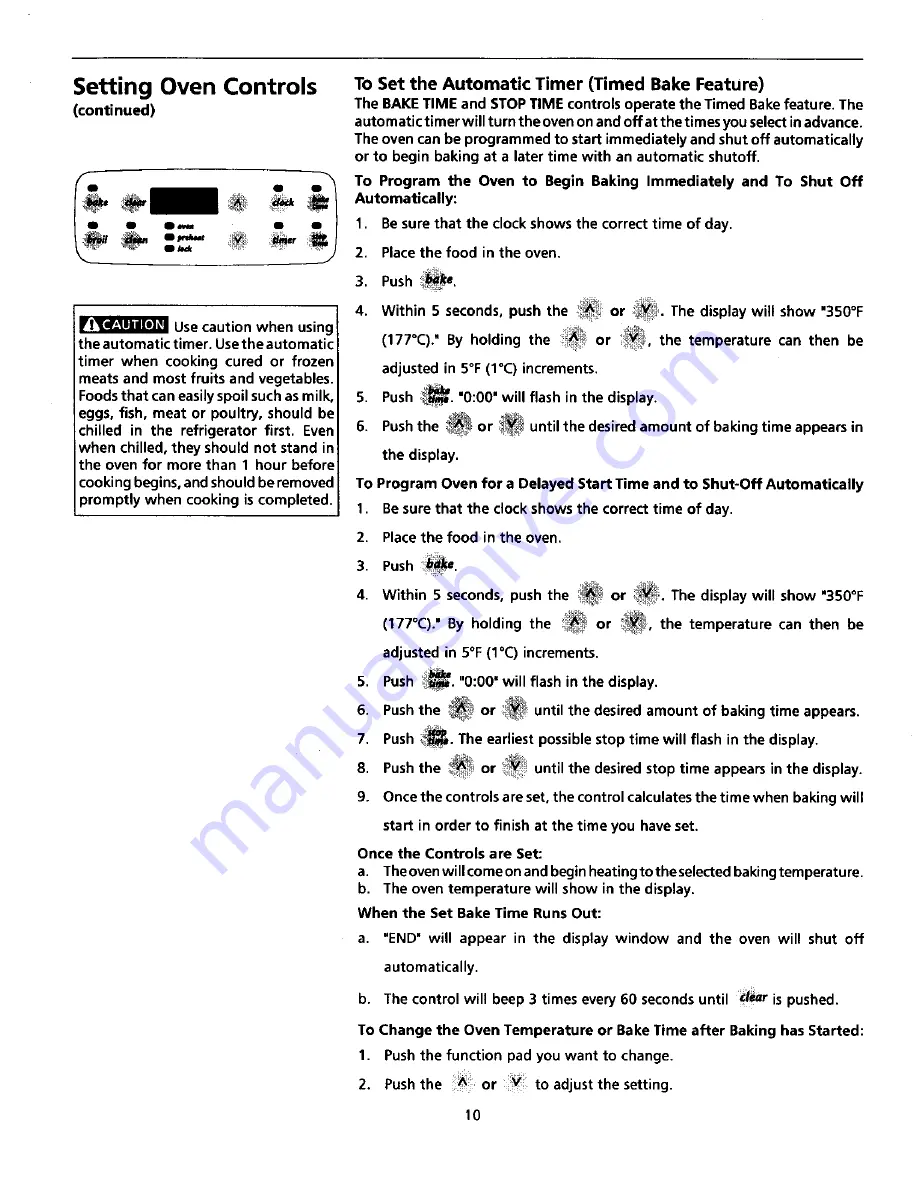
Page 10: ...Push _ 0 00 will flash in the display 6 Push the _ or _ until the desired amount of baking time appears in the display To Program Oven for a Delayed Start Time and to Shut Off Automatically 1 Besure t...
Page 11: ...for HI broil r _ _ o the _ for LO broil Most foods can be broiled at the HI broil setting Select the LO broil setting to avoid excess browning or drying of foods that should be cooked to the well done...
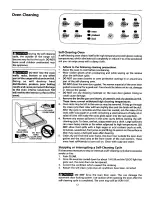
Page 12: ...mperatures 3 Oven racks may be left in the oven or may be removed If they go through the clean cycle their color will turn slightly blue and the finish will be dull After the cycle is complete and the...
Page 13: ...cycle 4 As soon as the _ _ or _ is released CLn appears in the display 5 As soon as the controls are set the motor driven lock will begin to close automatically and the RLOCK indicator light will flas...
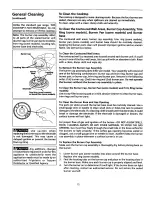
Page 14: ...necessary cover difficult spots with an ammonia soaked paper towel for 30 to 40 minutes Rinse with clean water and a damp cloth then scrub with a soap filled scouring pad Rinse and wipe dry with a cle...
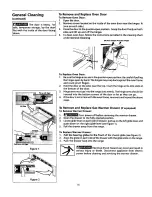
Page 15: ...consist of one of the following combinations burner cap and trim ring burner cap and burner pan or burner cap trim ring and burner pan Remove in the following order 1st burner cap 2nd trim ring and 3r...
Page 16: ...arms into slots at the bottom of the door 3 Hinge arms must go into the range slots evenly The hinge arrns should be inserted into the bottom corners of the door as far as they can go 4 Ifthe door is...
Page 17: ...se f c ean ng temperature The temperature in the oven has been set at the factory When first using the oven be sure to follow recipe times and temperatures If you think the oven is too hot or too cool...
Page 18: ...iance accessible Carpeting interferes with range Provide sufficient space so range can be lifted over carpet Gas line is hard plumbed Have a new flexible A G A C G A approved metal appliance connector...
Page 19: ...has built up on oven surfaces Regular cleaning is necessary when broiling frequently Old grease or food spatters cause excessive smoking Poor baking results Many factors affect baking results Make su...
Page 20: ...to finish after installation 6 Replacement of light bulbs and or fluorescent tubes on models with these features EXCLUSIONS This warranty does not cover the following 1 CONSEQUENTIALOR INCIDENTAL DAM...